The Film Love Workshop and all the details.
Read Moretutorial
Our summer on film: Ektar 100
Last week I mentioned my love for film and how I would be sharing some of the stocks I've been shooting just to help anyone else out who might be interested in film. Today is all about Ektar 100!
Ahh....Ektar 100 is just amazing. It has minimal grain and is just so vibrant! I started off with a love-hate relationship with Ektar but I was determined to figure this stock out because the colors are out of this world. I still don't have it down to a science, but after practicing and changing some things up I feel way more confident shooting this stock. I shot a few rolls of this when we were in St. John, USVI and the pictures were EXACTLY as the island was - bold, vibrant, clear, colorful! My biggest struggle with Ektar is the skin tones. Ektar has a red undertone and if you under or overexpose, skin tends to get super red/orange and scary looking, lol. My daughter has more red/orange to her skin tone in general, so I really noticed this if I overexposed/underexposed with her (vs. my son who has a little more peachy-pinky skin tone).
The key with Ektar is to expose it properly. When I first started practicing with Ektar I'm pretty sure I was overexposing by a stop or two (by the way I was metering - bulb in, facing down at 45 degrees). In the Virgin Islands, I didn't take into consideration the light reflecting from the sandy beaches, so I probably added on at least another stop of overexposure there....whoops!
Now I meter (using my external light meter) bulb in, racing my camera, at 90 degrees....and typically, the skin tones are perfect! The amazing Wendy Laurel has an article on her blog about shooting with Ektar that is definitely worth checking out!
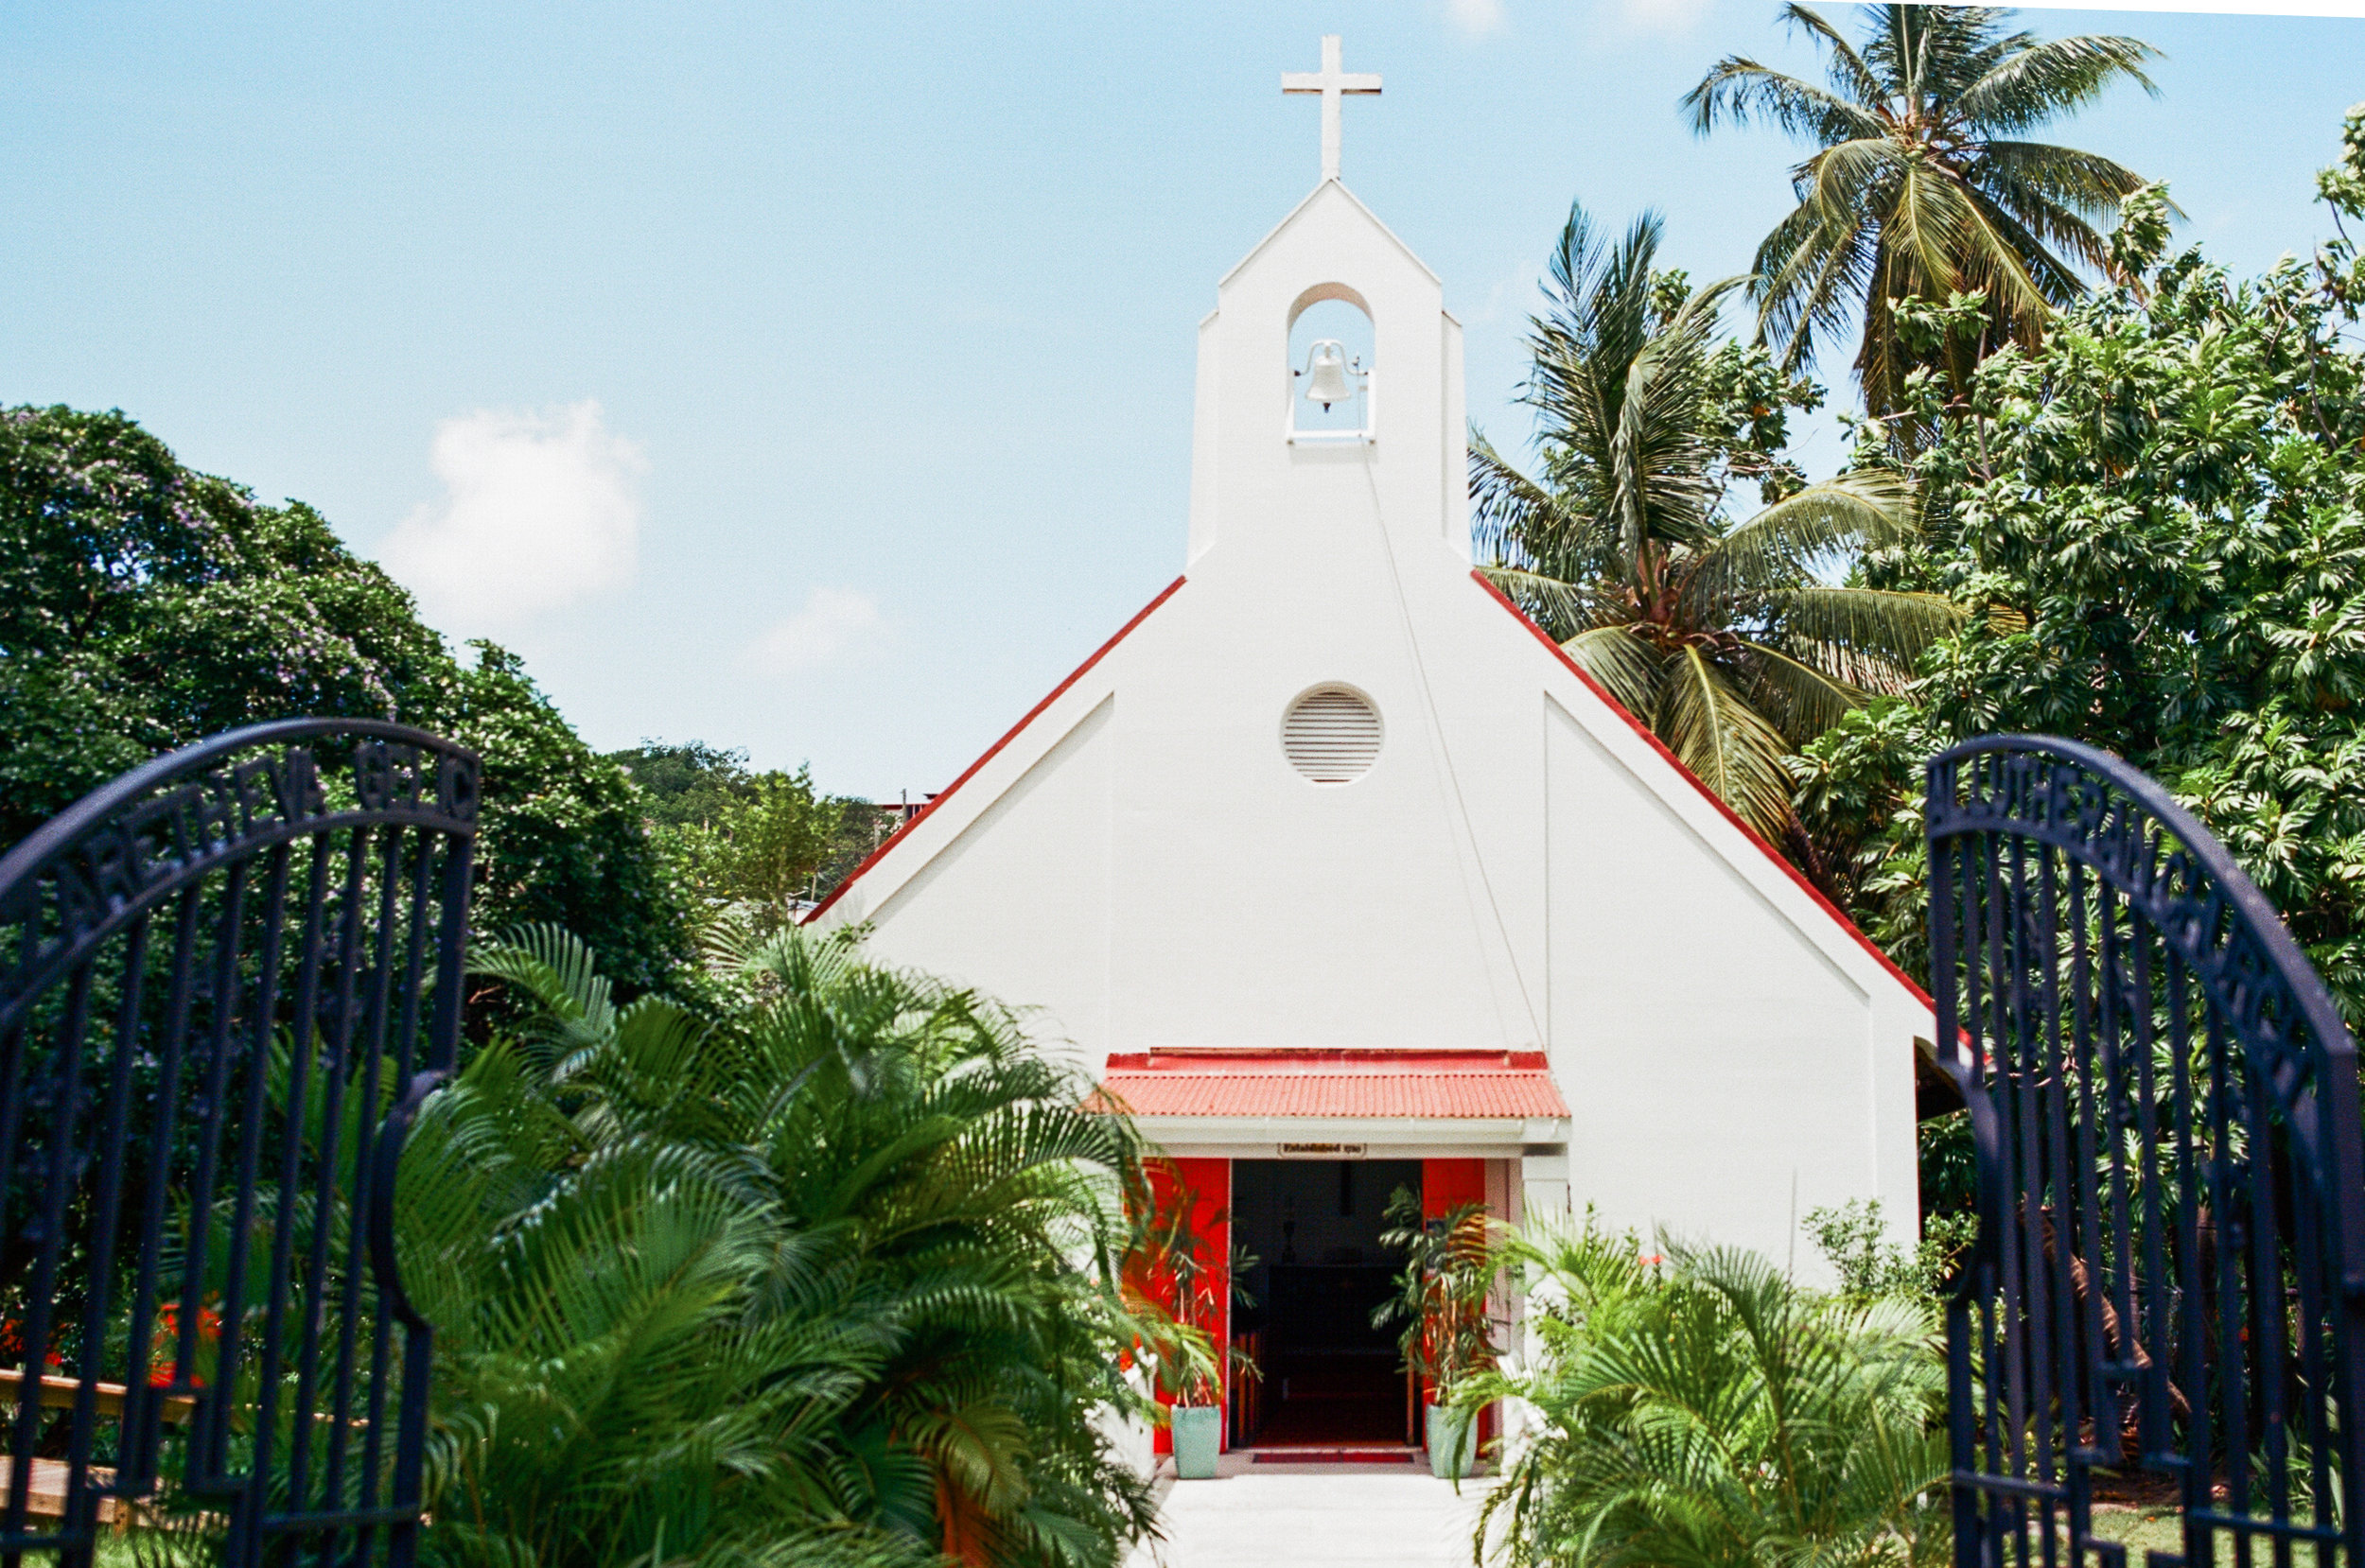
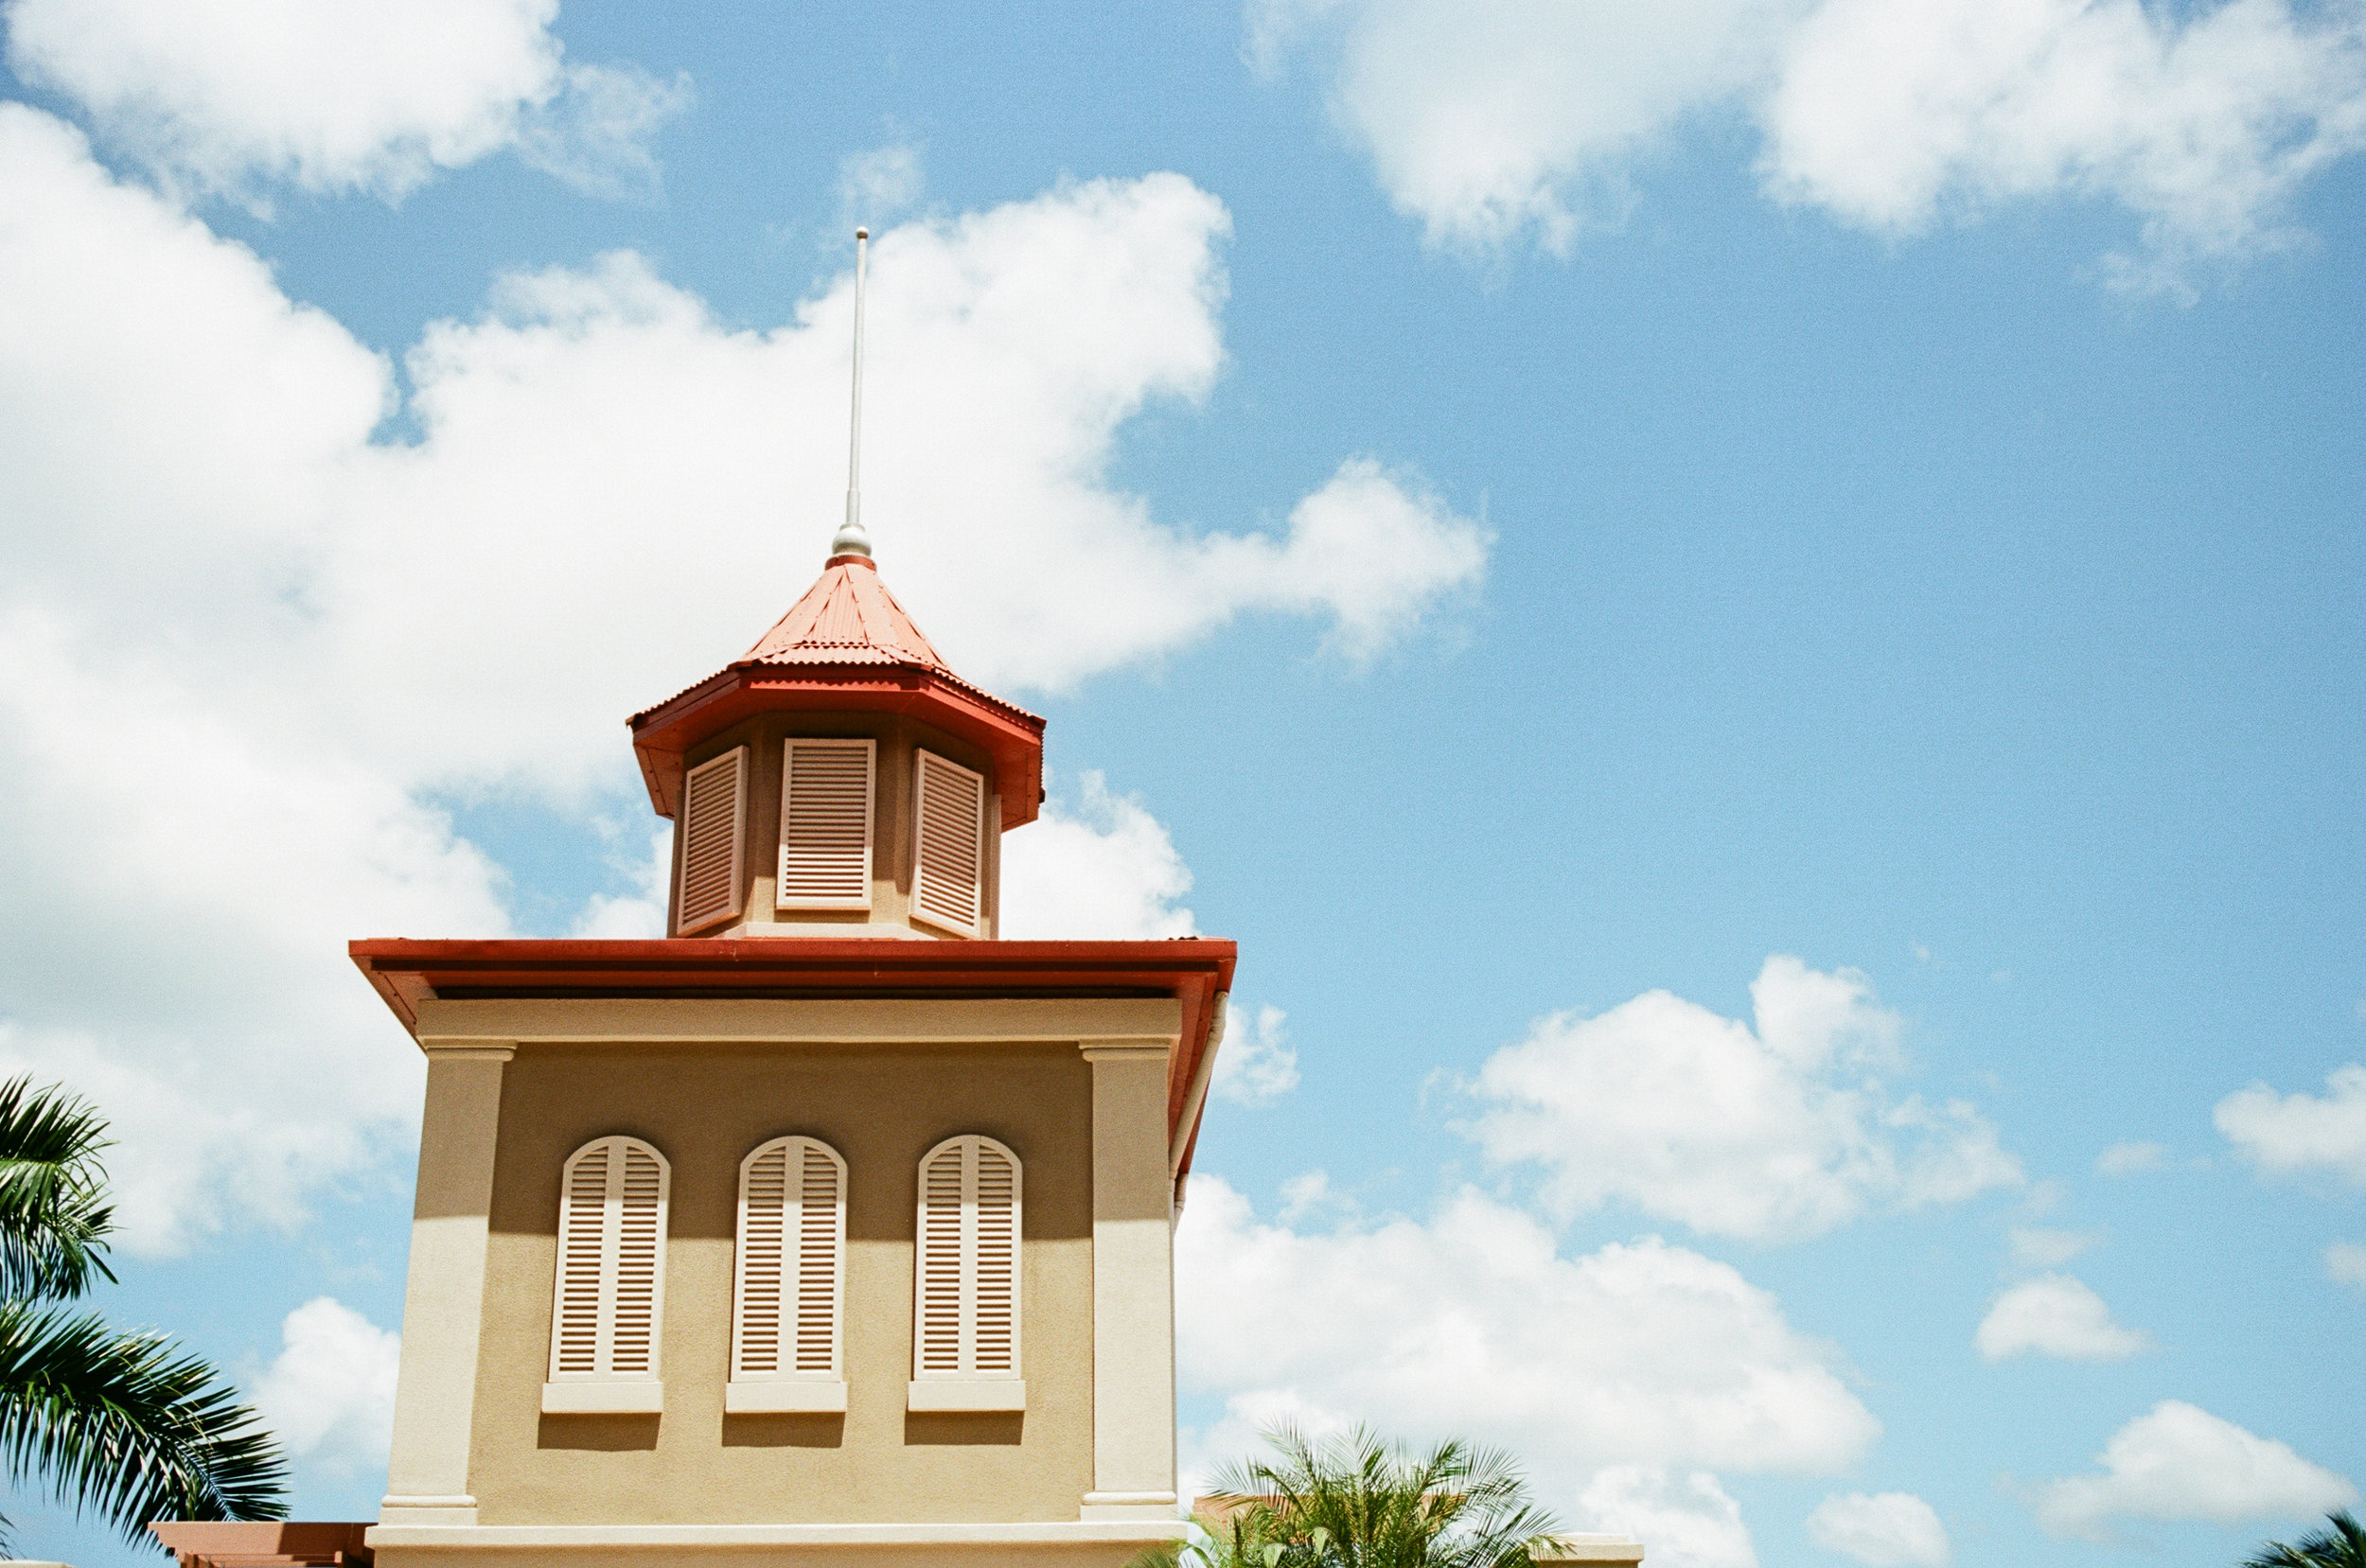
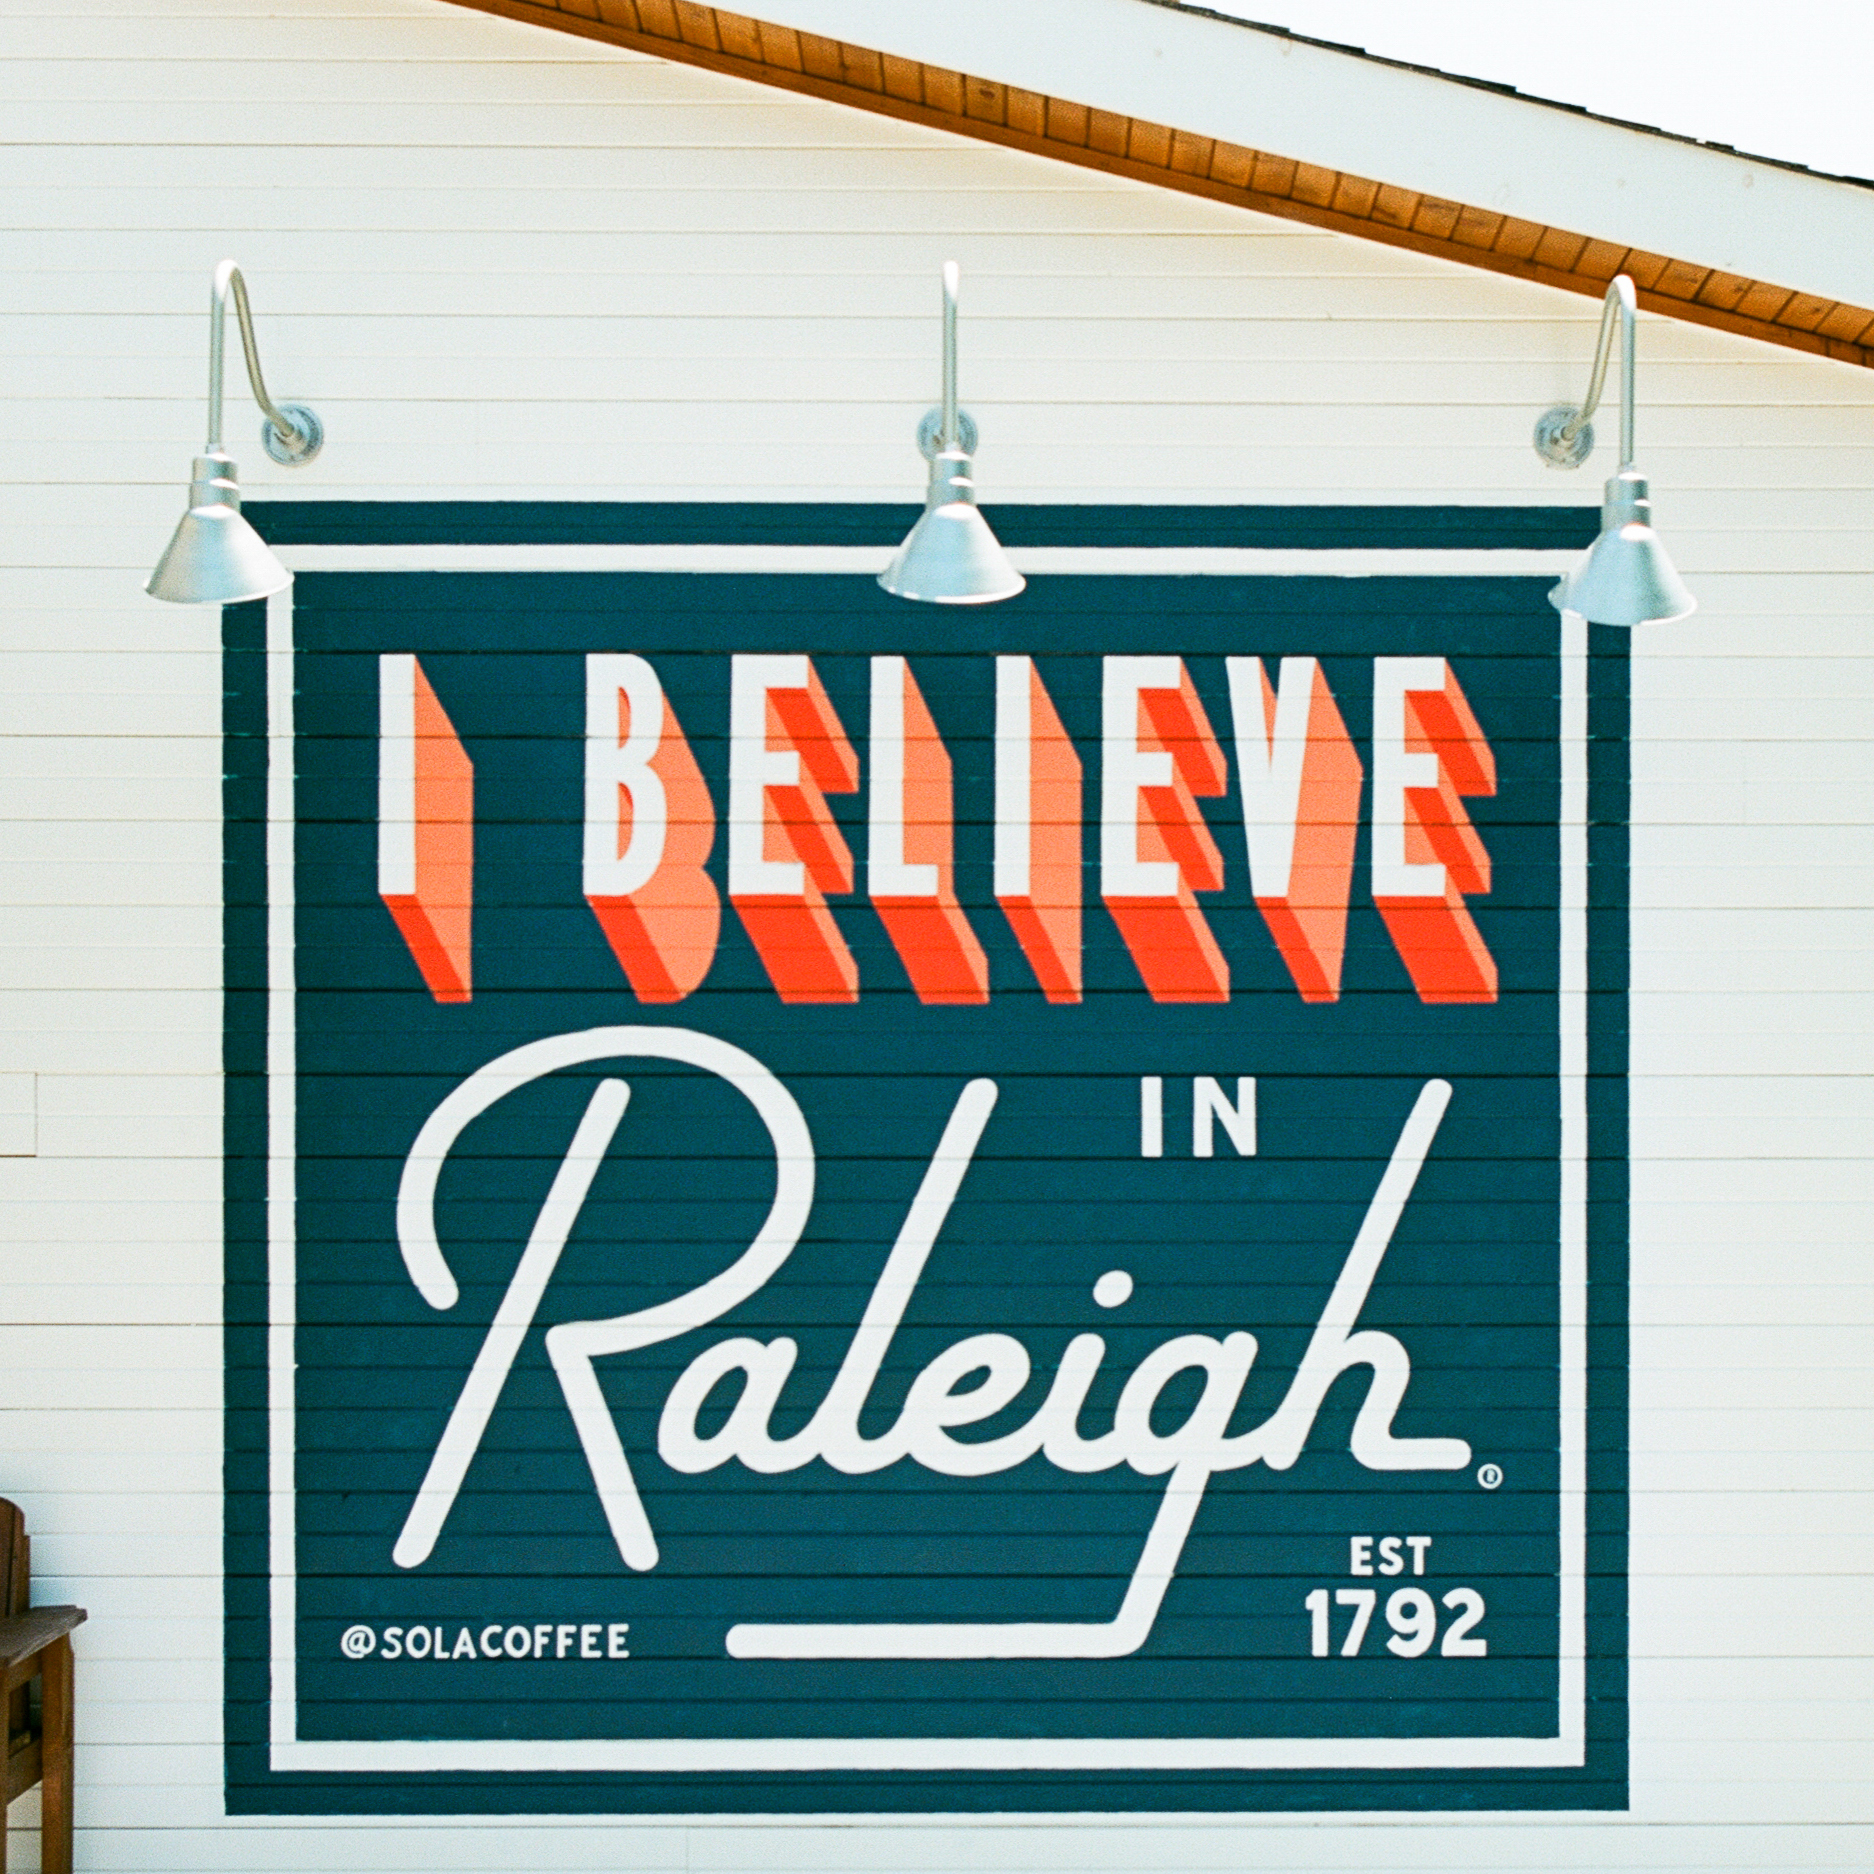
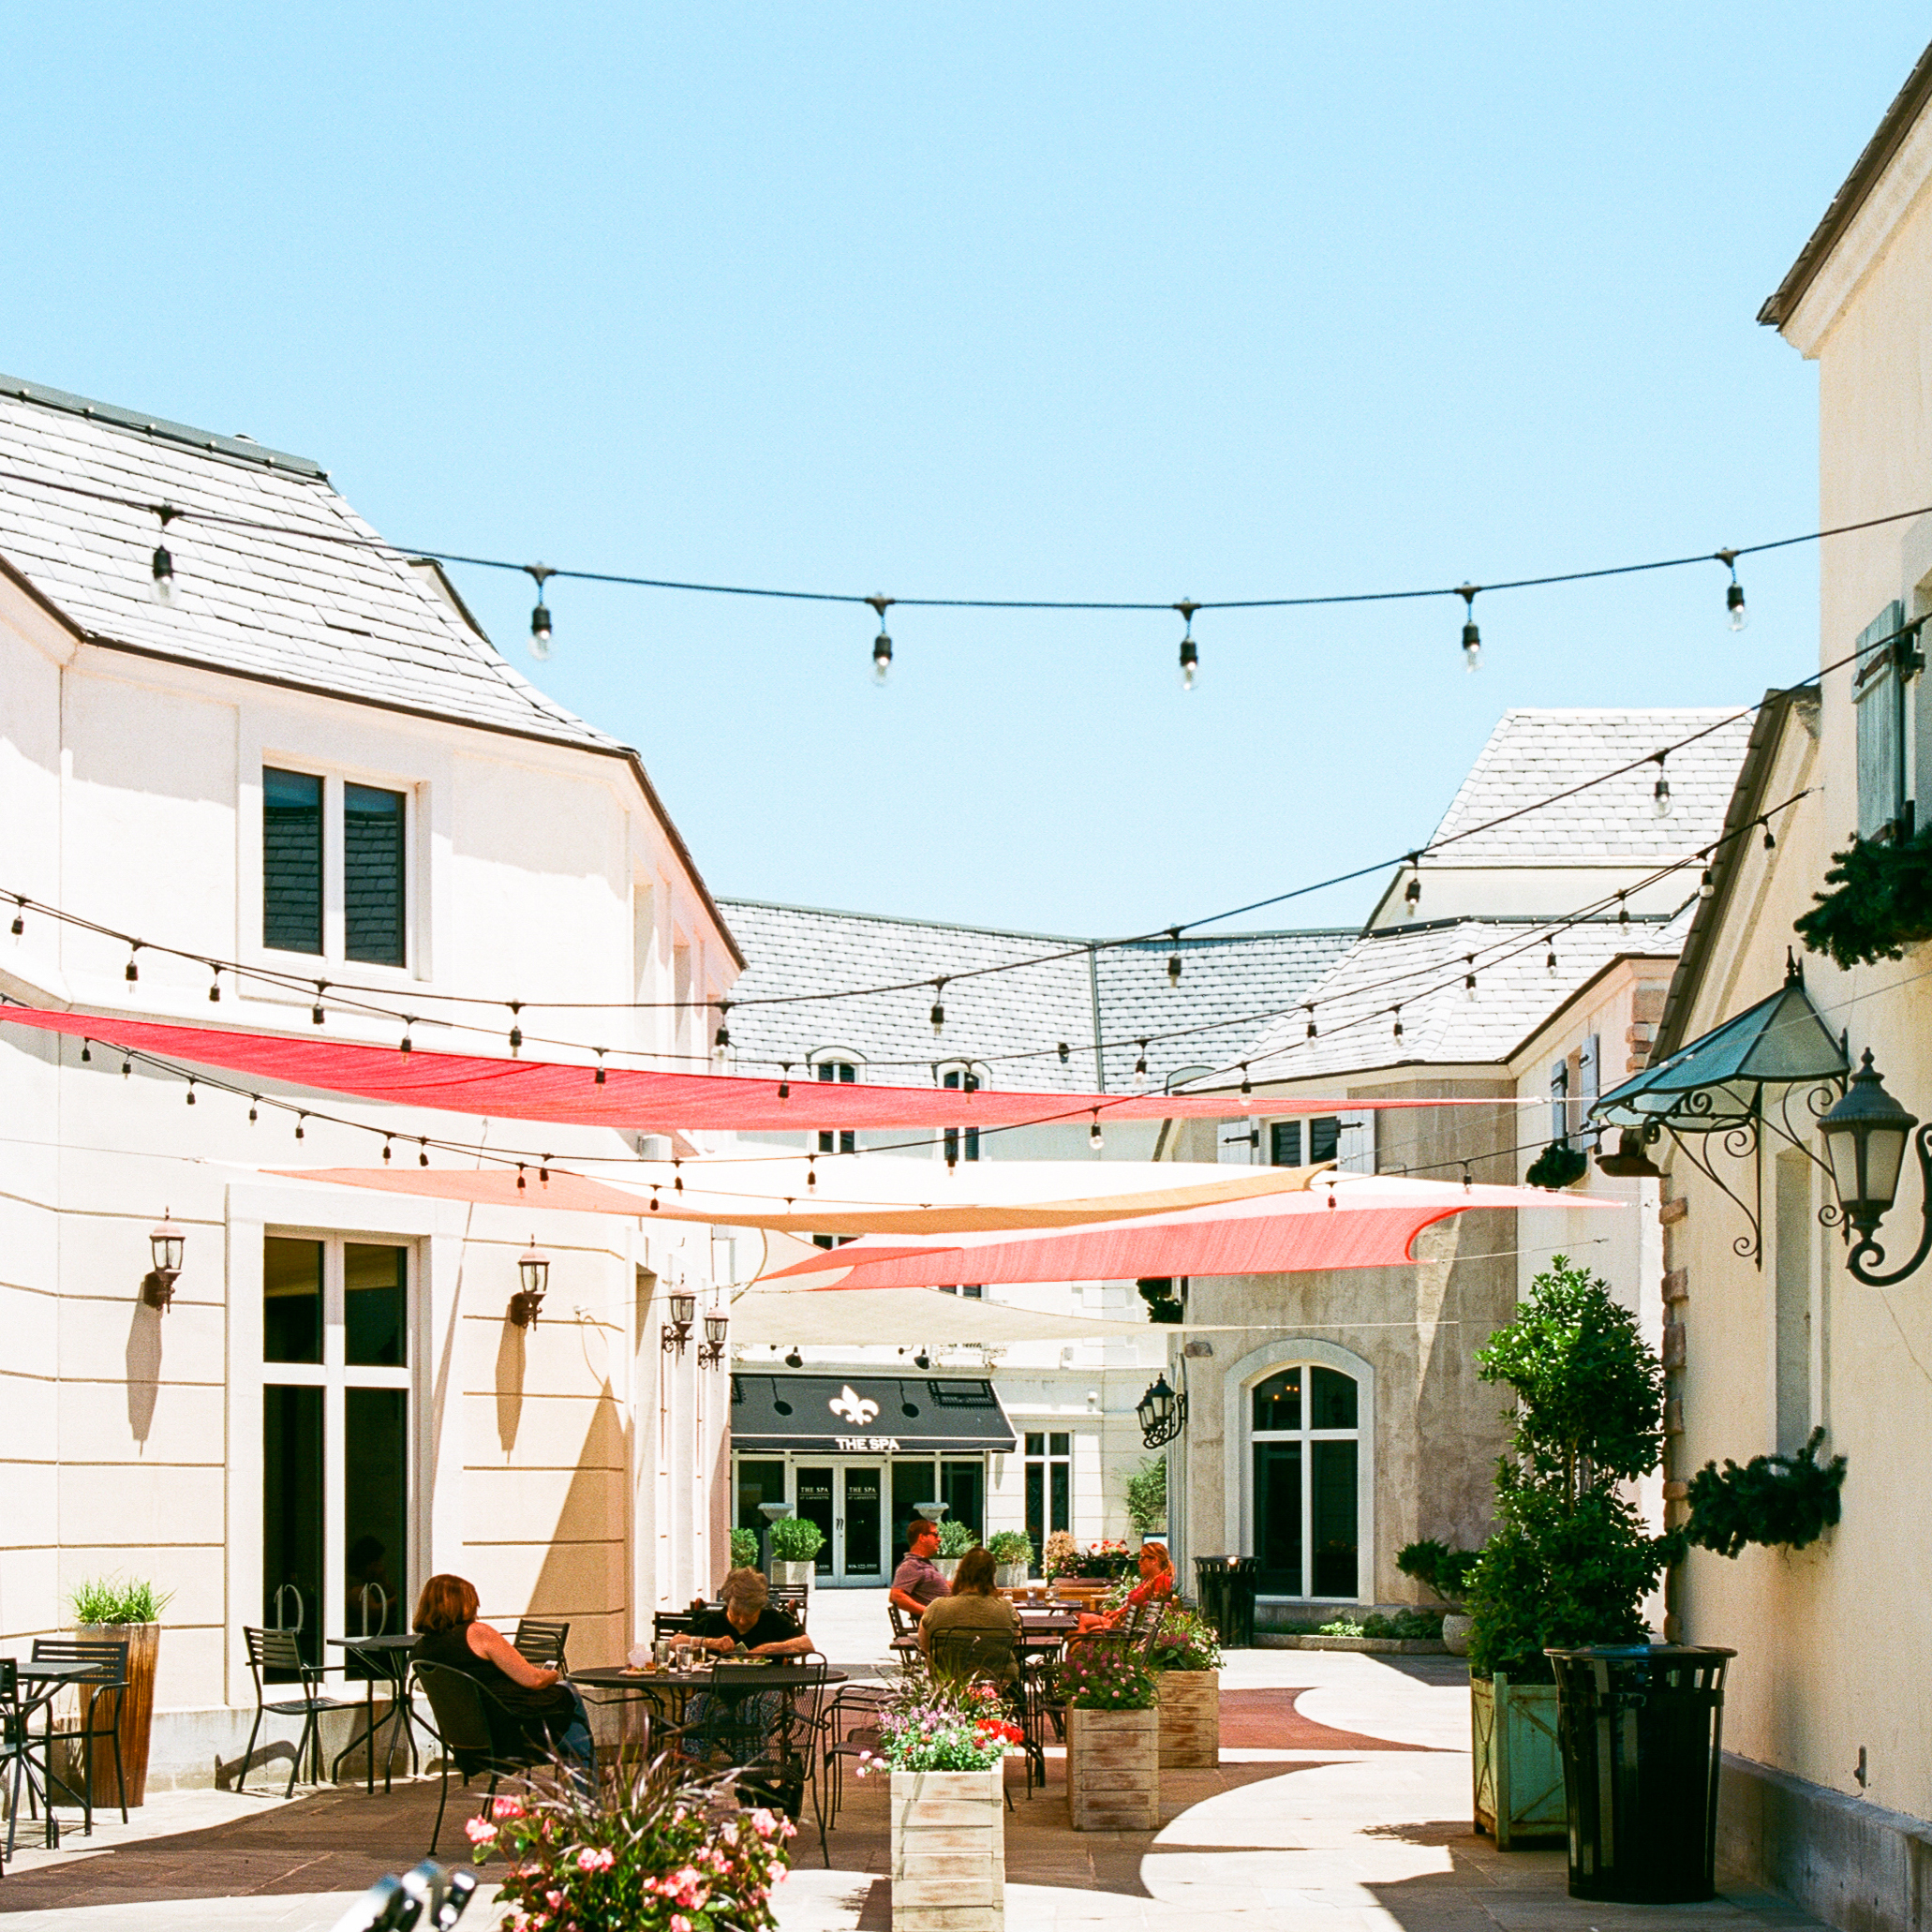
Here's some of my favorite Ektar 100 images!
5 tips for black and white photography
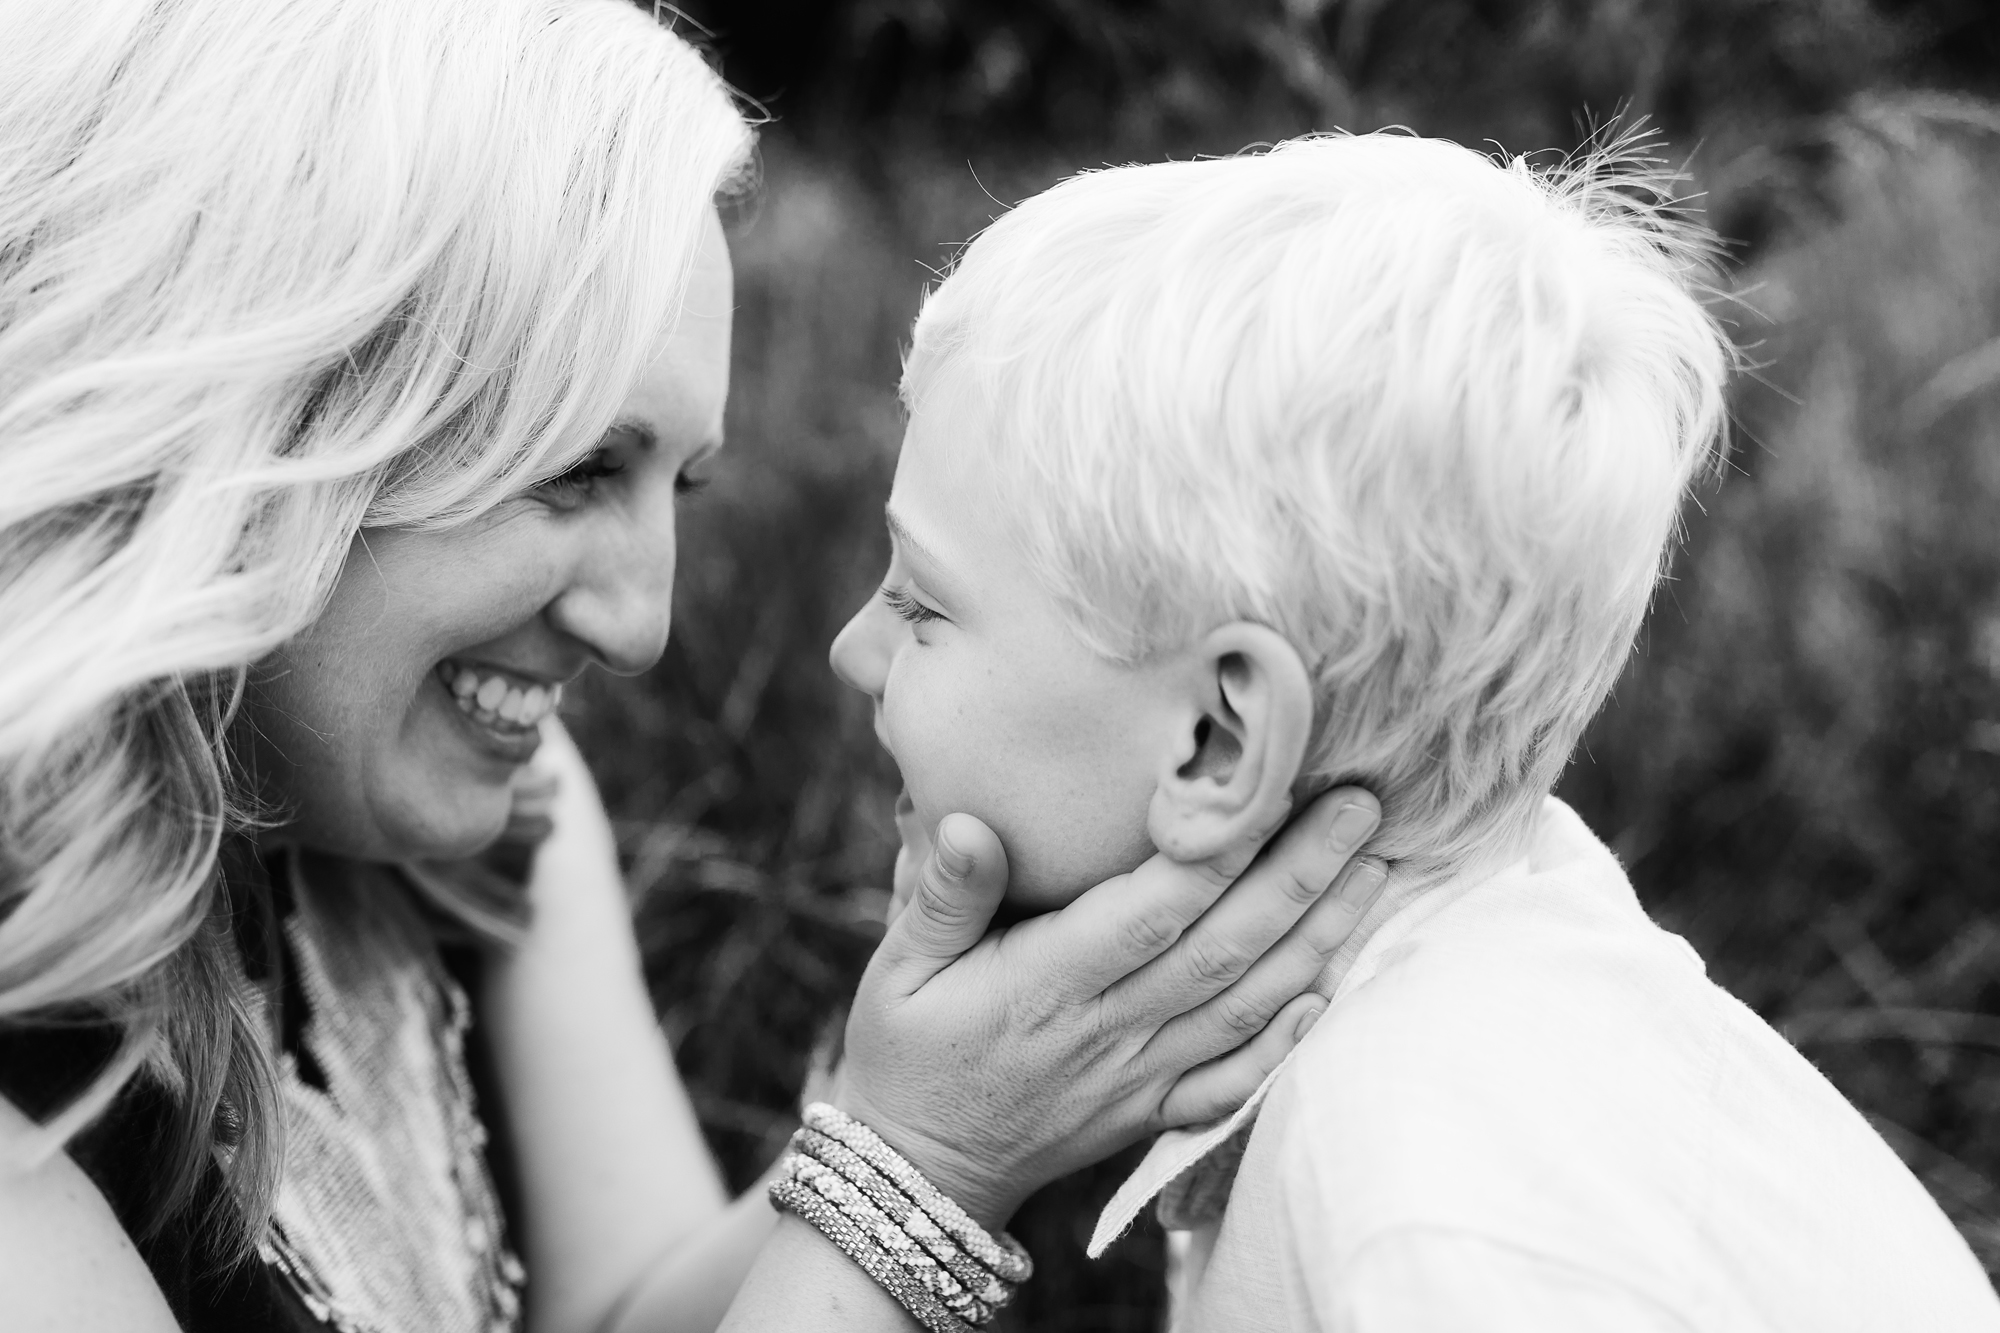
Black and white imagery is timeless and beautiful. Removing the vibrant colors from an image makes the subject or object being photographed become the main focal point and often evokes strong emotion and feelings for the viewer. Everyone has a different take on how to achieve a black and white image, but here are some things to keep in mind when shooting and processing your images!
1. Shoot in RAW
I'm sure you've heard me say it before, but shooting in RAW will give you control over the detail of your images. Black and white photography is all about the highlights and shadows in a image and being able to tweak those as needed can help you when you convert your image to black and white. Some cameras allow you to shoot in black and white while also saving the RAW file (which would have all the data saved) so you could revert the image back to color if you weren't happy with your black and white conversion.
2. Pay attention to the lighting
Just like with color images, it's super important to pay attention to the light. Before you shoot your scene, take a look at the shadows and highlights and see if you can envision how the photo will look in black + white. Pay attention to where the light is falling and how it illuminates your subject.
3. Look for high contrast imagery
An image that has a high contrast between light and dark will be a more dramatic black and white image. Creating depth in your image by placing your subject away from the background can help add contrast to your scene. High contrast between color can also add a more dramatic feel to your image. A light grey and a dark grey likely won't show much different in black and white, but an image with strong dark colors and strong light colors (or white) will definitely pop on a monochromatic image.
4. Pay attention to shadows
While you will want to make sure you don't blow out the highlights in your image, you also want to pay attention to the shadows and the details in the shadows. A strong black and white image will have a good contrast between light and dark and it's important to make sure your shadows aren't too dark or too muddy. Great details in the shadows can make a black and white image pop!
5. Look for lines, shapes, textures + patterns
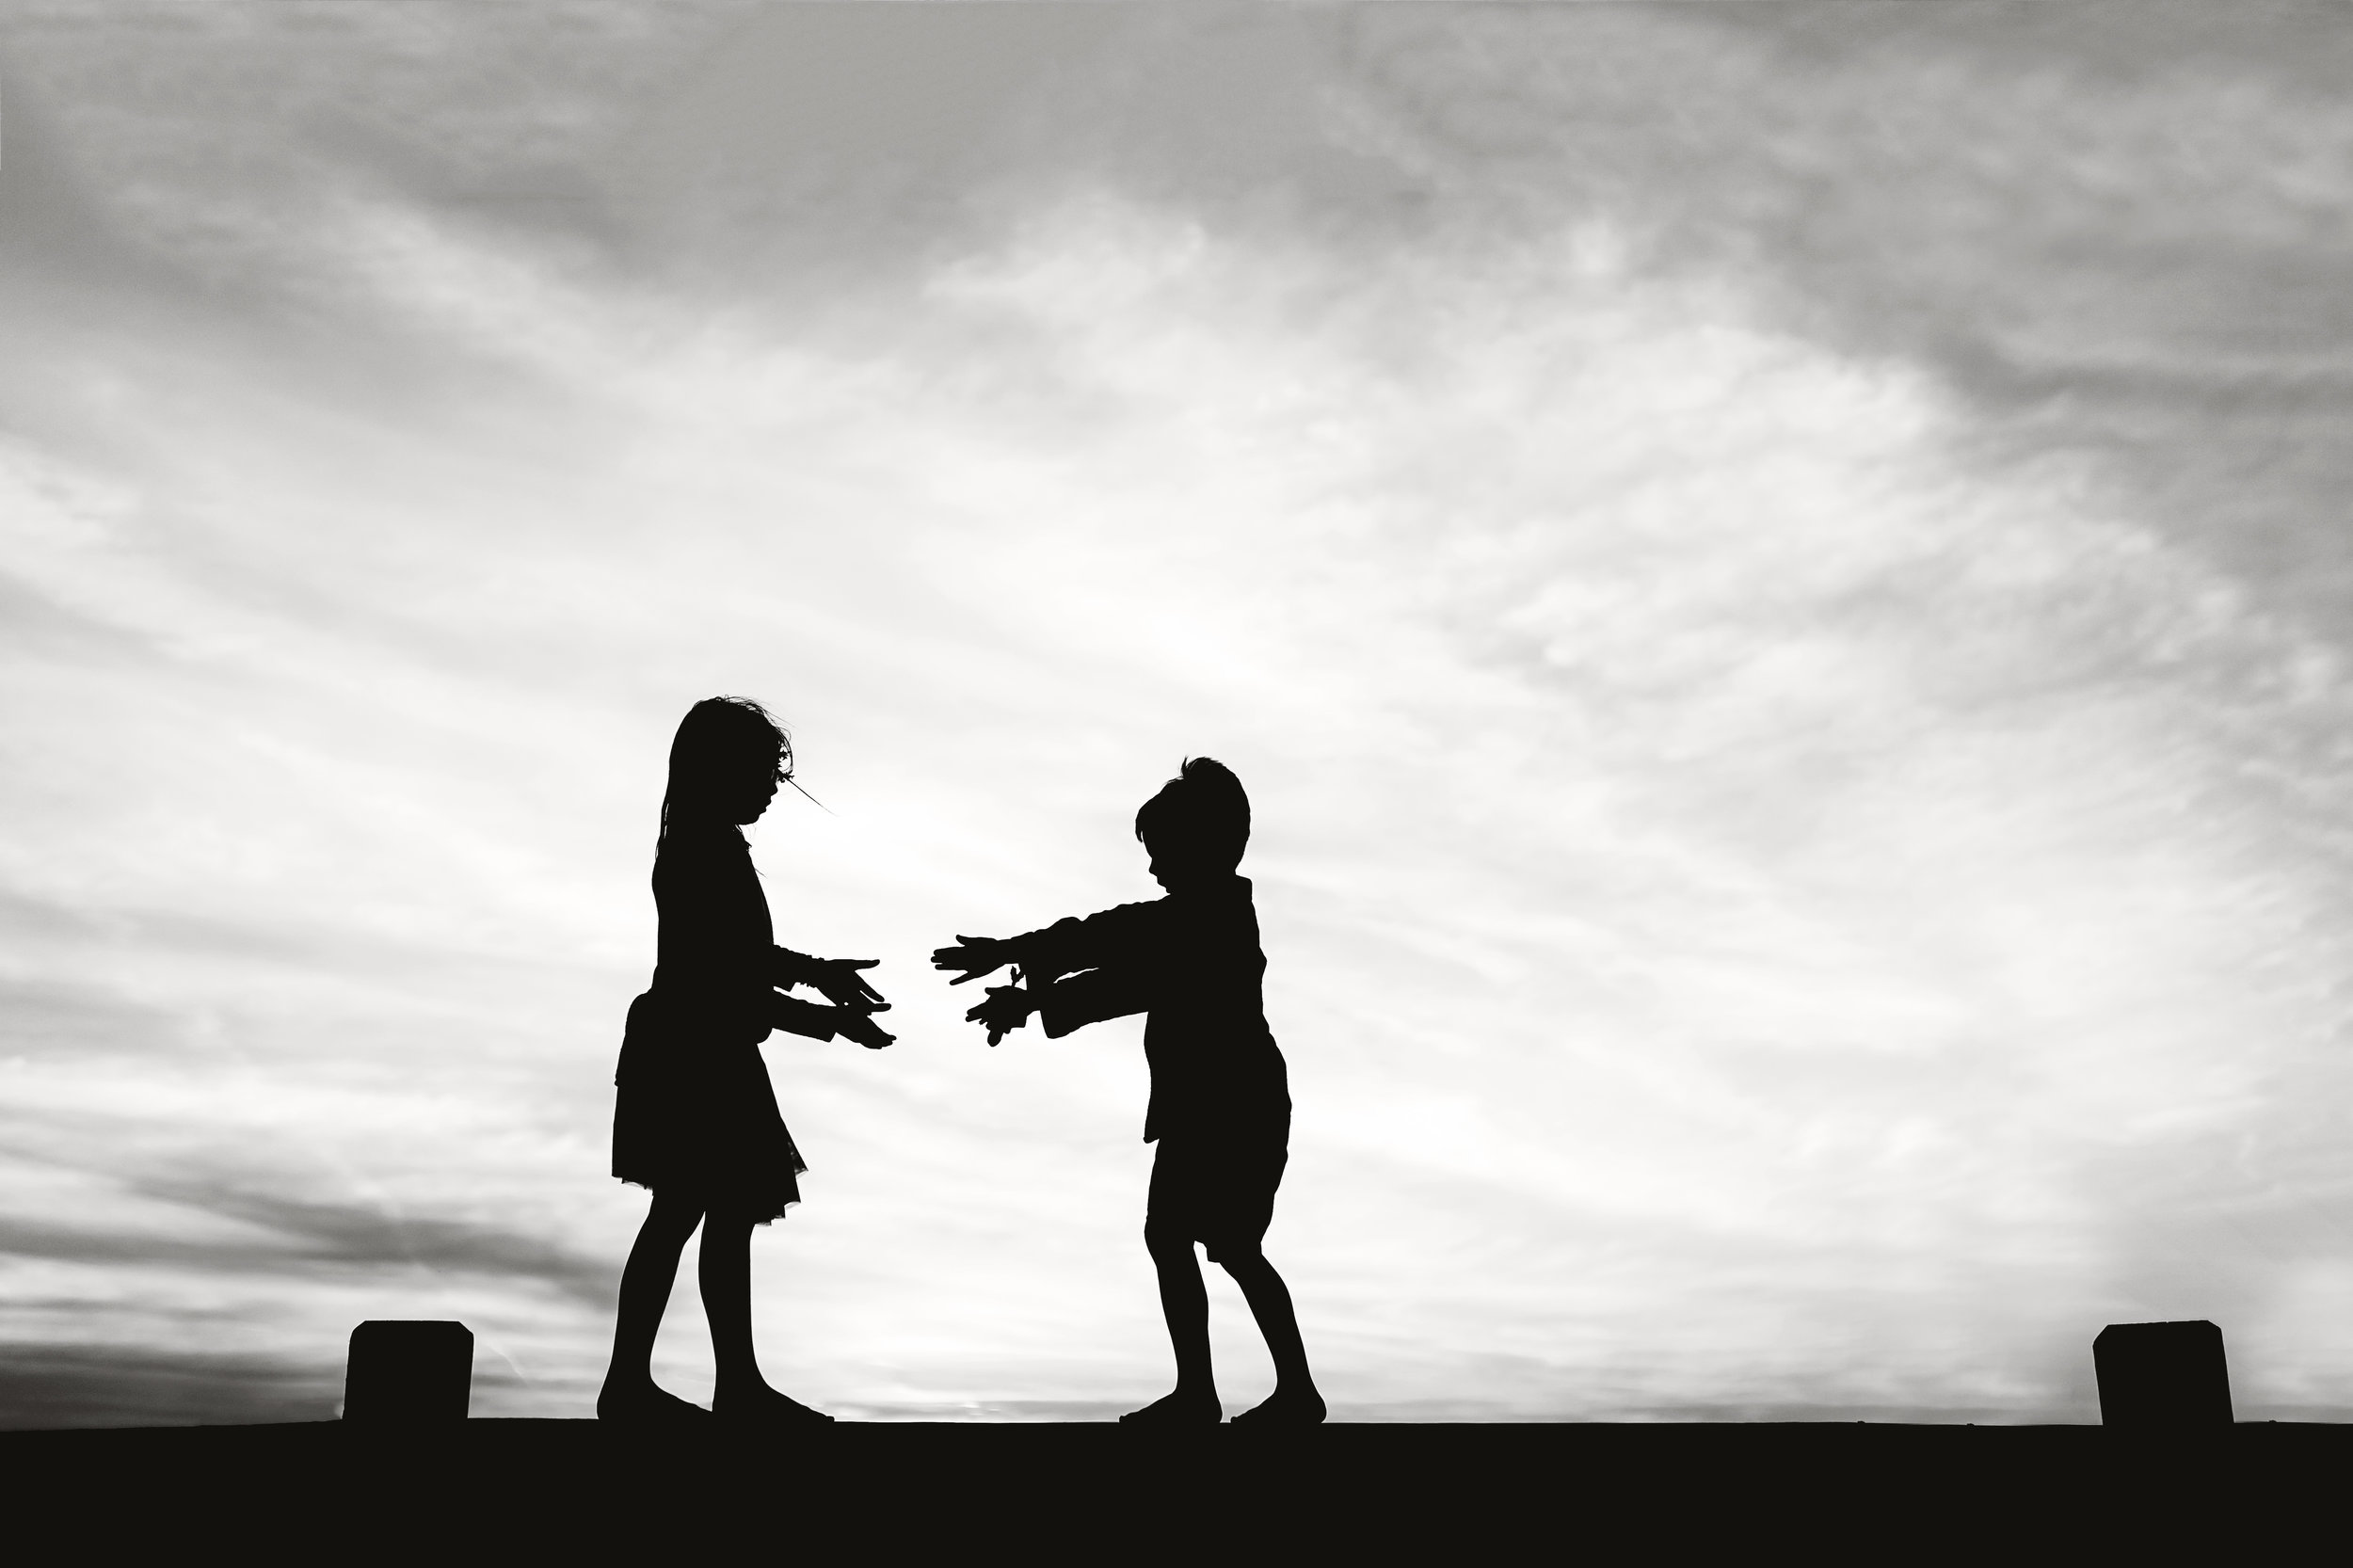
Patterns, lines, shapes and textures are more visible and apparent when they are black and white because your eye doesn't have to visually process the color in an image. To see lines, shapes and patterns, there needs to be a distinct separate from your subject/object and the background. Repeating patterns, silhouettes, framed subjects and more can make for very interesting black and white images!
3 reasons to start a personal photography project
When is the last time you shot JUST for YOU? When is the last time you started a personal photography project and pushed yourself? Personal photography projects are an amazing way to spark your own personal creativity and to get you excited about your favorite hobby. If you're looking for a little creative push, a photography project is the way to go! Here are my three reasons for staring a personal photography project!!
1. It can help inspire you when you feel like all inspiration is lost
Whether you are a hobbyist photographer or a paid photographer who takes clients, it's likely you've found yourself uninspired a time or two. I'm pretty sure that's the nature of any creative hobby, especially photography. It's easy to get in a rut or feel completely lost in your own work. It easy to look at other people's work and compare what you are doing with what they are doing and start second-guessing yourself. Comparison really is the thief of all joy and it can definitely suck the life out a passion. When I find myself stuck in a rut or just feeling completely BLAH about my work and what I'm shooting, I always make myself start a photography project. Sometimes they are BIG year-long projects (like my project 365) and other times they are shorter, more "challenges" to myself (like learning film photography). And big or small doesn't matter. Starting a personal photography project JUST FOR YOU is bound to spark some kind of creativity!
2. It can challenge you to learn something new
I have said all along that my favorite part of photography is the never-ending learning options. There are SO many areas to explore, learn and develop. It might seem scary at first to step out of your comfort zone, but just like with most things in life, as soon as you give it a go and get your feet wet, you start learning and the potential is endless.
This summer, I'm challenging myself to learn film photography. I've always had a passion for film and dark rooms and I am diving head first into the learning process. It's totally scary and I seriously only about 1 of every 20 words I read about film, but I'm determined to stick with it. Every day I learn something new and it's pretty awesome.
Think about what you might want to learn and give it a go! Maybe it's film! Or maybe it's underwater photography! Whatever it is, grab hold and don't let go!
3. It will make you fall in love with photography again
This sounds so silly, I know.... But I promise you, a photography project will make you fall in love with some aspect of photography again. It may not be "ground-breaking head-over-heels" but if you stick with a personal photography project and continue to challenge yourself, you WILL grow as a photographer and you WILL fall back in love with the process. There is not one project I've ever started that hasn't changed me in some ways. Sometimes it's something little......like it makes me appreciate our everyday so much more.... And sometimes it's something BIG.... like it makes me want to photograph ALL the people ALL the time. Either way it's a win-win. A personal project JUST FOR YOU is bound to spark your creativity and get you excited for this art again!
5 tips for better bokeh
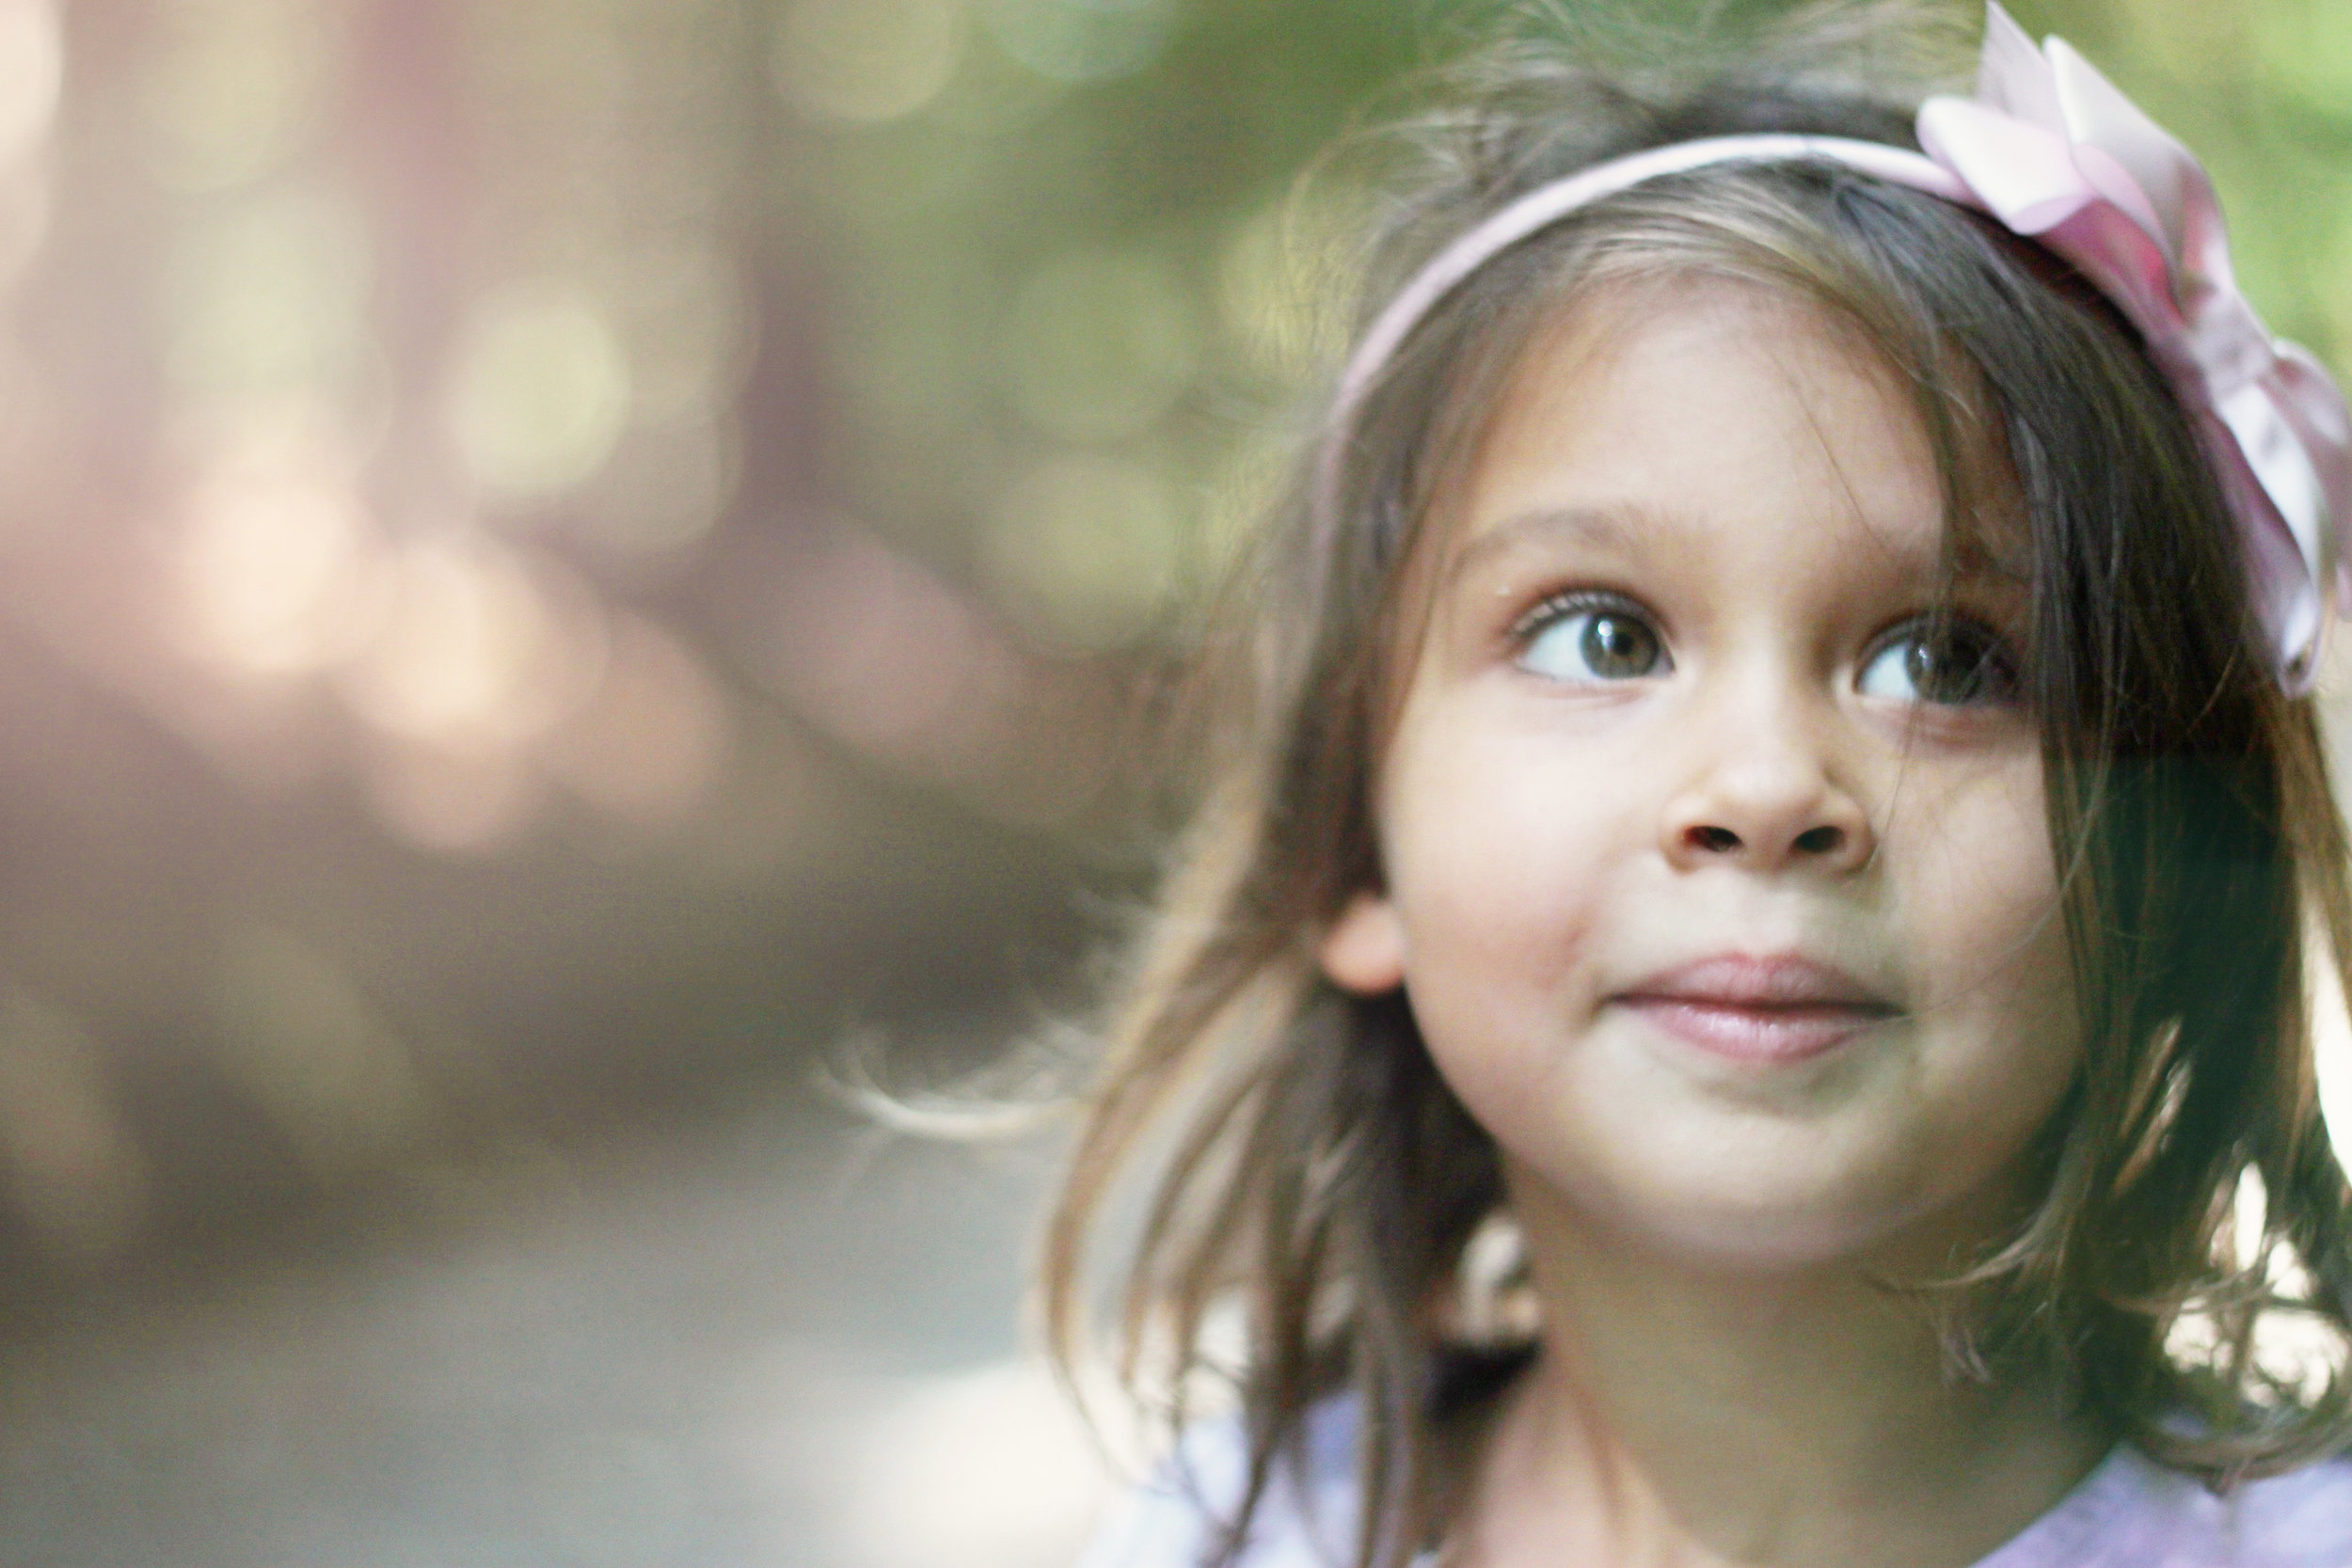
If you love shooting at golden hour, you probably love bokeh. Bokeh typically occurs when you combine light with the out-of-focus parts of an image (it can also occur without light, but today we'll chat about bokeh as a result of light + out-of-focus points).
To achieve that dreamy, beautiful bokeh there are a few tips to keep in mind when shooting!
1. Filter your light source.
By using trees, bushes or taller objects to filter the sun, you will be creating "holes" where the sun can peek through to create beautiful bokeh. I love the way the light looks filtered through trees and am always mindful about where I place my subjects when shooting.
2. Separate your subject from your light source.
Instead of sticking your subject right up against the tree line (or whatever background you are shooting against), try having them stand away from the background. The more distance that is between your subject and the background, the more depth and bokeh you will achieve.
3. Shoot with a wide open aperture.
Shooting wide open (f1.8, f2.0, f2.8) will create a shallower depth of field and will help separate your subject from the background and will help create beautiful bokeh. I tend to always shoot wide open anyway because I love the compression and creaminess of a wide open aperture.
4. Use a longer focal length lens.
A longer focal length will create a more distinct bokeh. My go-to lenses are my Canon 35 L II and my Canon 135L. Both create beautiful bokeh, but the 135 creates the most beautiful bokeh ever because it is a longer focal length and has a greater compression rate. The two images below show the different between the bokeh on the 35mm and 135mm. The image on the left was shot with my 35mm and the image on the right was shot with my 135. As you can see, the 135 does have more haze when shot in backlighting, but the bokeh can't be beat!
5. Look for unusual bokeh.
Keep your eyes open for light that could create beautiful bokeh. Street lights, strands of lights, christmas tree lights and other light sources can also create bokeh when you separate your subject from that light source. If you are shooting this light source alone (meaning without a subject in your frame), just switch your lens to manual focus and twist your aperture ring until you achieve a bokeh you like!
Do you love bokeh too?? It's so dreamy and beautiful and makes for such a pretty element in your images!
10 tips to improve your photography
You have this fancy camera and maybe a lens or two, but still feel like you're struggling to get the images that make your heart burst with happiness. Sound familiar? I can totally relate. I remember feeling that EXACT SAME WAY when I first got my Canon Rebel many years ago. I knew what I wanted my images to look like, but seriously had no clue how to get there. I felt lost and confused and frustrated. All I really wanted was someone to come and teach me everything I needed to know. I took a photography class (which was an epic fail) and felt even more lost. Then I started at the basics and tried to learn everything I could about photography to improve my skills. If you're feeling stuck or lost, then these 10 tips are for you!! Make a list of which ones you might need to work on and then dive head first into that list! I promise you will continue to get better and better everyday!
1. Learn how to shoot in manual mode.
It might sound crazy and scary, but shooting in manual mode is going to take your photography to the next level. Manual mode gives YOU the control over your image instead of your camera and I promise you manual mode is where it's at. If you've never moved out of Auto, no worries at all! I recommend starting in aperture mode with the intention to learn how your camera works and then move over to manual mode once you have the hang of aperture mode and how it changes your camera settings.
Check out this blog post to see HOW to make the switch to manual mode!
2. Know how you camera works.
This goes right along with manual mode and knowing HOW your camera works is going to be key to improving your photography. Grab a cup of coffee, your camera + your camera's manual and spend the day getting to know your camera. Read about the different functions of your camera and how they work. The manual does an AWESOME job of explaining what the various functions are, how to change them and what they can do for your images!!
Important functions to learn: white balance, focusing modes, metering modes.
3. Know the exposure triangle.
Part of shooting in manual mode is knowing what aperture, shutter speed and ISO are and how to make them work for your images. Having full control of these settings is going to let you create your images the way you visualize them!
4. Study your favorite images + images from your favorite artists.
I mentioned this yesterday when we chatted about "finding your style" and it I think it totally applies here. Having artists and people who inspire you are so important. By studying their work and dissecting what you love most about their art, you will begin to hone in on what style you like. I definitely AM NOT suggesting you copy another person's work or try to recreate a shot EXACTLY as they created it. That's no fun. Instead, look at the elements of their work (like lighting, composition, framing, lines, etc...) and let those INSPIRE you.
5. Learn your editing programs.
I'm sure many of you have Lightroom and/or Photoshop but are too scared to even up the programs up! There really is nothing scary about these applications and figuring out WHAT they can do for you will be life changing. Since I shoot only in RAW, I am able to tweak my images in Lightroom and Photoshop to bring back details, etc... These editing tools are there to help you can definitely help give your work that "pop" you might be looking for. Take a little while to play around in the programs and see what the different tools do. I always recommend just pulling up a photo and playing around without the intention of a finished piece you will post on Instagram or Facebook. Use this time to learn, play, tweak.
(I have a ton of Lightroom and Photoshop tutorials over on my Tutorials page.)
6. Take your camera everywhere.
Stick your camera in your purse or bag and take it everywhere you go. Pull it out in grocery stores and libraries and playgrounds and parks. Experiment with different lighting situations and angles. Again, use this time to play around and learn your camera; not necessarily to end up with an amazing photo. Click, click, click and then delete, delete, delete. The only way to learn and improve is to practice....
7. Practice, practice + then practice some more.
Yep! That brings up to practice. Shooting and practicing are SO important. NO ONE picks up a camera on day 1 and is a pro. I promise you. It takes time, energy and effort to learn your camera, your style and how you want to create your images! Practicing will not only help you figure out the different modes and functions of your camera, but it will inspire you keep practicing. If there's one aspect you love (like backlit images), then spend a week shooting in backlighting. Shoot, shoot, shoot and keep on shooting. The more you practice, the better your photography will get!
8. Take a photography class.
There are SO many classes out there that cover everything photography related. From beginner classes to advanced creative classes, you will be able to find anything you are looking for. Pick an area you are interested in and dive right in! I always recommend freeing your calendar and REALLY giving a class your 100% attention (or as much attention as you possibly can). Online classes are amazing and you really do get out what you put in. If you download a class and let it sit on your desktop without even opening it, you probably aren't going to be inspired or take away very much. BUT - if you put in the effort, shoot everyday (as typically recommended) and connect with teachers/students, I promise it will be an amazing experience.
9. Don't be afraid to step out of your comfort zone.
Thinking outside the box and trying something new has helped me improve my photography in so many ways. It took me a while to figure out that my shooting style and creative style is different from many others. It took me a while to stop comparing my "beautiful" to someone else's beautiful. Every photographer is on a different journey and no two photographers started at the exact same time and studied the same material. Use your practice time to do something that scares you and it will only make you stronger!
10. Learn from your mistakes.
For every one image I post on my blog or Instagram, there are AT LEAST 1000000 bad images to go along with that. I obviously don't post those bad images anywhere, but I can guarantee you that almost everyone who shoots consistently creates work that they just don't love. I don't love every shot I take. More than 90% of the time, the shot doesn't come out how I envisioned it or either my subjects weren't willing to cooperative. That's ok. Everyone makes mistakes and has bad shots. Everyone overexposes and misses focus and runs out of SD card space. It happens. Learn from these mistakes and then MOVE on.
And there ya go! 10 tips to take your photography to the next level! Thanks so much for stopping by and I hope I've inspired you to try something new!!
3 tips for finding your style
I get asked often how I "found my style". To be honest, this question kind of stumps me a lot. Half the time I feel like I'm all over the place and my images aren't cohesive. Anyone who asks, I am always quick to say that I don't feel like I have a style, per say, but they promise me that my style is unique and identifiable. I don't think there is a simple answer to this question of "how to find your style". But while I feel that my style is constantly evolving, there are some things you can do to try to "hone" in on what you like best and what direction you might want to go,
1. Take a look through your photos
Spend one evening scrolling back through your photos. Not those everyday iPhone photos or selfies (unless those are your fave and you love that style), but maybe a collection of photos from your past few years....your instagram feed, blog posts, printed photos, photo books, gallery submissions, etc.... Look back through those photos and create two folders on your desktop. Label one "Love" and the other "Like". As you look through your images, the photos that jump right out at you and just feel "right" - copy and paste them to the "Love" folder. Ones that you catch your eye, but don't give you those warm-fuzzies - copy and paste those to the "Like" folder. Ideally, you should keep doing this until you have a decent number of photos - maybe 50 or so - so you can scroll through these folders and analyze WHAT it is you love about each set. Once you have your set, take a look at your images and see if you can determine a common theme.
If I were to do that, my set would likely show images that were light + airy, were well composed and included a bit of negative space (for example). Light, negative space and composition all make my heart go pitter-patter, but it took me a while to figure that out. Maybe I always considered it mentally when I shot, but it wasn't until I sat down and looked back through my images to find my faves did I realize what I loved most. That being said, though....I have come to realize that NOT every image is going to be in backlighting or have a perfect composition. I strive for these elements when I'm shooting, but our everyday life doesn't always allow for that. There are so many "in between" moments that I love JUST as much and will definitely capture, even though they may not be in perfect lighting or have the perfect composition. Finding your style isn't about "perfection". It's finding what speaks to your creative heart and then running with it.
2. Stop comparing your "beautiful" to someone else's "beautiful".
This should be made into a poster and distributed to every person who creates an Instagram or Facebook account. My "beautiful" will be different from yours. My life is different from yours. How I look at our life through the lens will likely be different from how you look at your life. That's totally ok. The worst way to "ruin" your passion is to compare your work to other people's work. Photography is an ART. Like painting. Or writing. Or drawing. There may be technical aspects that are similar, but the end result will almost ALWAYS be different. Remember that and don't compare your beautiful to someone else's beautiful.
Instead of comparing, analyze your favorite artist's work. What is it about that person's work that you absolutely love? Is the light, use of color, composition, lines? See if you can pinpoint WHAT your favorite aspects are and then look back through your folders from above and see if you have those same elements identified. It's likely you do!!
Another HUGE thing to remember here is that people typically choose to post those "beautiful" aspects of their life. I don't post selfies. Ever. I might add them to my Instagram stories, but they never make it to my Instagram feed. I take them with my kids all the time, but those photos (while I save and print every single one because I think they are important and tell our story), don't speak to me on a creative level. My Instagram feed is curated of my very favorite photos. Photos I love. Photos that make me smile. Photos that typically have those elements that define my "style". You don't have to apologize for being selective with what you post!! It's your feed and you can make it whatever you want!
3. Explore and experiment.
As I mentioned above, I still struggle with whether or not I even have a recognizable style. I think the biggest reason I continue to struggle is because I am always trying to improve my skills and learn as much as I can about this art. I truly don't want to be "stuck" to a style. I have elements that I love, but I am always growing as an artist and hope to never stop. I don't want the pressure of feeling like every image HAS to be perfectly composed. Or every image I post HAS to be taken in backlight. In my photographic dreams that would be awesome, but it isn't realistic. I love trying out new lighting and compositions and techniques and I really love getting creative with my lenses and attempting manual focus, free lensing, prisms and more. By experimenting and thinking outside of my creative box, I continue to push myself creatively and that's what I love most about this hobby!
So that's my "finding your style" soap box. I think it's good to try to identify what you're passionate about and what makes your creative heart tick. Knowing what inspires you will continue to push yourself to be better and better at this art!
3 things to know when capturing details
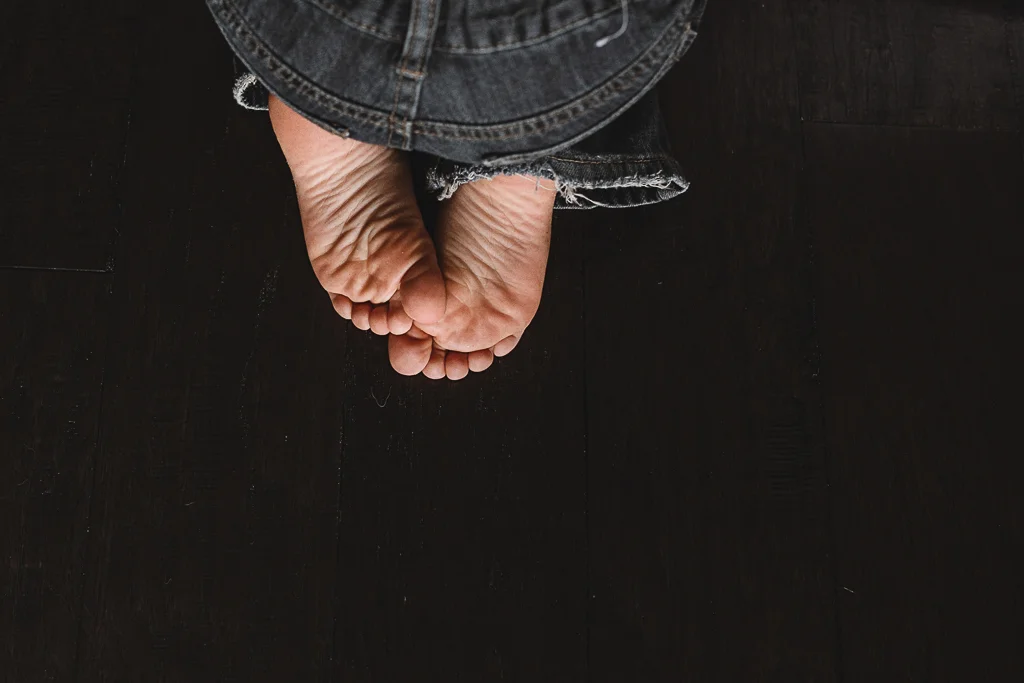
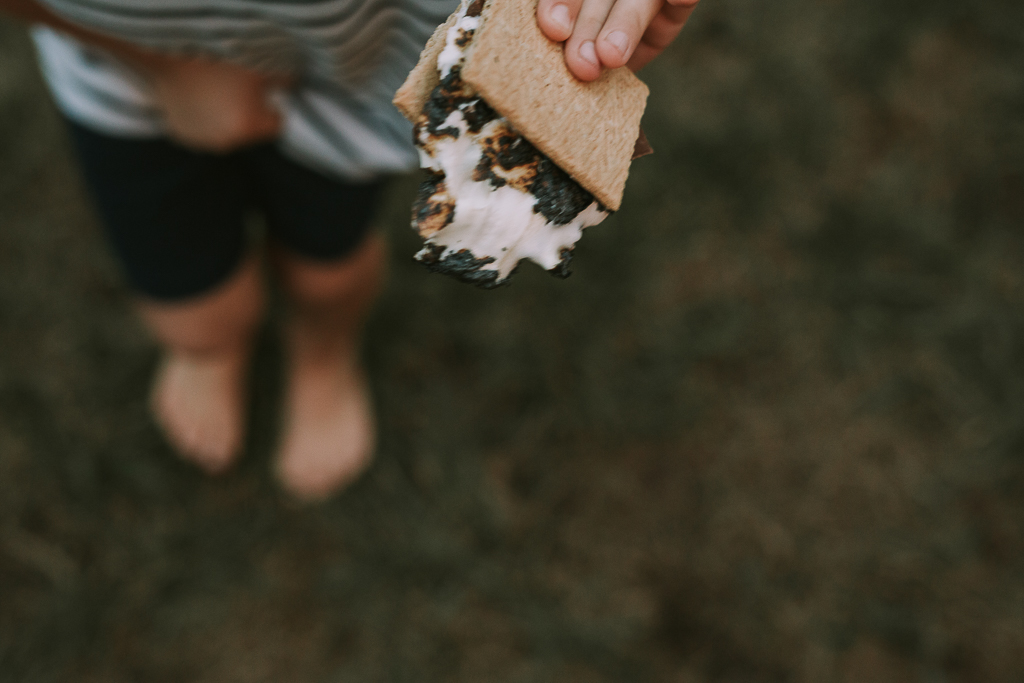
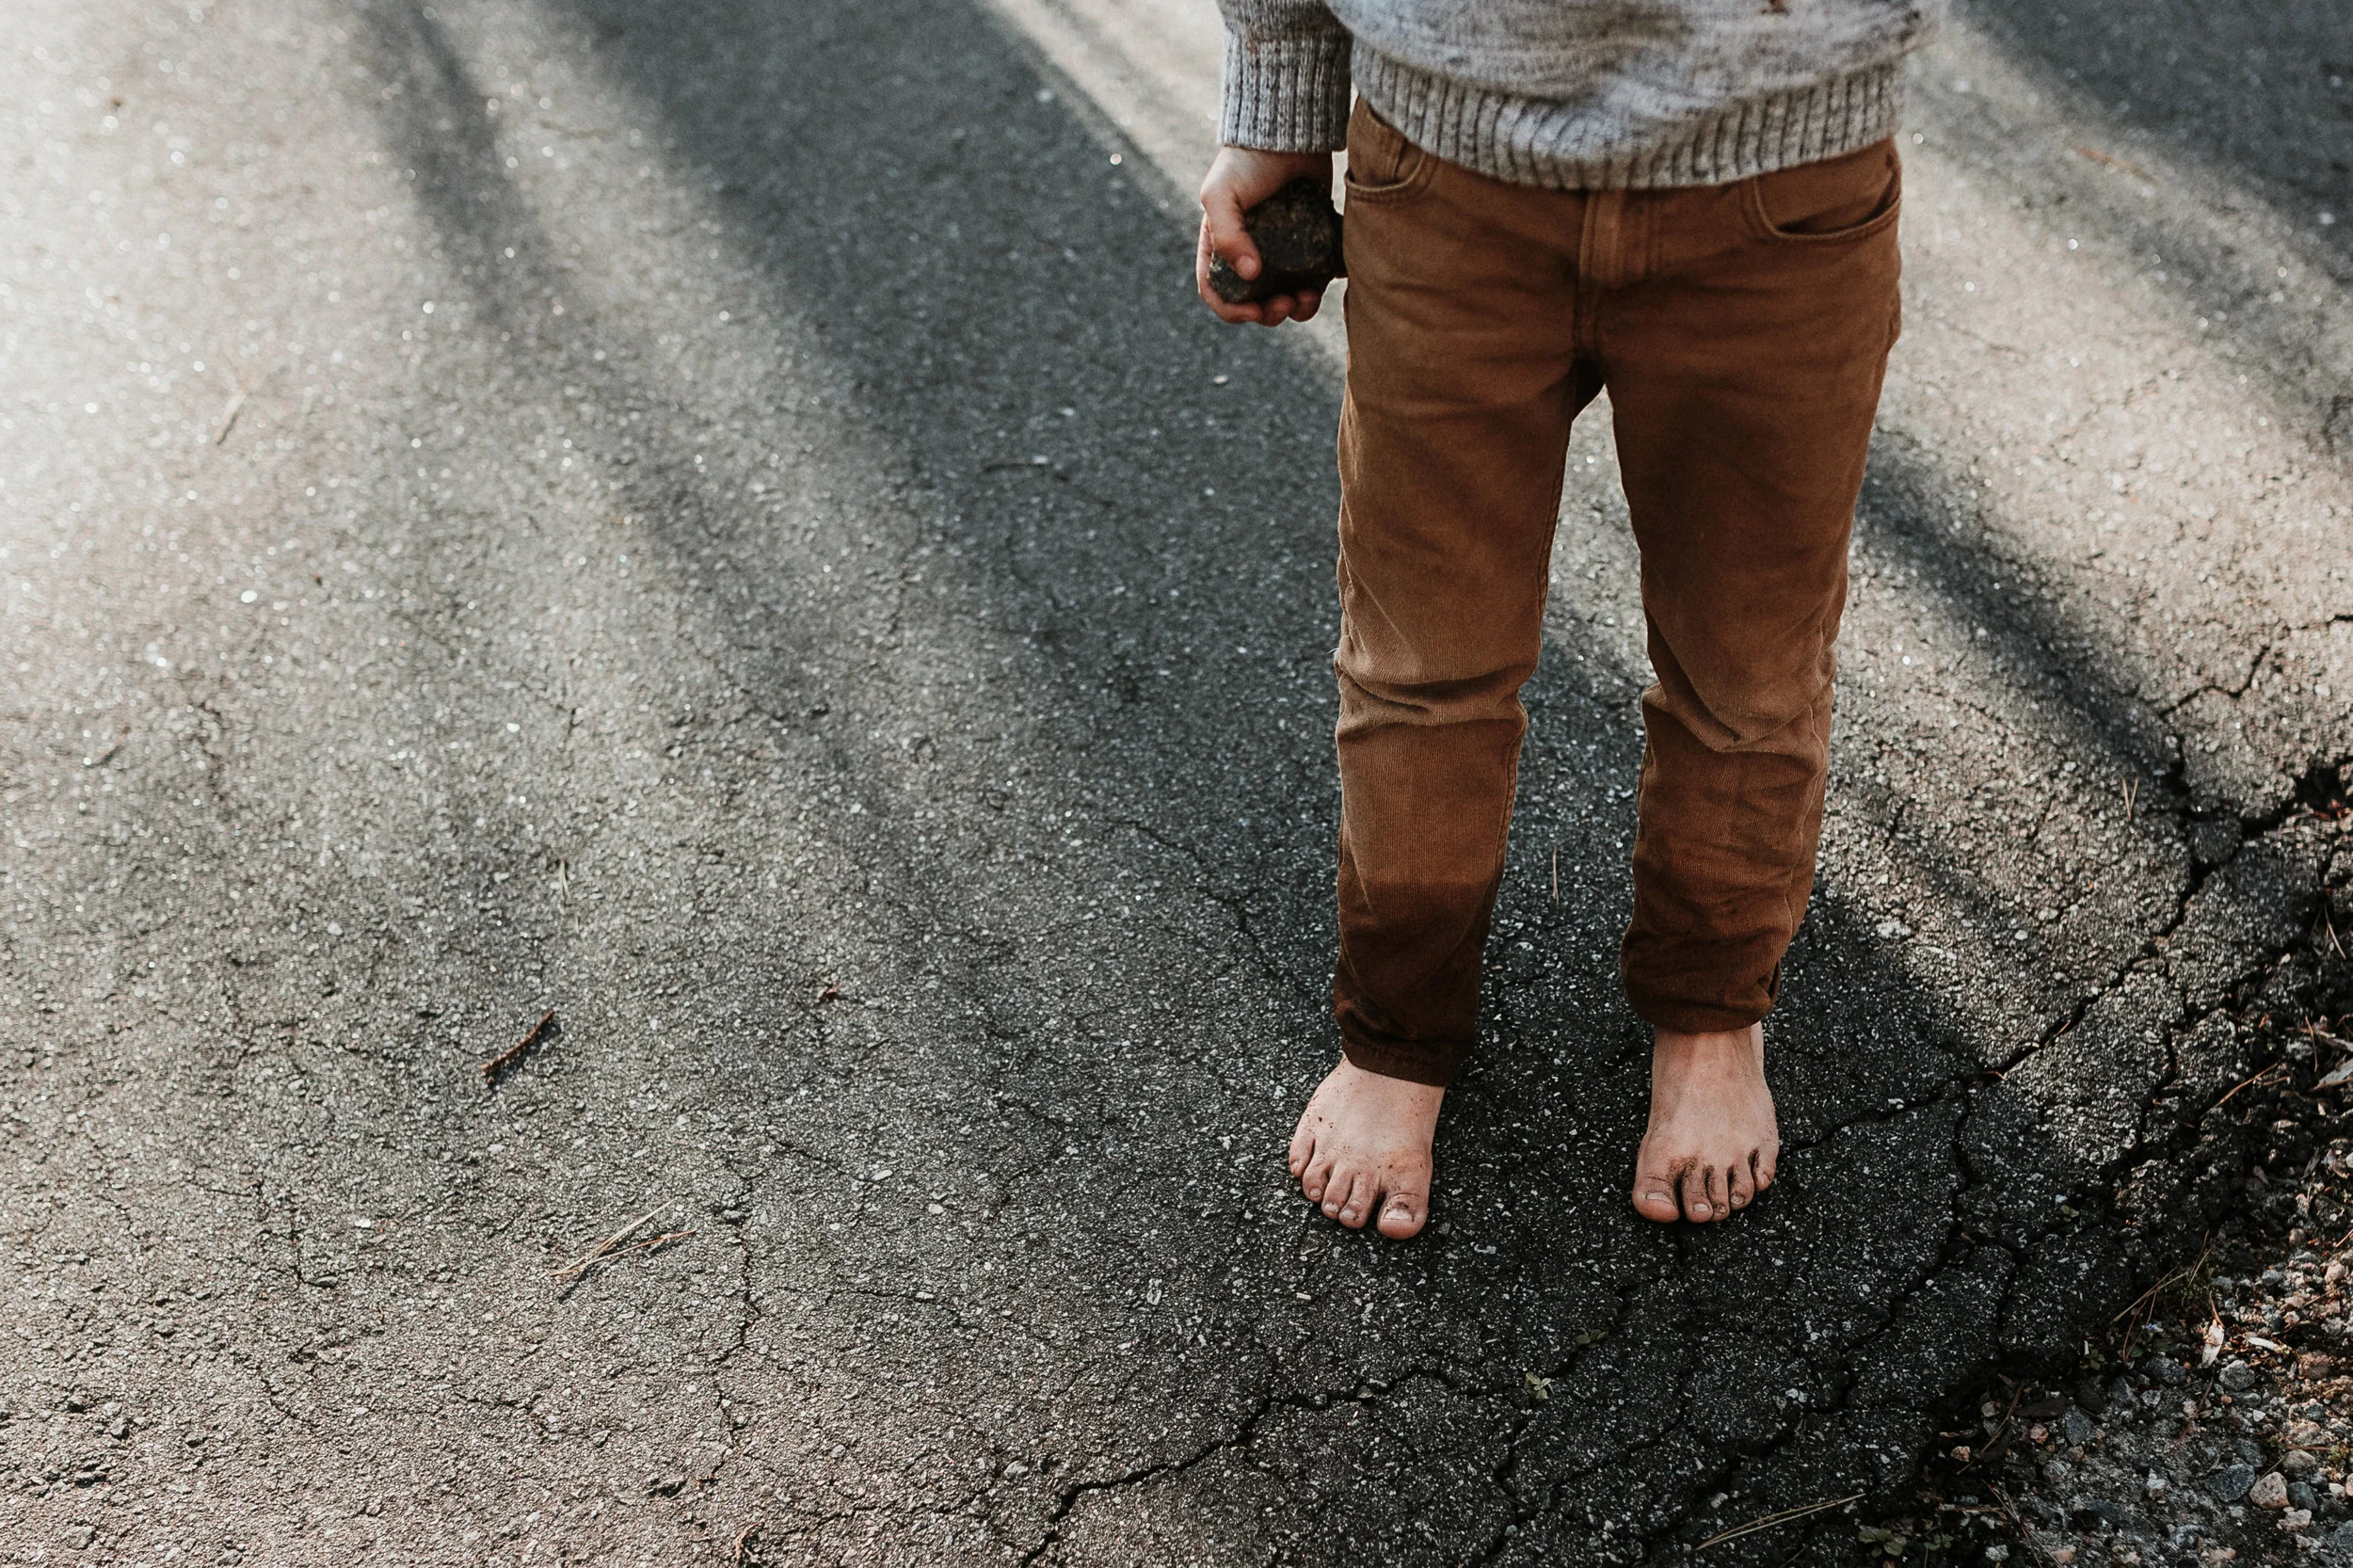
When I look at a photograph, the first thing that typically draws me in is the details. I feel like they tell the biggest story and I'm always attempting to capture these storytelling details in both my personal and professional work. To me, things like feet, hands, toys, hair, lips, etc... tell SUCH a big story. They tell the "here + now" and these things are so easily replaced by other (or bigger things) over time.
When you're capturing details, there's a few things to keep in mind!
1. Get close!
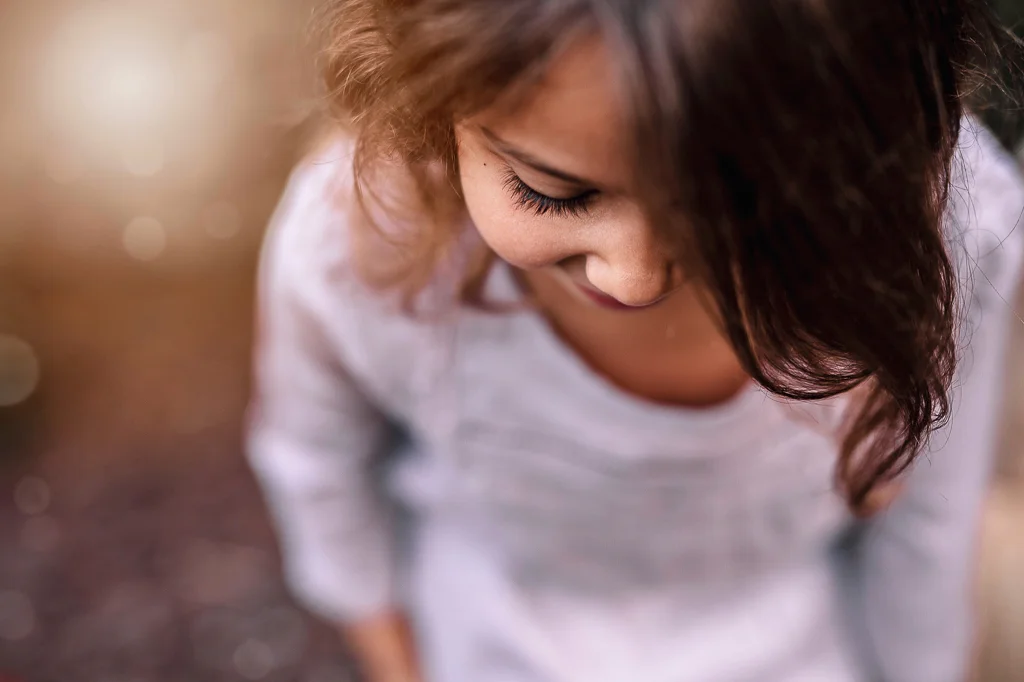
A landscape shot is just not going to give the viewer the same "feel" as a close up shot will. If you are shooting a specific detail, then hone in on it with your camera and click away. Be sure to keep your aperture in mind when shooting details to ensure the detail you want captured is in focus. For the shot above, I wanted to focus on the little flowers my daughter was giving me, while keeping the rest of the image out of focus. By using a wide open aperture (f 1.8), I was able to create quite a bit of depth in my image and make those details pop.
2. Change your perspective.
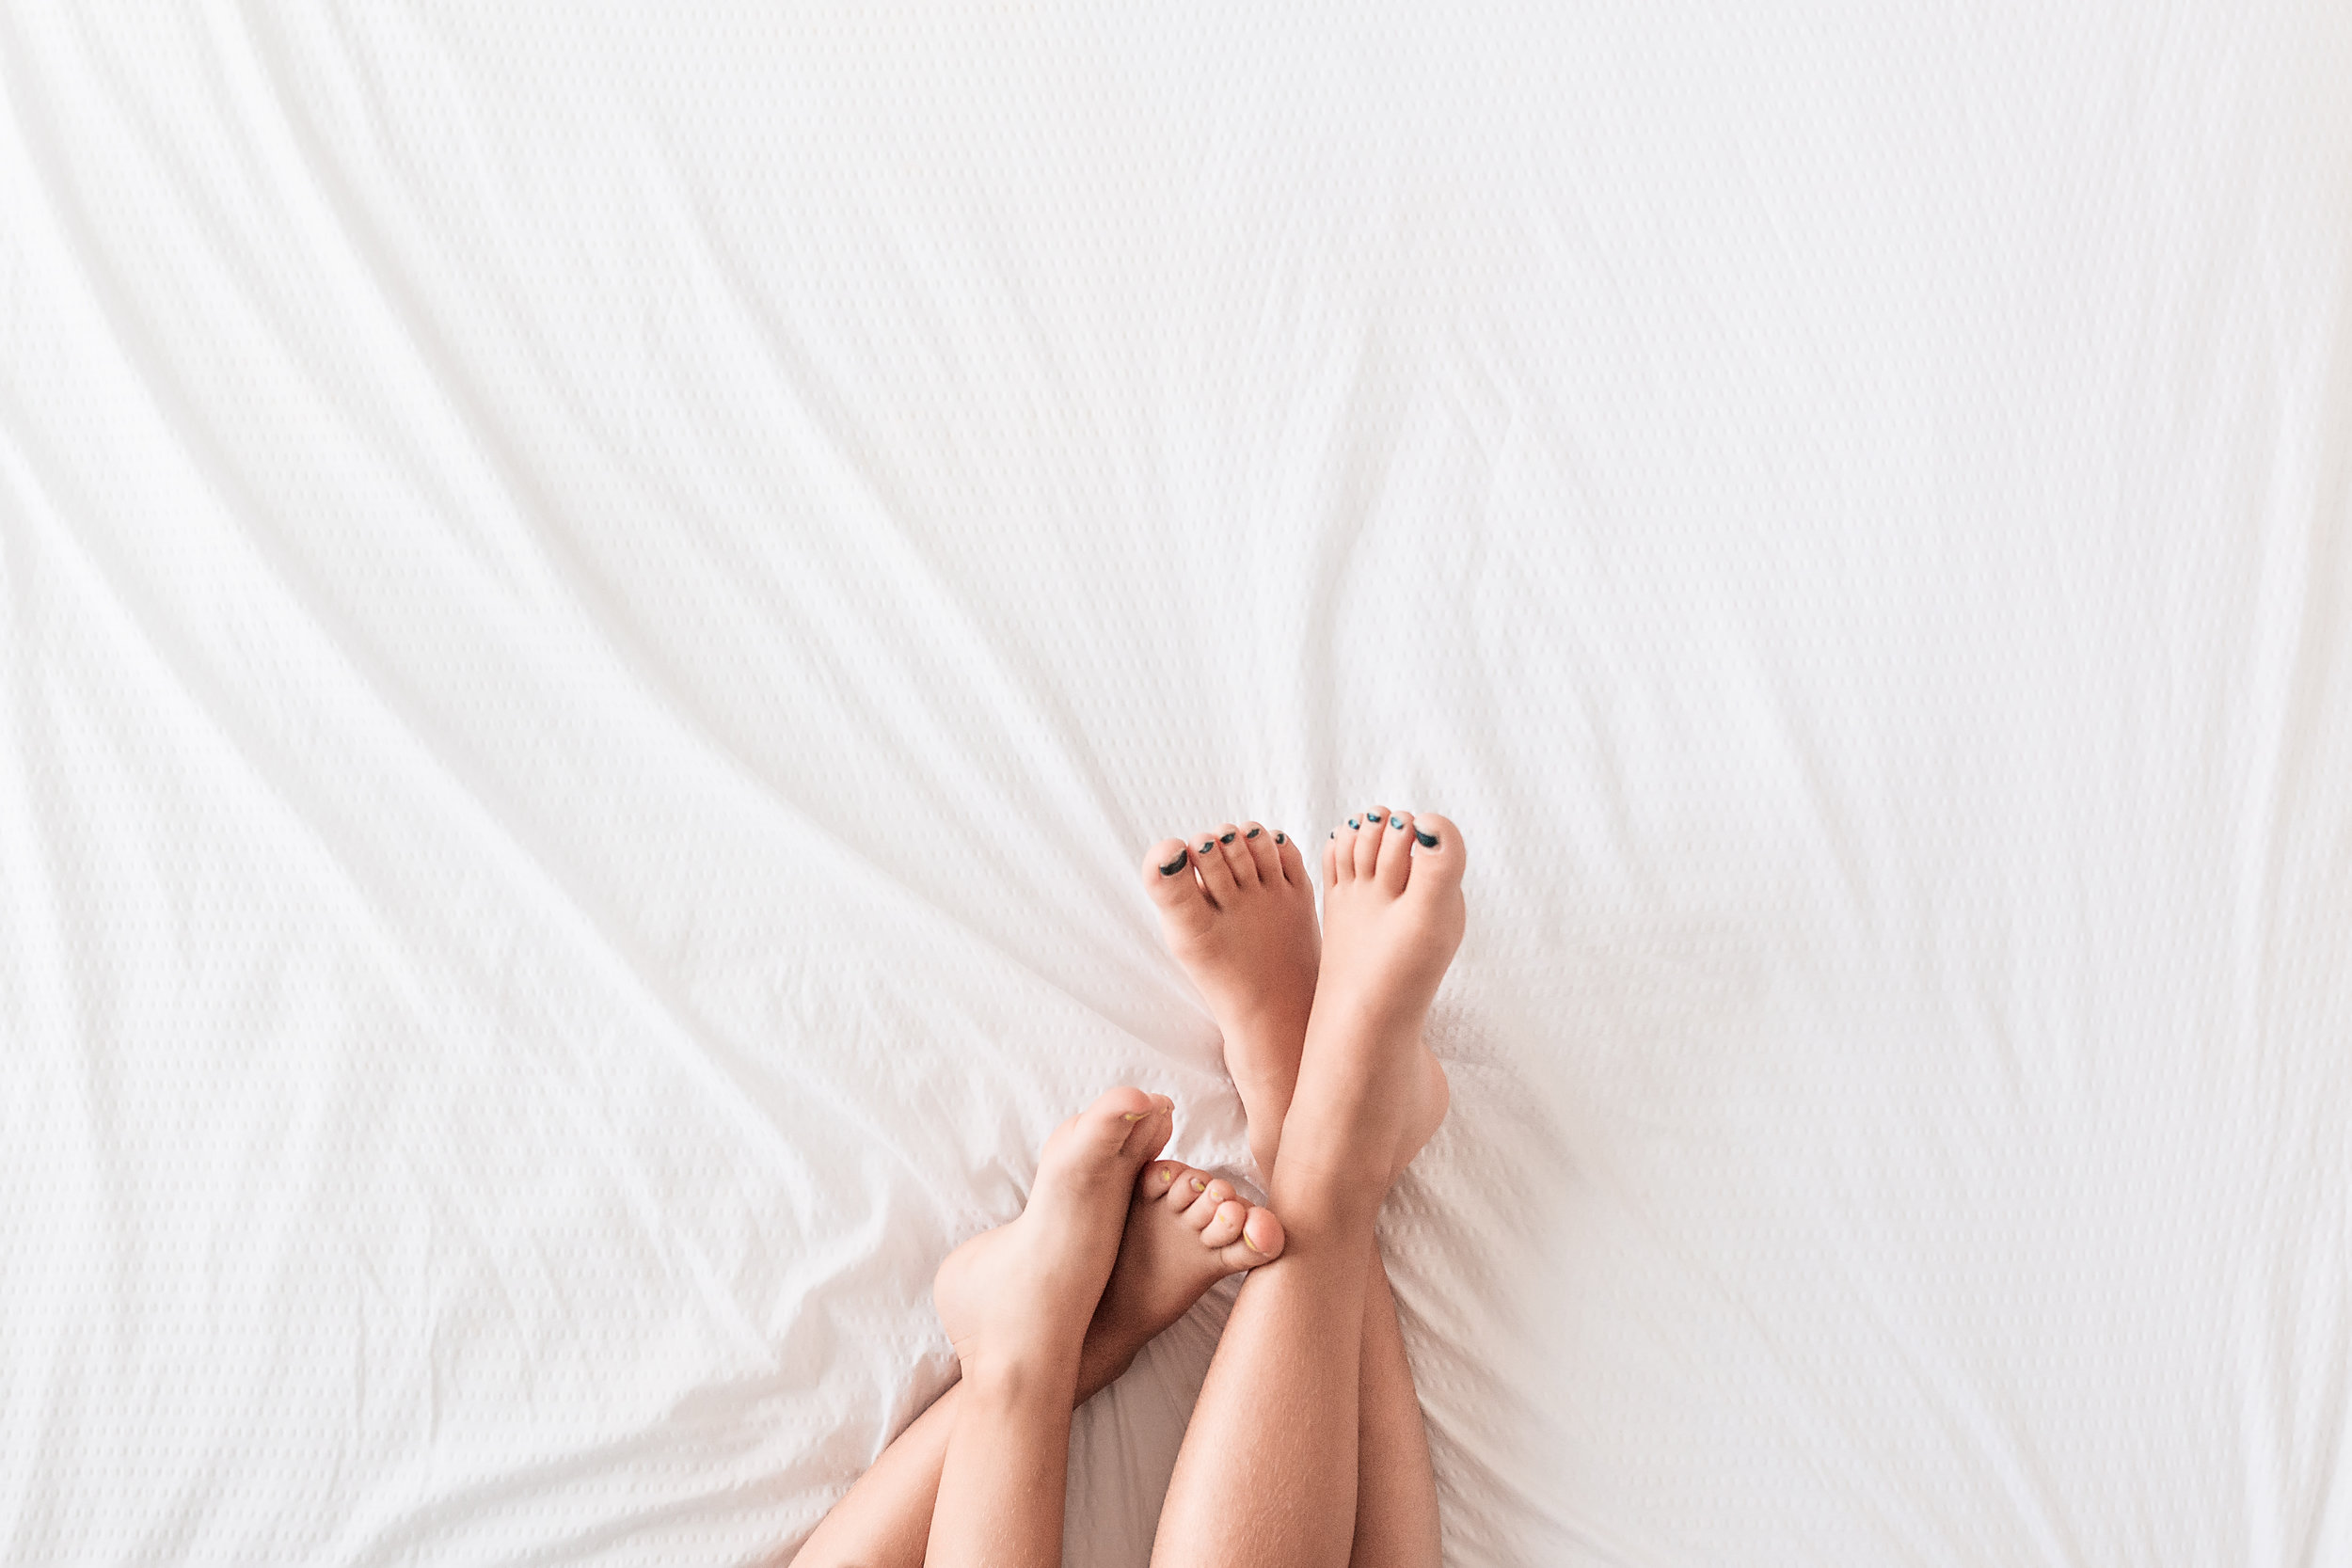
Changing the angle you shoot details will change the overall look and feel of your image. A scene shot straight on will look very different than from shooting looking down. I love to shoot looking down onto to my subject and scene and feel like I can capture so many more details from this perspective. Again, keep your aperture in mind when changing perspectives!
3. Get creative with your crops!
I LOVE to crop my photos. I do it all the time in both my personal and professional work to help focus in on a certain detail. Sometimes I will compose my image in camera creatively, and other times I will crop creatively in post-processing. Either way works and will give you a fun and different view point! A unique crop makes for even more emphasis on the detail at hand because it visually draws the viewers attention to a certain aspect of the image!
It's all in the details!! Keep these tips in mind the next time your capturing a certain scene and see if you can creatively photograph those small details!
5 ideas for a summer photography project
Raise your hand if you're excited about summer! We are seriously counting down the minutes over in at our house. My kids have already had field day at school and don't really have any more "real" school work this year. It's all just fun and games and I am SO ready to have them home with me!!
Summer is a great time to start a new photography project. You're home (or traveling to fun places), and you usually have your camera in tow anyway! Summer (for me at least) is also an inspiring time to try something new or push yourself creatively!! Here are 5 ideas for a fun summer project!
1. Give underwater photography a try.
If you're in the pool most of the day, you might as well give underwater photography a try! It can be tricky, but it is oh so fun. I use my older GoPro for all of our underwater photos and have been really happy with them! The biggest tip I can give you is to make sure there is lots of light and that you are relatively close to your subject. The more water between you and your subject, the harder it will be to grab focus and get a clear image.
2. Capture a vacation (or a day of your summer).
Planning a fun vacation this summer? Pack your camera along and document a day of your vacation (or just a day of your summer). I always have THE best intentions of lugging my camera around and snapping all kinds of photos, but honestly, when it comes down to it, I just don't feel like toting my big camera around every single day. I usually make it a point to bring out my camera ONE (or maybe two) days during our vacation and snap away on those days! It's a great way to have a snapshot of your vacation while still enjoying the remaining days!
3. Document your summer with a color photo challenge.
Colors are so vibrant and bright during the summer! Challenge yourself to capture a particular color for every day of the week. The kids and I did this a few years ago (they used an Instax camera so they could immediately see their images) and it was tons of fun.
4. Participate in a summer photo prompt challenge.
There are tons of summer prompt challenges out there and they can definitely keep you inspired and motivated throughout those long summer days. Design Aglow is hosting a challenge this summer that looks like loads of fun. Once you sign up, they will send you weekly prompts + inspirational emails to keep you inspired all summer long!
5. Try something new.
I always look at summer as a time to try something new. Summer is only 2-3 months (depending on when you start back school), and it's the perfect amount of time to challenge yourself to try something new. If you hate it, well, the summer will be over in no time. And if you love it, well...that's just a bonus!
Maybe you've been wanting to experiment with a certain lens, or maybe you're intrigued by prisms and copper pipes....now is the perfect time to try those out! For me, I am dusting off my film cameras and am going to shoot film this entire summer. I've dabbled with film here and there before, but have never been brave enough to really give it a go. My plan is to shoot primarily film over the summer months, as well as document ONE day of each month with a roll of film! It's going to be so fun!!
So what's your summer plan? Are you looking for a summer photography project??
The Secret Plug In for Lightroom Presets
I love Lightroom and all the options when it comes to editing and tweaking my images. I also love presets, but often find myself doing crazy tweaks and edits to almost every single preset I own. Rarely do I use a preset as one click. I don't think they are really set up to be a "one click" every time and I'm totally ok with that. Every once in a while I will strike gold and have a one click preset change, but it's pretty rare.
For my professional and client work, I only hand edit and usually start with ONE image from that set and will create my own preset to use on any similar images (typically in that same set). This process has saved me SO much time and energy when it comes to getting my client work edited and uploaded! With my personal work, I'm a little more creative when it comes to editing since I usually only edit 1-2 photos at a time, not 70-100. Editing only ONE image gives me the opportunity to play around, try out my favorite presets, hand edit or what not. There are tons of presets available and I have a few that are my "go-to" for starting (you can read more about my faves here), so I typically just play around and see what I like! And that's where this fun little "secret" called The Fader fits in! Now this is probably not a BIG secret, but it definitely took me a while to stumble upon the fun little Lightroom plug-in. The Fader is FREE (kinda - see below) and is a plug in slider tool that allows you to apply a preset at either a reduced opacity or an increased opacity (up to 150%). The reason I LOOOOOOVE this tool so much is because sometimes presets are just too strong for my style and tastes (and often kill my skin tones), but I still love so many other aspects of that certain preset (like the desaturated greens or the tone curve...). Using The Fader plug in lets me reduce the opacity of that plug in and then tweak any other things I think need adjusted!
*The Fader is technically FREE, meaning you can download and install it today, but it's set up to have a start delay (which becomes longer and longer each time you use the plug in). If you want to get rid of the delay, it's just $10, which I think is totally worth it.
For my professional and client work, I only hand edit and usually start with ONE image from that set and will create my own preset to use on any similar images (typically in that same set). This process has saved me SO much time and energy when it comes to getting my client work edited and uploaded! With my personal work, I'm a little more creative when it comes to editing since I usually only edit 1-2 photos at a time, not 70-100. Editing only ONE image gives me the opportunity to play around, try out my favorite presets, hand edit or what not. There are tons of presets available and I have a few that are my "go-to" for starting (you can read more about my faves here), so I typically just play around and see what I like! And that's where this fun little "secret" called The Fader fits in!
Now this is probably not a BIG secret, but it definitely took me a while to stumble upon the fun little Lightroom plug-in. The Fader is FREE (kinda - see below) and is a plug in slider tool that allows you to apply a preset at either a reduced opacity or an increased opacity (up to 150%). The reason I LOOOOOOVE this tool so much is because sometimes presets are just too strong for my style and tastes (and often kill my skin tones), but I still love so many other aspects of that certain preset (like the desaturated greens or the tone curve...). Using The Fader plug in lets me reduce the opacity of that plug in and then tweak any other things I think need adjusted!
*The Fader is technically FREE, meaning you can download and install it today, but it's set up to have a start delay (which becomes longer and longer each time you use the plug in). If you want to get rid of the delay, it's just $10, which I think is totally worth it.
Check out this quick 5-minute video below to see this fun little "secret" plug in at work!
The BEST secret ever, right?? Goodbye wacked-out skin tones! It's totally worth downloading the free version and playing around!!
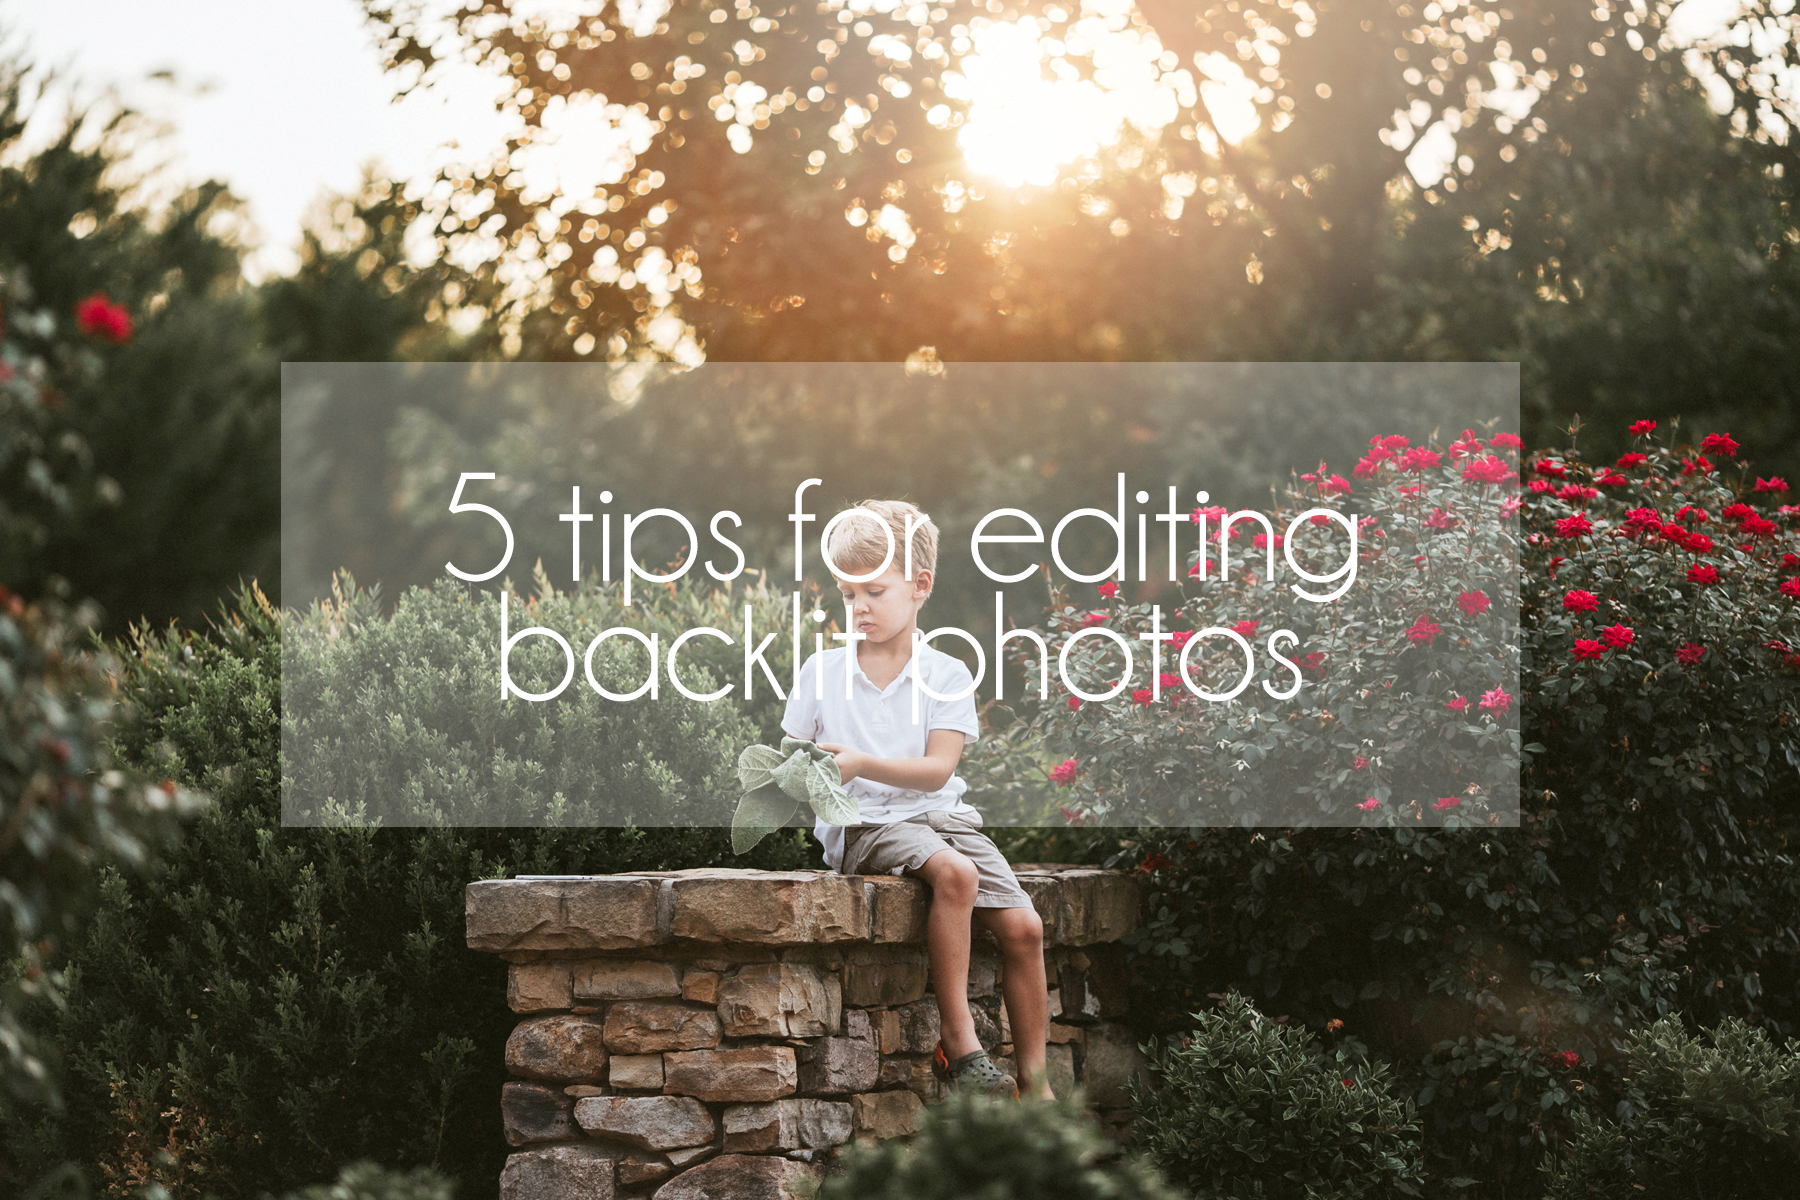
5 tips for editing backlit photos
Backlit images have SO much more light than just your typical side lit or front lit photo. This extra light (and often haze) makes for those dreamy, magical images, but often editing them seems to take more work and more tweaks. There are a few things I do to almost every backlit image to make them pop. While I adjust all of these same settings with a typical image, I find that I have to apply these effects slightly stronger than I normally would. Obviously, it all depends on the image at hand and what look you are going for, but here are the things I typically do to ever backlit image!
1. Adjust temperature.
Even though I shoot in Kelvin, I find myself always warming my image up in post-processing. I feel like these backlit images just scream warmth, so I try to bump up my temperature to make it match how the image appeared to the naked eye. Warming up the image seems to make everything pop just a little bit more.
2. Increase contrast.
I push my contrast quite a bit with backlit images. The haze and extra light can often soften the subjects and decrease the depth/dimension of the image and increasing the contrasts brings those details back.
3. Decrease highlights.
Digital cameras seem to really pull out those highlights. I always decrease my highlights by about -10 to -20 (or even sometimes completely) depending on the image. If I have more of landscape image, I will use a graduated filter to reduce the highlights (and maybe even the exposure) of the sky. Shooting in RAW gives me the ability to bring back those sky details, which I just love!
4. Increase clarity.
Clarity acts similarly to contrast, so for backlit images, I always bump my clarity up to +5 to +10. A little goes a long way with the clarity slider, and I definitely recommend playing around to see what works best for your photo!
5. Increase luminance.
I love adding luminance to the warmer tones in my image. I feel like it makes the image pop even more. I typically increase both the yellow and orange luminance sliders to add a little more light to those tones!
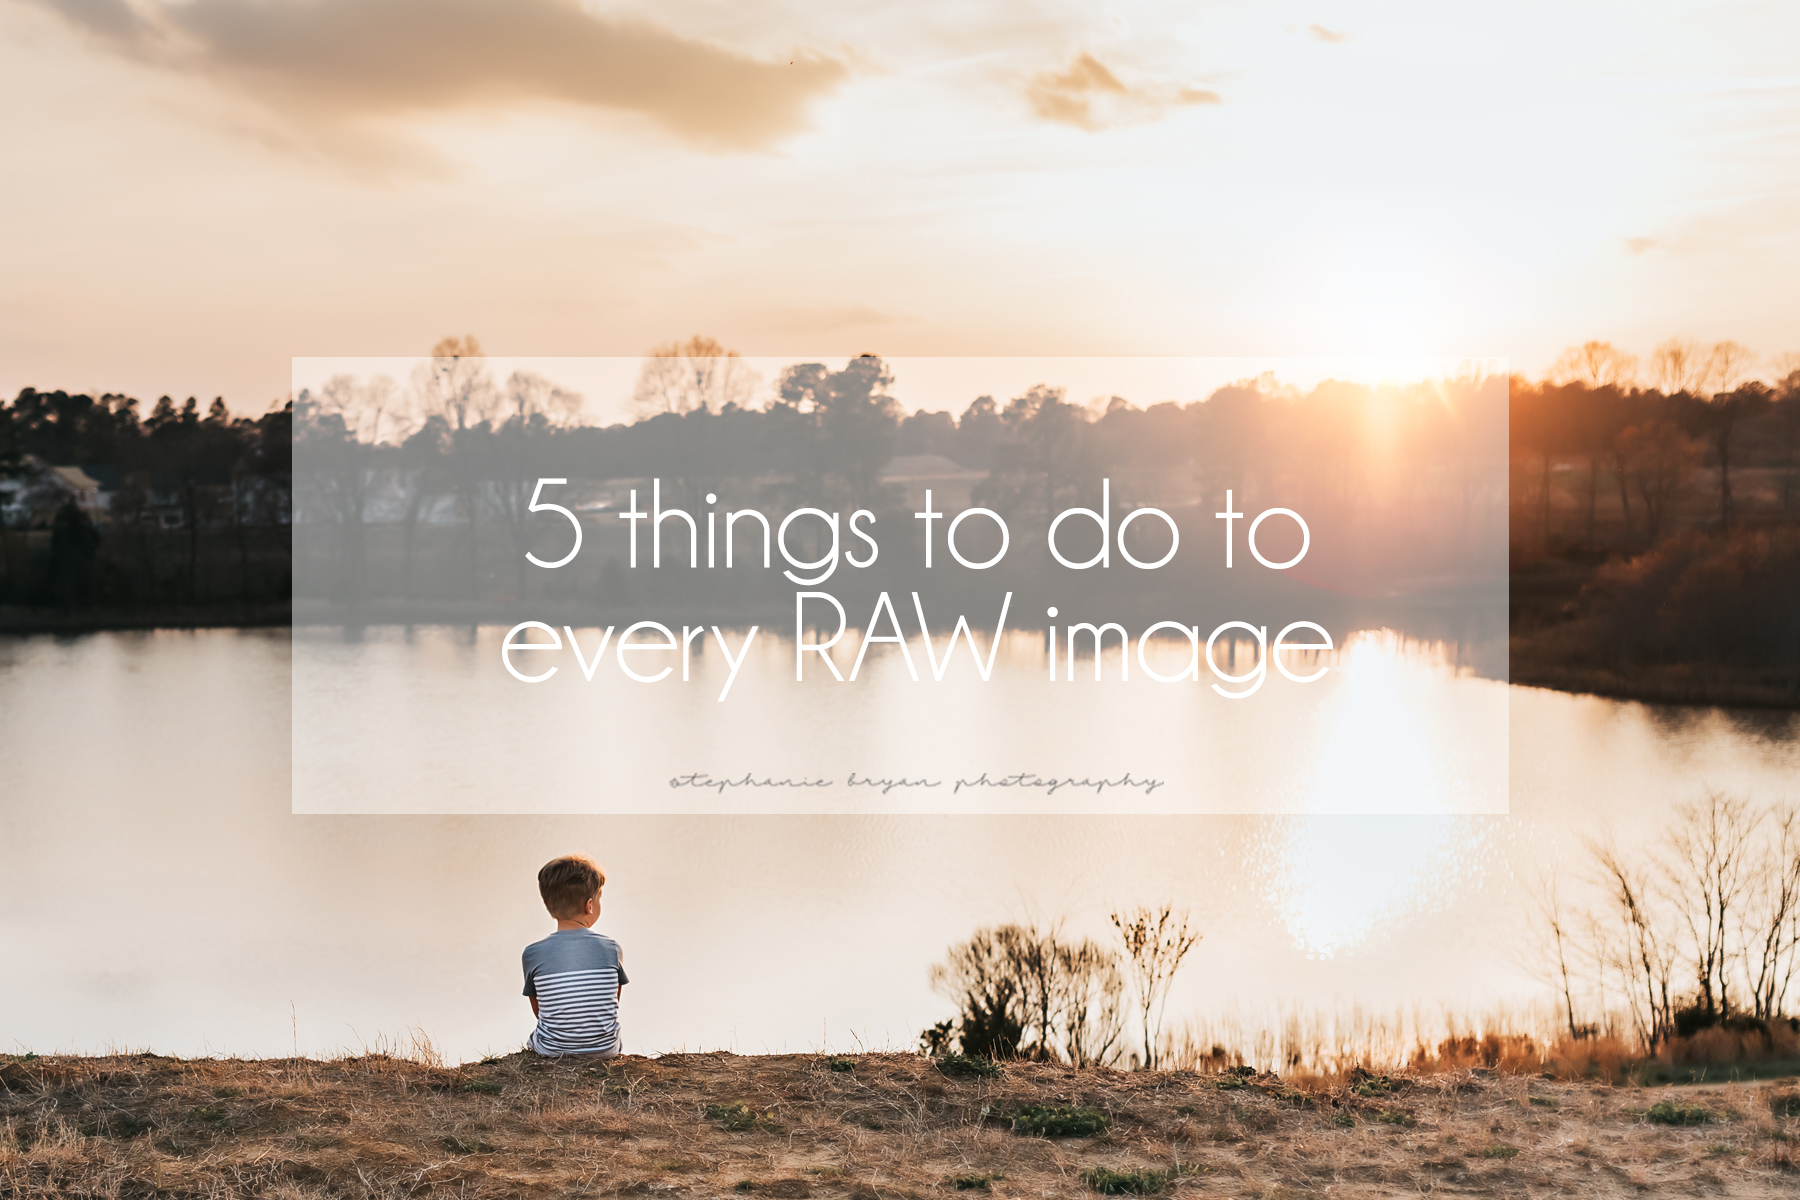
5 things to do to every RAW image
Have you ever noticed a difference between your RAW images in Lightroom and the way the image appeared in the image preview on the back of your camera? I'm the first to admit it can be pretty disappointing when I open up an image I just LOVED in camera to find it not so awesome in Lightroom. What you are seeing on your camera display is actually a compressed file (not the RAW file), so it will likely be more saturated and defined than when you import that file into Lightroom or Photoshop. No worries, though. Shooting in RAW is still the best way to retain detail in your image + to bring back any detail you may want to recover. Getting that image to look like it did in camera (or better) is super easy! There's really no set rules for how to edit a RAW file, but here are 5 things I do to every RAW image.
1. Correct white balance
I like my photos a little on the warmer side, so I typically always bump up my temperature just a tad bit. I may also adjust the tint slider too to add a little more magenta (rather than green) to my image.
2. Increase contrast
Increasing the contrast of your image will bring out those details and make the objects in your image pop. I usually bring my contrast slider up to around +10 to +25 depending on the image. Just play around with it and see what works for your photo!
3. Adjust highlights/shadows
Your camera is very sensitive to the highlights and shadows in your scene, and depending on how you exposed your shot, you may have blown highlights or dark shadows in your image. I tend to expose for the mid tones or shadows in my photo, so I find myself frequently bringing down my highlight slider to about -10 or so (maybe more depending on the image) and bringing up my shadows to around +10. It obviously depends on how you shoot and what type of image you are aiming for. Again, just play around with these sliders to get the look you want!
4. Add clarity
Adding clarity to your image will help to sharpen the details of your photo. But - a little goes a long way with this slider. Adding too much clarity will make the image seem unnatural and too sharp. Reducing the clarity will blur your image and soften the edges. I use this tool to sharpen my image and increase my slider to around +5 or so. You can also use the brush tool + the clarity slider to soften skin or certain areas of your image!
5. Lens correction
Depending on the focal length of your lens, your image my have distortion or vignetting around the edges of your frame. I use my 24mm and 35mm quite frequently, and since these are wider angle lens, I always correct the distortion/vignetting. Actually, I find that I apply lens correction to every single image regardless of the lens I used. The 50mm and 135mm have very little correction, but it's kind of become a habit in my post-processsing. When you apply lens correction, you will see the depth of your image change, as well as possibly the exposure. I always apply my lens correction first before applying any additional edits to my image!
Do you have a set process or edits you apply to every RAW image?
5 tips for shooting in low light
Low light can be tricky for sure. I'm naturally drawn to bright and airy light, so shooting in low light has been something I've really had to work on and practice. Like everything photography related, it takes some practice for sure, but low light images give off a beautiful, moody effect and I love how you can use just a single speck of light to illuminate your subject. Here are some tips for shooting in low light!
1. Manual shoot in RAW.
Shooting in manual mode (and in RAW) is super important for achieving good quality low light images. Shooting in manual mode is going to allow you the option to dial in exactly where you need to be and allows YOU to do all the work, rather than your camera's sensor. By shooting in RAW vs. JPEG, you will be able to tweak your exposure, shadows, highlights, etc... as needed in post processing as needed.
2. Increase your ISO.
A lower ISO is going to mean your camera is LESS sensitive to light. In low light situations, you will likely have to raise your ISO to make sure your shutter speed is high enough to avoid camera shake or blurriness from movement. I typically find my ISO is around 400-800 when shooting in low light, but there are plenty of times I have to up my ISO even more. Pay close attention to that shutter speed and try to keep it up over 1/150ish at least!
3. Shoot with a wide open aperture.
By opening your aperture up, you will let more light into your frame (you can read more about aperture here if you need a refresher!). A wider aperture is going to narrow your focus point, so just be mindful of WHAT you want in focus, and what can kind of blend into the background.
4. Spot meter for your subject.
Spot metering for your subject is critical. If you just rely on your camera to determine where to meter, you image will likely be way underexposed. Spot metering for your subject is going to ensure your subject is properly exposed.
5. Manipulate your light source as needed.
Opening and closing curtains/blinds, etc... is going to effect the quantity of your light. By closing certain curtains, you can focus in on one particular area and let your subject stand out. You can also use artificial light sources to draw your eye to your subjects!
5 tips for shooting on overcast days
Yummy golden hour is by far my favorite time to shoot. I love the glow of the sky and the pretty rim light that comes from backlighting. But sometimes mother nature has a different plan in mind and you end up with gloomy, overcast skies. While I would love to have some of those "golden" shots during my sessions, overcast days aren't necessarily all bad. The light is pretty even and soft and you don't have to worry about shadows and blown highlights as much. There are some things, though, to keep in mind when shooting on overcast days to make sure you are getting the most of the light available!
1. Bump up your ISO and pay attention to your shutter speed.
Since there isn't as much available light on overcast days, you will likely have to bump up your ISO. I tend to start around ISO 250 or ISO 400 and then check out my shutter speed to see if I can lower my ISO. If clouds are rolling in and moving quickly across the sky, it's super important to keep an eye on your shutter speed to make sure it doesn't get too low, which would result in blurry images.
2. Choose a location that has lots of open space.
Wide open space is key on overcast days. You will want to place your subject in an area where the available light can surround them. Try to avoid dense forests and other super covered areas since they will not have good light to illuminate your subjects.
3. Position your subjects facing where the sun.
Even though the sun isn't out and shining, it's still important to face your subjects TOWARDS the light (or where the sun would be). This will help light up your subject's face and keep them from looking drab and muddy. If you're not sure of the direction of the sun, pull out your handy compass on your phone and figure it out! It will pay off in the end!
4. Shoot looking down to get those catchlights.
Pretty catchlights make a photo pop and even though the sun isn't out in full force, you can still manage to get catchlights if you try! I suggest shooting from above your clients and have them look up into your camera so their faces are tilted towards the sky. If your subject is standing, have them tilt their chin up slightly to keep their eyes directed up to the sky!
5. Get creative!
The best thing about overcast days is that you really can get creative! You don't have to worry much about shadows or the bright sun or any of that. Use leading lines to make your subject pop or try framing your subject creatively. Don't feel limited because the sun is hiding behind those clouds!
5 tips for shooting in full sun
I'm not going to lie. Shooting in full sun still kind of scares me a bit. But our life doesn't just happen at golden hour and there are SO many important moments - both big and small- that happen when the sun is high in the sky. There really is no secret to shooting in full sun, but there are some things to keep in mind when shooting during the middle of the day. Here are my 5 tips for shooting in full sun!
1. Pay attention to how the light falls.
When you're out shooting in full sun, it's super important to pay attention to how the light falls. Look at your scene and subject and see where the sun is the strongest or where there might be shadows. How you see the scene with your naked eye is how it will be captured, so if it's not looking too good, it might be best to move + find a new spot. The same thing goes for faces. Pay attention to how the light falls on your subject's face. Shooting portraits in the middle of the day is incredibly challenging because of the harsh light, shadows and hot spots the sun creates. Saving portraits for indoors or another location is probably ideal.
2. Meter for your subject.
The key to metering in full sun is to make sure your subject is properly exposed (which means another part of your image might be blown out or either too dark ----thank goodness you shoot in RAW, right???). Spot metering for your subject will help to ensure your main subject is exposed correctly and the detail remains. You can always bring back your blown sky or lighten your shadows in post-processing as needed.
3. Use shadows to enhance your images.
You've got shadows, why not use them, right? Playing with shadows and getting creative with your composure can really make a full sun photo amazing. Pay attention to how those shadows fall and see if you can use them to enhance your subject. Again, be sure to spot meter for your subject to ensure they are properly exposed!
4. Change your perspective.
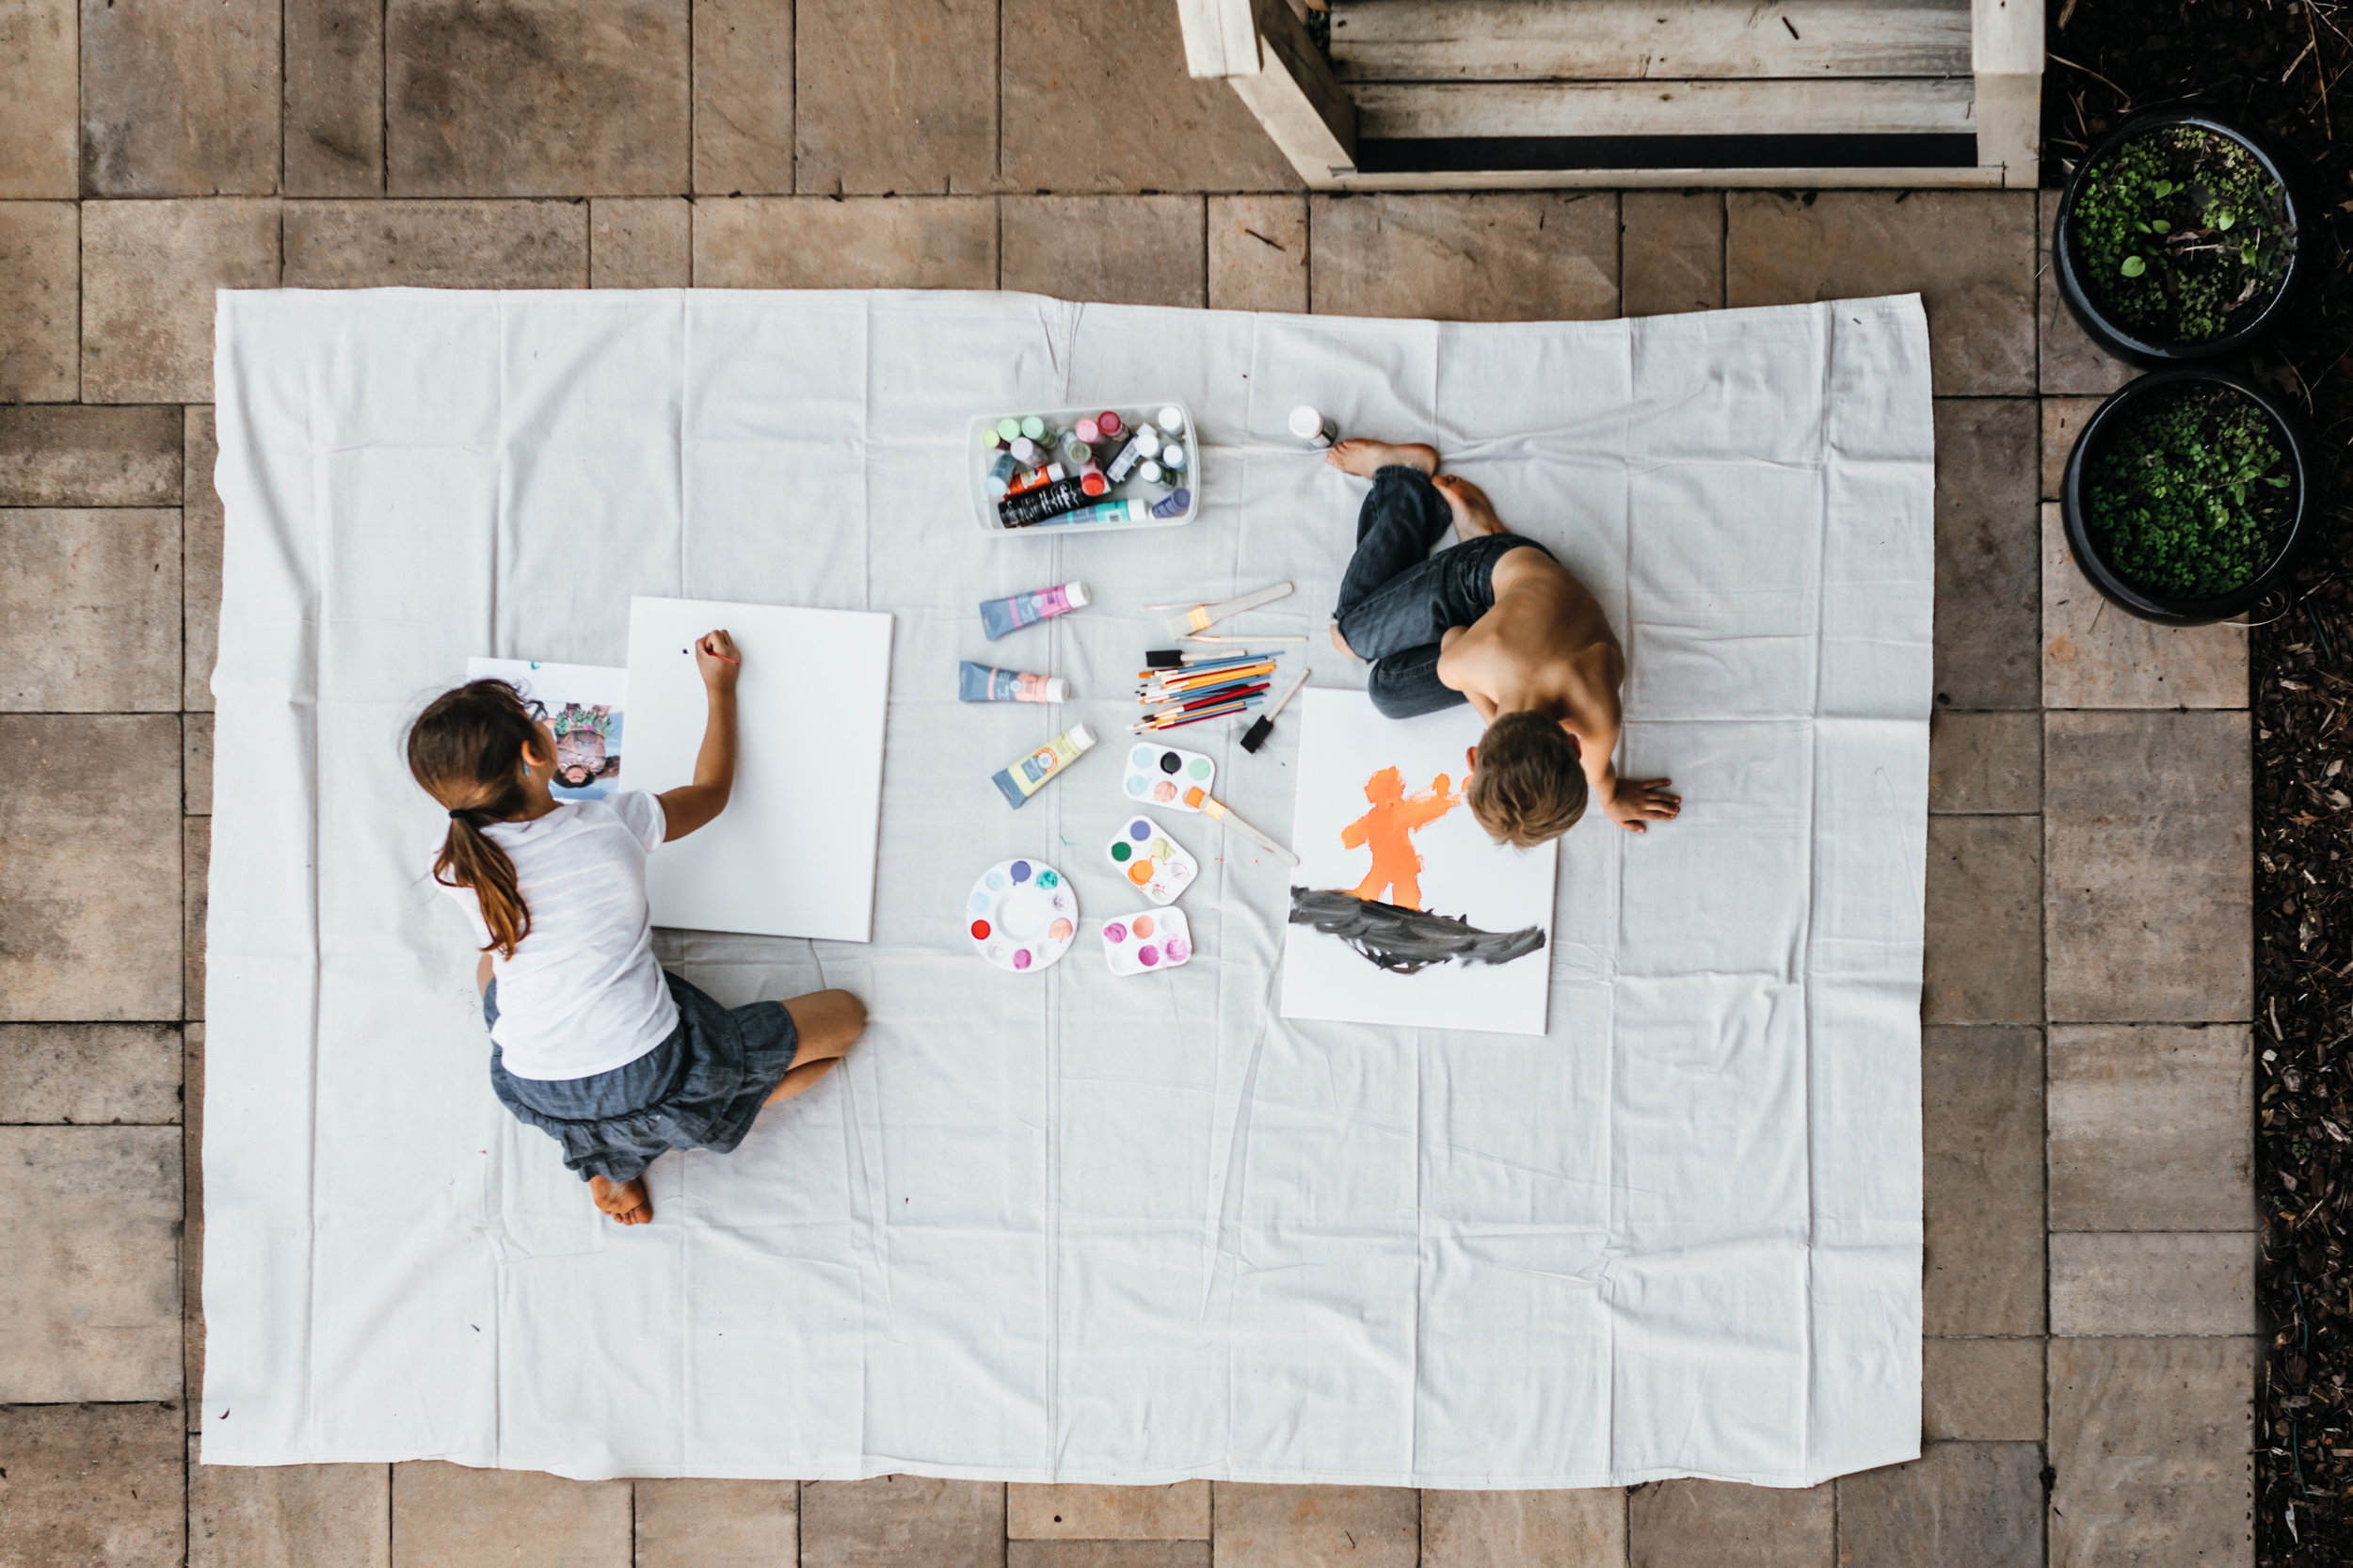
When I'm shooting in full sun, I'm usually varying my perspective to try to manipulate my light and the present scene. Rarely am I going for a straight on "portrait" image, so I typically capture my subjects in the process of doing something. Shooting from above is an awesome way to focus on your subject without worrying about the harshness of that full sun. Just be mindful of shadows (especially yours!!) and move around as you need to make sure your subject is unobstructed!
5. Look for shaded areas.
Use open shade like it's your best friend! Look for umbrellas, awnings, buildings or groups of trees where there's some shade and place your subject along those areas! Or create your own shade by having your subject wear a hat or sunglasses!
Shooting in backlight is by far my favorite, but WAY more of our day happens when the sun is high in the sky. Figuring out a way to still record our memories when the light may not be just right is key! Play around, practice and get creative!
5 tips for shooting from above
When capturing images, I am always trying to vary my perspective and show those little details in different ways. Shooting from above is probably my very favorite way to switch things up and I love how you can include so much of a scene by getting above your subject. Here are my tips for getting those unique overhead shots!
1. Grab a wide angle lens.
A wide angle lens is going to give you SO much more space in your frame and will help to tell more of your story. I typically use either my 24mm or 35mm depending on what I'm shooting. The 24mm is my go-to for almost all indoor sessions (read more about how I almost exclusively use my 24mm for indoor lifestyle sessions here).
2. Think about your aperture.
The depth of field of your image is going to change depending on your aperture (not sure what aperture is?? Read all about it here!). Shooting wide open will likely cause the "top" or closest part of your image to be main focal point; while closing down your aperture will keep more of the details and dimension of your scene.
3. Use a step stool or ladder.
Even with my wide angle lens, I still like to get high above my subject or scene and a step stool or ladder is a great tool to use. I'm on the shorter side anyway, so being able to really get above the scene is incredibly useful and helps to make sure I can include all the bits that are important to the story.
4. Shoot in live view.
Live view is your best friend when you're shooting from above. I find live view incredibly helpful for straightening up my image and making sure I'm including all fingers/toes/people, etc.
5. Keep composition in mind.
Like with all images, I keep composition in mind when I'm shooting from above. I always take a look at my scene and try to eliminate anything that might distract from the story I'm telling. Setting your shot up just right IN CAMERA will save you so much more time on the post-processing end!
2 easy ways to edit yellows + greens in Photoshop
After blogging about how I edit yellows and greens in Lightroom, a few people emailed and asked if I could share something similar using Photoshop. Greens and yellows drive me a little batty sometimes, but there are a few tools in Photoshop that are SUPER helpful for making the greens less "yellow" and "neon".
Check out the quick video below to see my two easy ways for editing those greens + yellows in your photos!
How to edit images in Photoshop
This week is all about PHOTOSHOP and if you've followed along, you've learned all about the Photoshop tool bar (and grabbed your cheat sheet), as well as Photoshop layers. Today, I thought I would take you through a complete edit in Photoshop from start to finish. While I typically prefer to import and catalog all of my images in Lightroom and then export them to Photoshop for tweaks and additional edits if needed, I will occasionally just open a RAW file and edit in Photoshop.
Check out the quick video below to see me edit from start to finish!
Understanding Photoshop Layers
Yesterday I shared a video detailing the Photoshop tool bar and how the various tools work! If you haven't checked it out yet, click over to this post to read more! There's also a "tool bar cheat sheet" to help you navigate through Photoshop! Understanding the tool bar is the first step in tackling Photoshop!
One of the awesome things about Photoshop is that you can work on layers. This means you can apply an effect to a very specific area by either masking off where you DON'T want the effect to occur, or by inverting your effect and applying it directly to a particular area!
Today, I thought I would do a quick little video sharing with you the ins and outs of the layers palette in Photoshop. Once you get the hang of it, using layers is so easy and can really help with editing! Check out the video below to learn more!
Be sure to check back tomorrow for more Photoshop editing fun!!
Understanding the Photoshop tool bar
I've gotten a lot of requests from many of you who are interested in learning Photoshop and how to use its various tools. Photoshop is a crazy involved program, as I'm sure you know, and I probably only really know the basics. Everything I know and do is completely self-taught by trial and error. I started with Photoshop Elements way back in the day and just tried to read, watch and learn as much as I could to help me edit my images the way I like them.
To help you all have a better grasp of the BASICS of Photoshop, I thought I would spend this week walking you through my understanding of some of the aspects of Photoshop. As I mentioned, I am completely self-taught, so it's highly likely I don't use the tools exactly as they should be used or to their full capacity - just FYI for all you Photoshop experts out there who might cringe watching me, lol!
Ok! Now that that disclaimer is out of the way.... Just like any new camera, lens or equipment, the very best way to learn is to practice, practice, practice. I highly recommend downloading the FREE trial, opening a few photos and playing around. I promise it's the best way to learn, and as long as you have your original photo saved somewhere, you will be a-okay!
The first thing to understand (I think) is the Photoshop tool bar. This bar is either placed at the top of side of your screen and is a quick link to most of the tools available in Photoshop. Below is a handy-dandy tool bar cheat sheet if you want to print it out or save for reference!
Because I'm a very visual learning, I decided to do a quick video overview of the various tools and how I use them! If you are completely unfamiliar with PS, then this video will likely be helpful to you! If you've dabbled in PS before, most of what I'm sharing will be pretty familiar to you!
