We're working towards manual mode on the blog this week and if you read the post about ISO, you know that there are THREE settings of your camera which work together to create the exposure triangle - ISO, shutter speed and aperture. These three areas work inversely ALL.THE.TIME in your camera so learning them and how they affect your images is crucial! Today we're going to get nice and cozy with shutter speed and learn what it is, as well as how to use it for your images!
What is shutter speed?
Shutter speed is how faster the shutter of your camera opens and closes to let light in and capture an image. A slow shutter speed means your shutter is open for a longer period of time, while a faster shutter speeds indicates a quick open/close of the camera's shutter.
Shutter speed is measured in seconds and fractions of seconds. A shutter speed of 1" means your shutter is open for 1 second of time, while a speed of 1/100 means your shutter is open for "one one-hundredth of a second".
How does shutter speed affect your images?
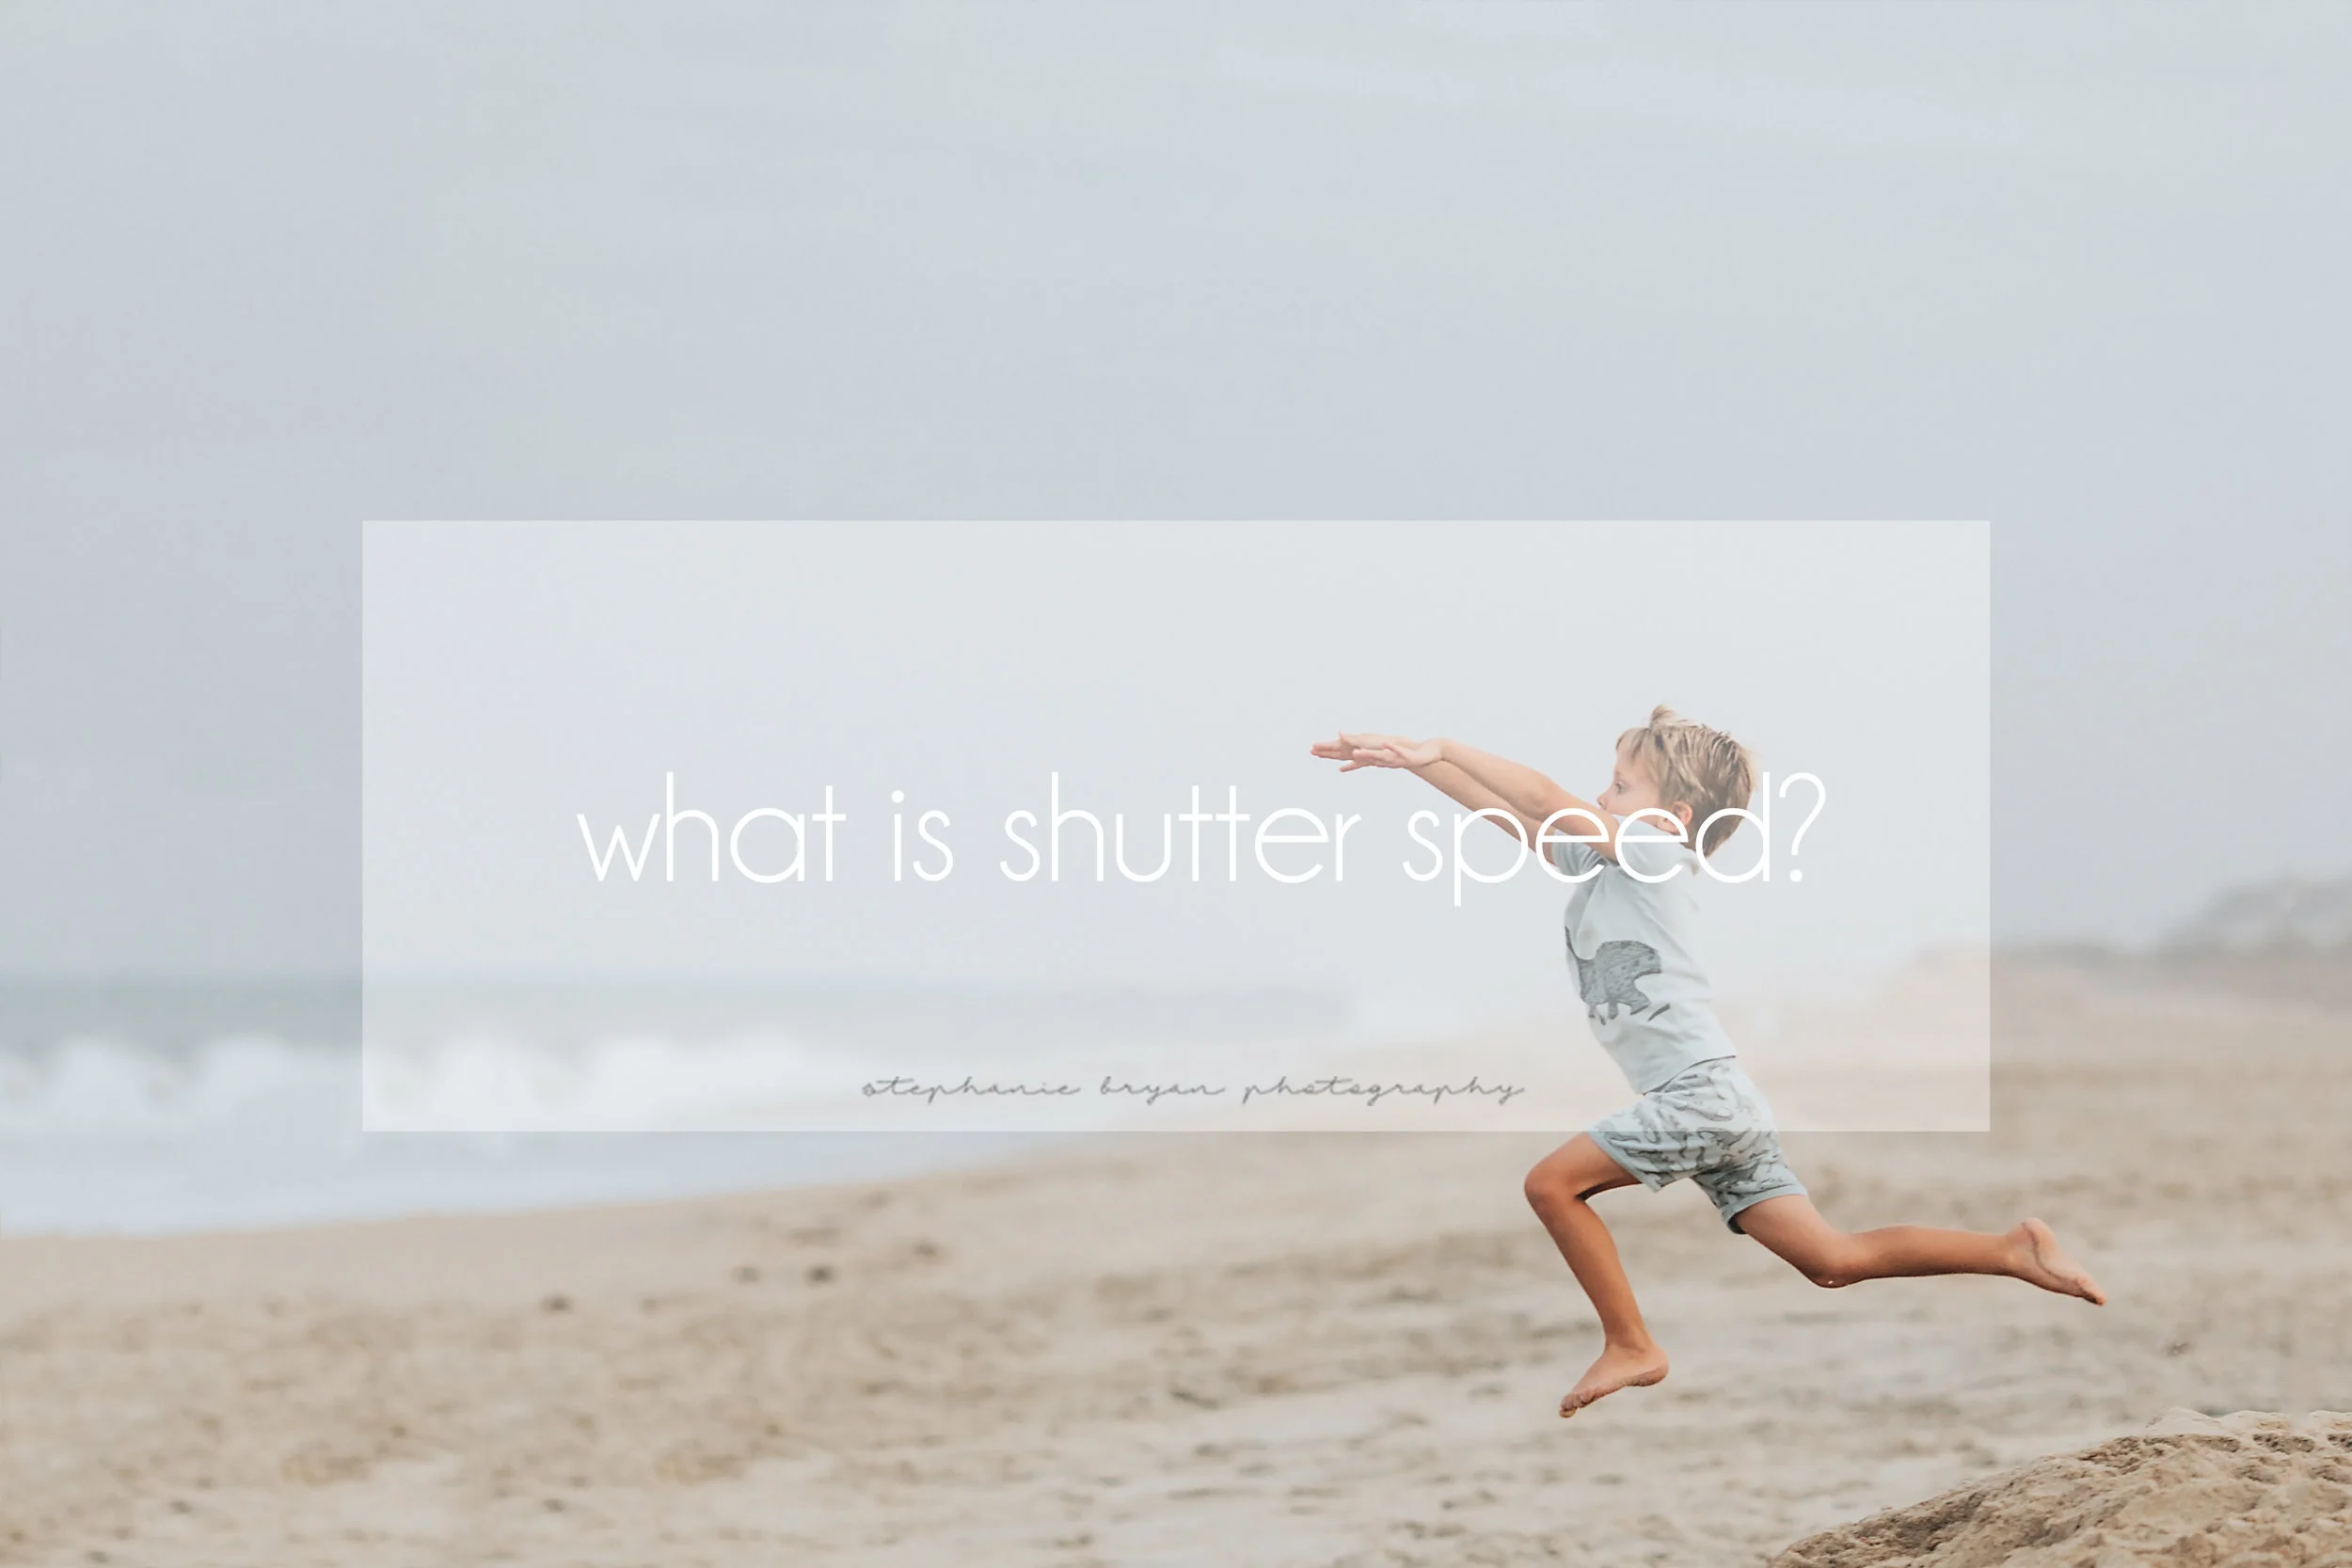
Knowing and controlling your shutter speed helps you capture the movement or motion of a photo. A high shutter speed can basically "freeze" an object in motion. A lower shutter speed can show motion blur, or the actual movement of an object.
I'm constantly chasing my kids around trying to get a decent photo and since I really don't want their movements or motion to be blurred, I try to keep my shutter speed around 1/250. Depending on how fast your subject is, though, 1/250 might still result in a blurry hand/leg, etc.. If I am photographing a still subject, I keep my shutter speed around 1/80 or 1/100 to account for any camera shake or movement I may do when I press my shutter.
Remember - changing your shutter speed is going to change how much light you let in to your photo (aka - exposure), so a longer shutter speed (30") is going to let in more light and a shorter shutter speed (1/250) is going to let in less light.
Getting creative with shutter speed
Adjusting your shutter speed can dramatically change your images. Both of the photos below were taking on a merry-go-round and they are vastly different. The first photo was taken at 1/30 second as my daughter whipped around (I also did some panning here to try to keep her in "somewhat" focus). The bottom photo was shot at a shutter speed of 1/500, and as you can see, my son is in focus and is "frozen" in his movement.
There are so many fun effects you can achieve by changing your shutter speed (water drops from a sprinkler, splashes from the tub, blur of moving cars, twinkly lights) and the best way to figure out how to make your shutter speed work for you is to just play around! I recommend changing your camera settings to "shutter priority" (TV mode on Canon, S on Nikon) and snapping away! In the shutter priority mode, you have full control over your shutter speed while your camera will adjust your aperture and ISO accordingly.
Ok! So now you should have a pretty basic understanding of both shutter speed and ISO and how to make them work for you! Next up is aperture!
looking for more inspiration + tips?


