When it comes to taking better photos, learning your camera and how it works is crucial. Auto mode is easy and can seem really comfortable if you've been there a while. Tackling the ins and outs of your camera can seem scary, but figuring out how to make the different settings can give new life to your photos, as well as your photography journey as well.
My very first camera was a Canon Rebel T1i and I shot in auto mode like a champ. And I loved my photos. They are still some of my favorites not because of the quality or lighting, but because of the memories. But as I shot more and more, I started to wonder why my photos were darker or didn't have that "pop" that I was looking for. So I researched some and decided to take a photography class at our local college. The class was all about manual mode and was an EPIC fail. I left so confused and overwhelmed and swore I would never figure out my camera. I put down my camera for a few weeks and when I finally picked it back up, I decided I would just teach myself. And that I did. I'm a very visual learner so I watched and read as much as I could. I tinkered with my camera and settings and I snapped a zillion photos.
If you are trying to switch out of auto mode, you HAVE to understand the three principles of the exposure triangle - ISO, aperture and shutter speed to make the move to manual mode. They all work together to give you a properly exposed, in focus, crisp and clear image. Today I'm going to try to help you understand ISO and how to make it work for you! Aperture, shutter speed, exposure compensation and some tips for manual mode are coming to the blog shortly so stay tuned!
What is ISO?
The ISO (International Standards Organization) of a camera controls how sensitive your camera's sensor is to light. The lower your ISO, the less sensitive your sensor is to light; and the higher your ISO, the more sensitive it is to the available light. The ISO on your camera most likely starts at ISO 100 and increases incrementally. Some higher end cameras have a crazy high ISO setting (102,400), but most cap off around 6400 or 12,800.
How does ISO affect my images?
The best way to think about ISO is to consider what light is available in your setting. The MORE light you have available, the LESS your ISO should be. Conversely, the LESS light you have available to you, the HIGHER your ISO will be. So if you are outdoors on a sunny day, there is plenty of available light, so your sensor doesn't need to be as sensitive to light. Your ISO should most likely be around 100. If you're taking night photos or are in low light, your ISO will be higher - around 3200 or so because there isn't tons of available light, so your camera needs to be MORE sensitive to what light there is. Below is a "rough" idea of how ISO changes with the time of day and place of shooting location.
As your ISO increases (which means you have less available light for your camera), the more "grain" or noise you will see on your images. Grain isn't necessarily a bad thing at all, but just keep in mind that the sharpness and clarity of your image is affected the more grain/noise you have in your image. All cameras handle light differently and some of the higher end cameras don't have a detectable speck of grain at ISO 6400. Others start to show grain around ISO 1000 or so. My advice is to learn your camera and how far you can push it!
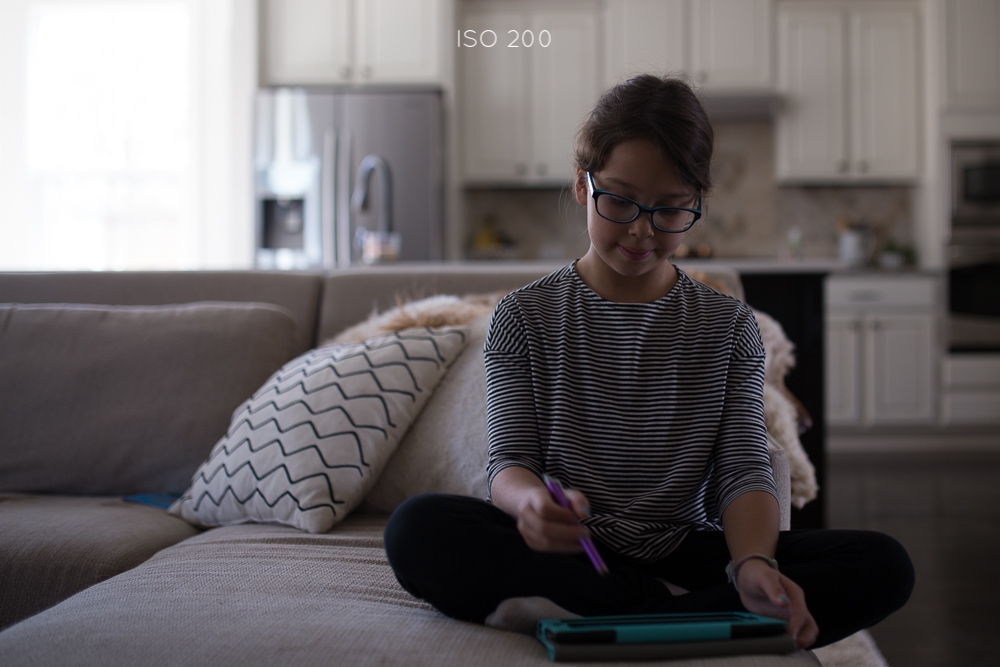
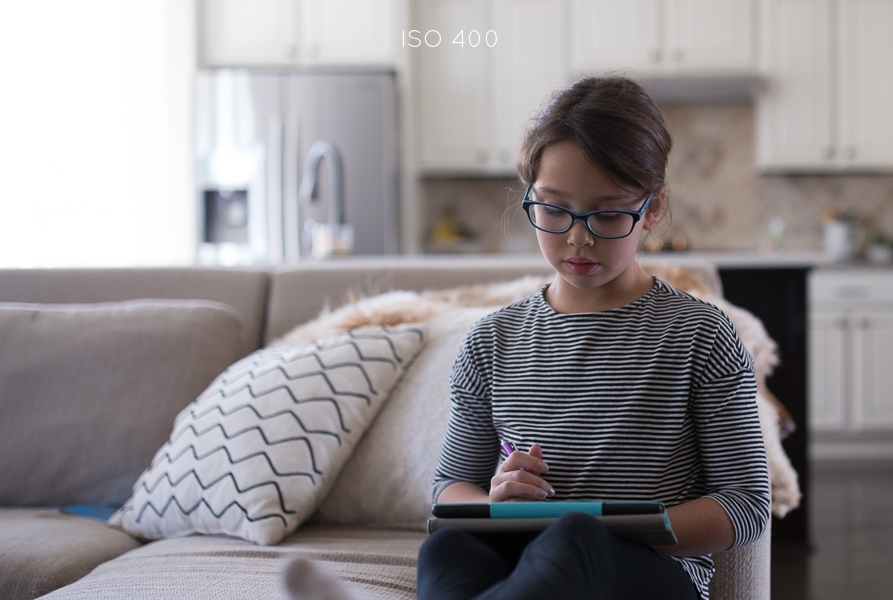
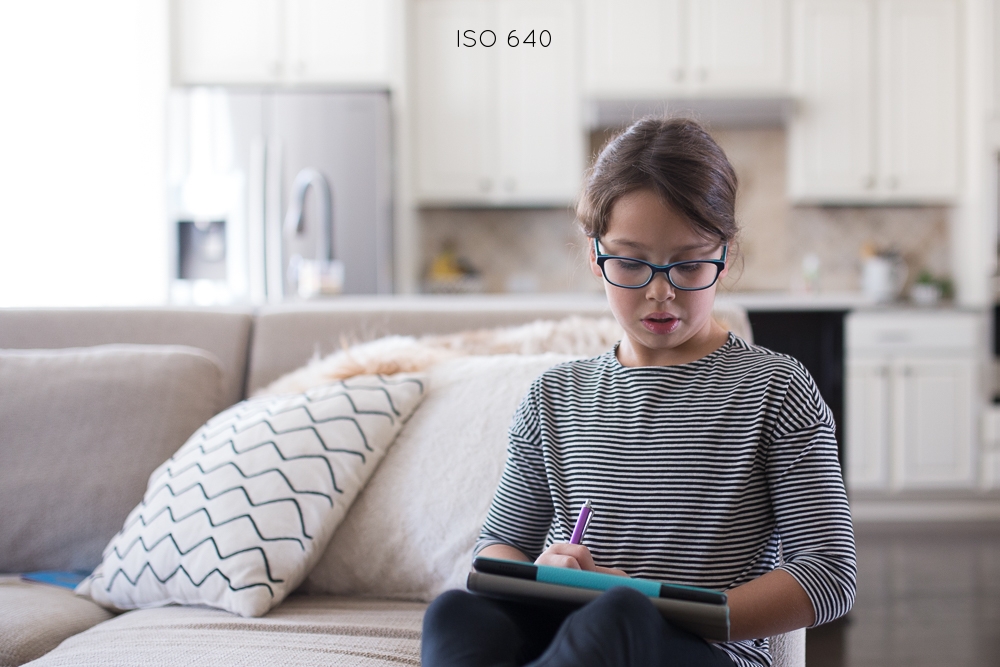
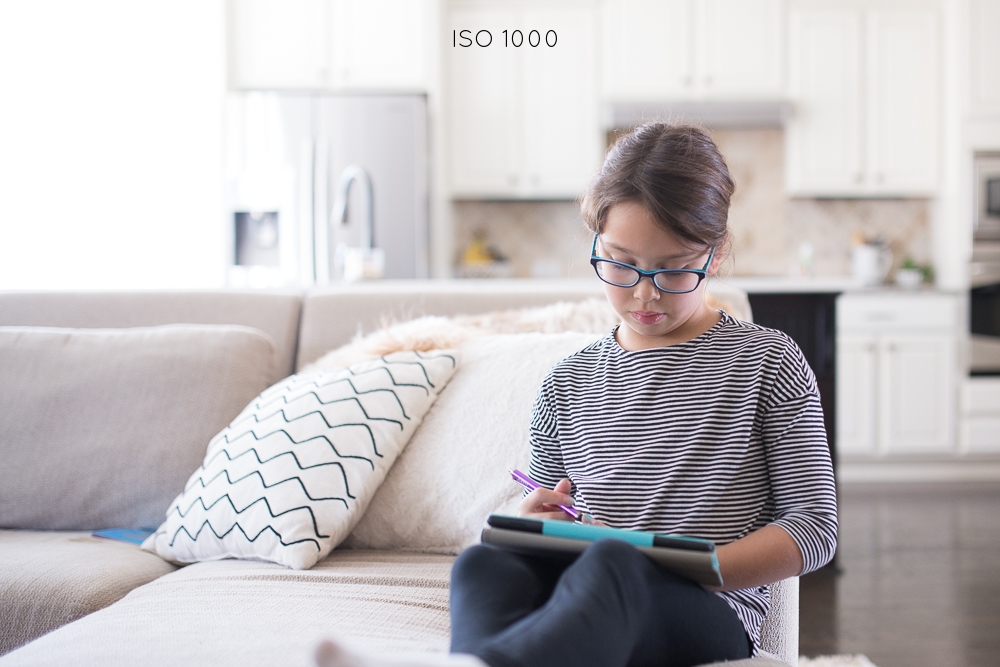
The above images show a difference in ISO for indoor photos. I didn't change any settings on my camera other than my ISO for these shots and they are all SOOC (straight out of camera). As you can see, ISO 100 and ISO 200 are way too dark and underexposed for this setting. ISO 1000 is way too bright, and if you look closely, you will notice that a lot of the "details" of the image are blown out and undetectable (because the camera was too sensitive to light and the image was overexposed).
And let me just take a sec to remind you that ISO is just ONE of your camera settings you need to learn. ISO, aperture and shutter speed all work inversely together. When you change one of them, you inversely change another.
Taking a test shot and adjusting your ISO is a great way to determine how much light is available for your images/session. I keep the above "chart" in mind, adjust my ISO accordingly and take a test shot to see what works. From there, I will either raise or lower or ISO (while also paying close attention to the aperture and shutter speed settings). I always want the LOWEST ISO possible for my images and client sessions. I find that most of my indoor photos are usually around ISO 800, but I've definitely had sessions where the homes were dark and I had to bump by ISO up to 3200!
And that's a look at ISO. The most important take away is that the ISO is your camera's sensitivity to light! Being mindful and aware of the available light and then adjusting your ISO accordingly is the first step in understanding manual mode!!
So are you confused yet?? I know I was when I first read about ISO! Don't worry! I promise the more your practice and learn your camera, the easier all of this gets! You'll be an ISO (and aperture and shutter speed) pro in no time! Stay tuned for additional posts about aperture and shutter speed!
looking for more inspiration + tips?
