

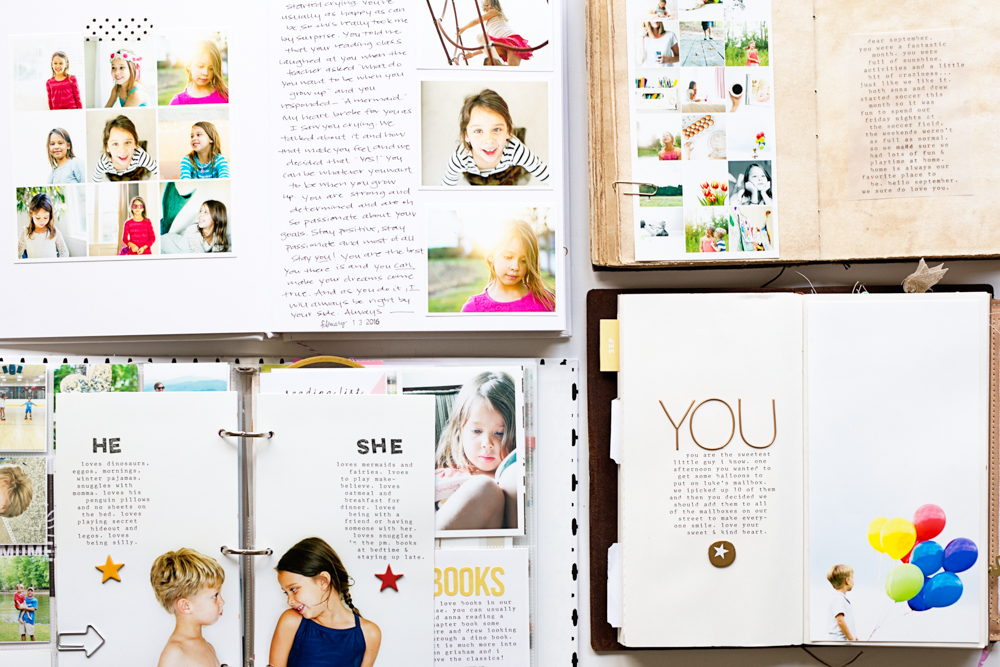
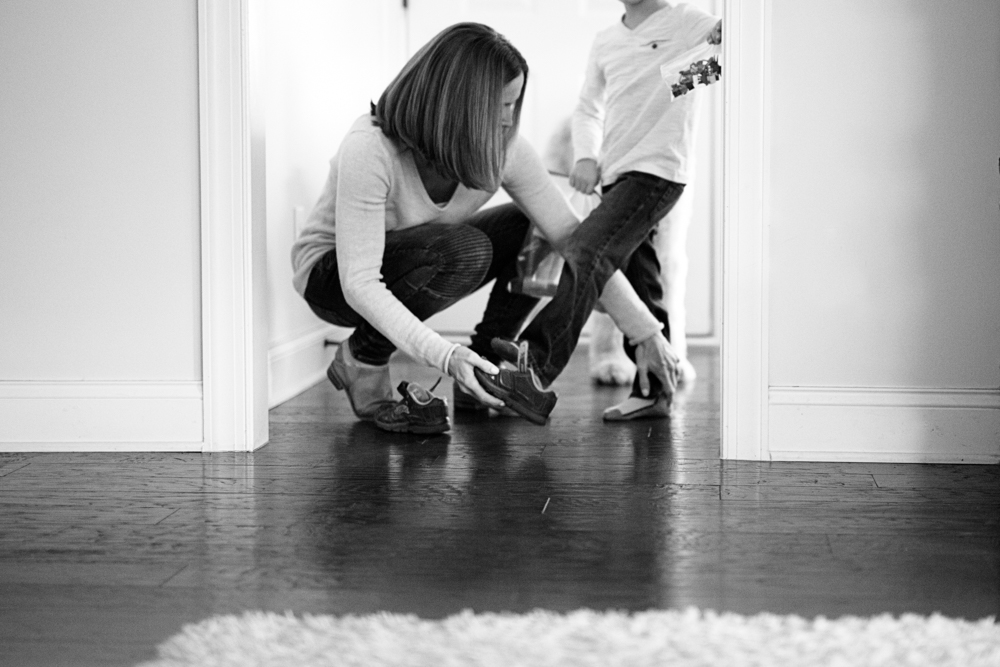
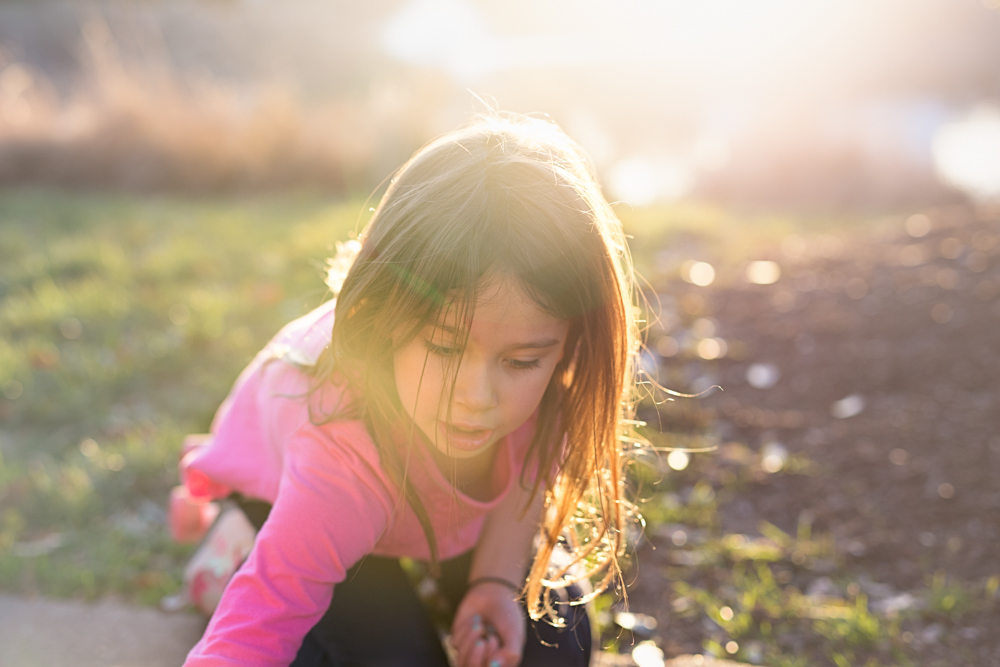
A portrait of my children, once a week, every week, in 2016."
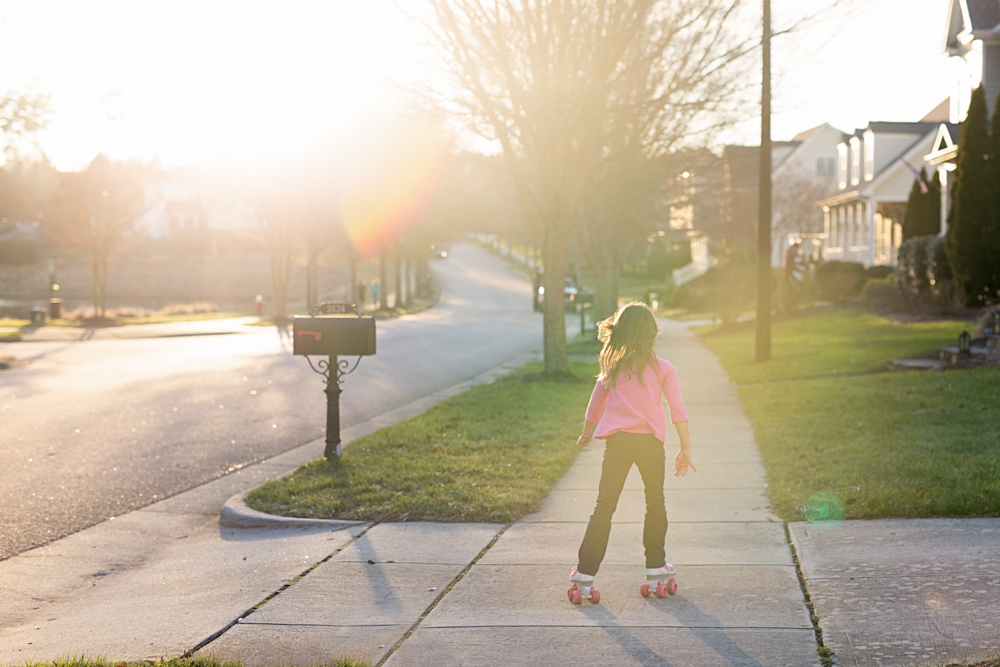
Anna: sun-kissed. Canon 6D, 35mm, f3.2 ISO 400
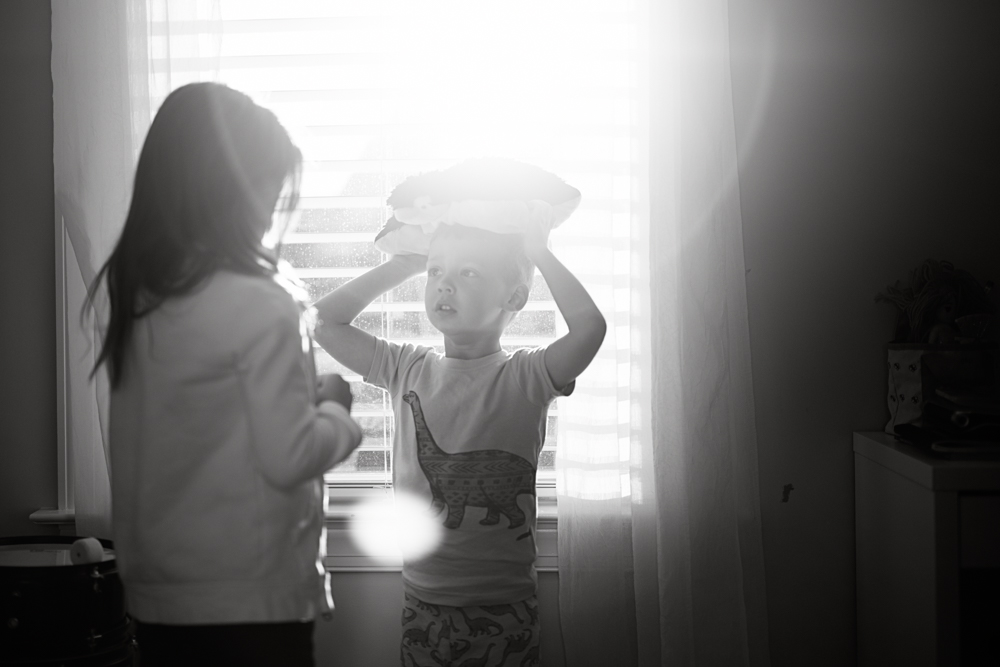
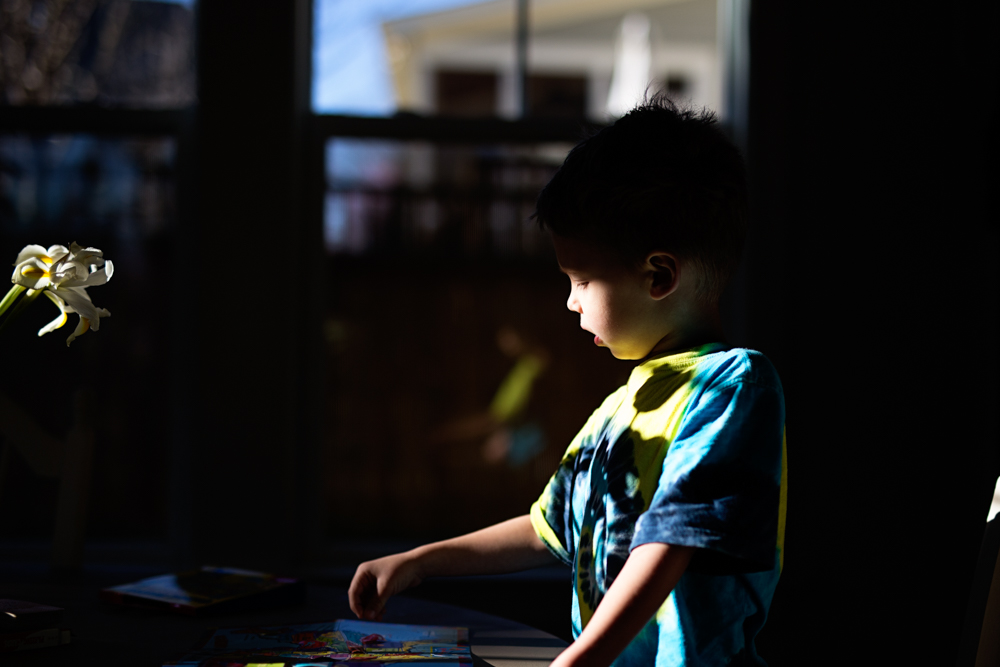
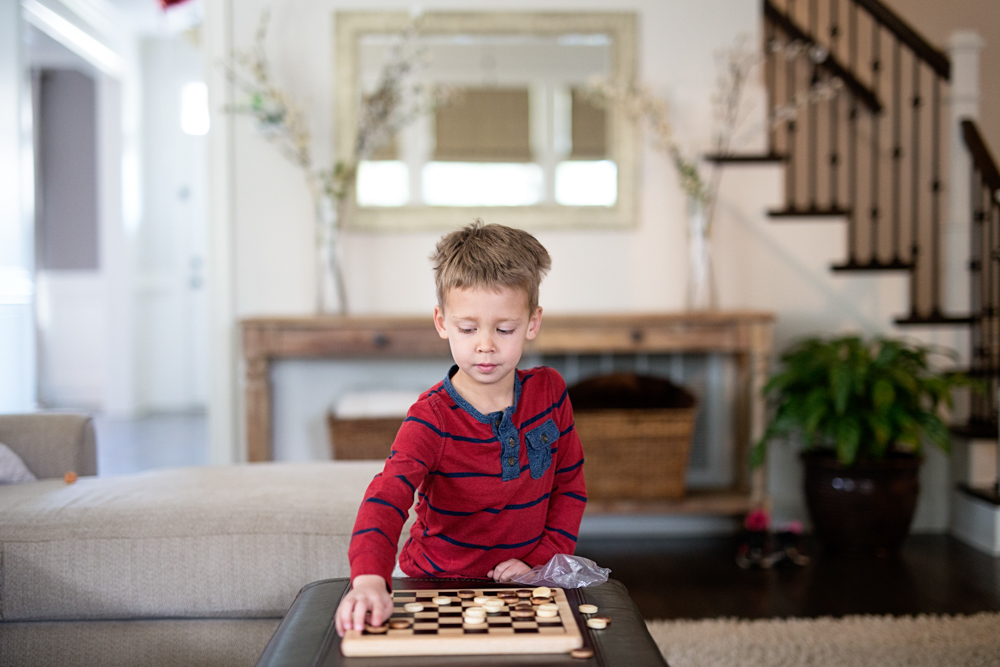
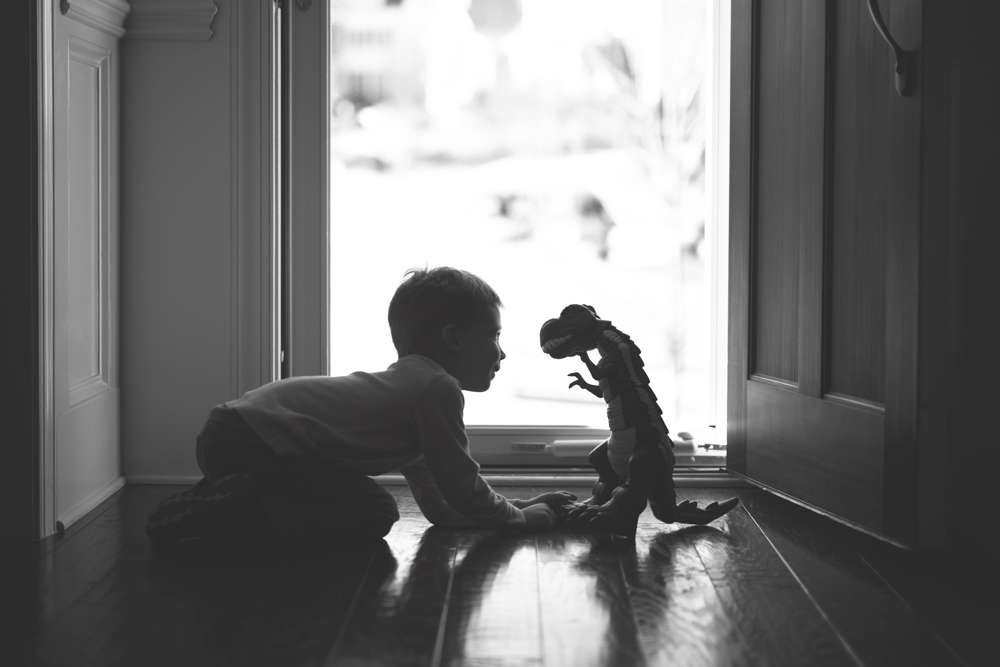
Drew: searching for dinosaur bones, as always. Canon 6D, 50mm, f2.8, ISO 800


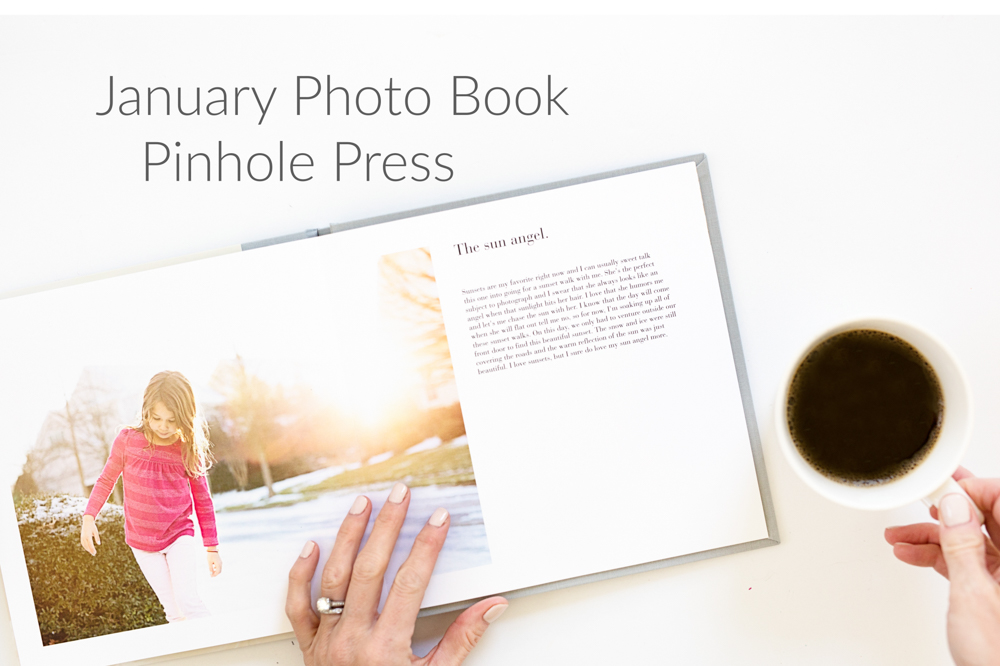
I am so excited to share a look at my January photo album today! I love everything photo related and seeing our memories printed out in a bound book makes my heart go pitter-patter. If you have been following along with me, you probably know that last year, I created a
different mini album for every month of the year.
. Taking photos and recording our days is so important to me, and without having a "plan", I most likely would only print a handful of photos throughout the year. Creating monthly albums holds me accountable for getting my photos off of my computer and phone and into an album we can all enjoy now and for years to come.
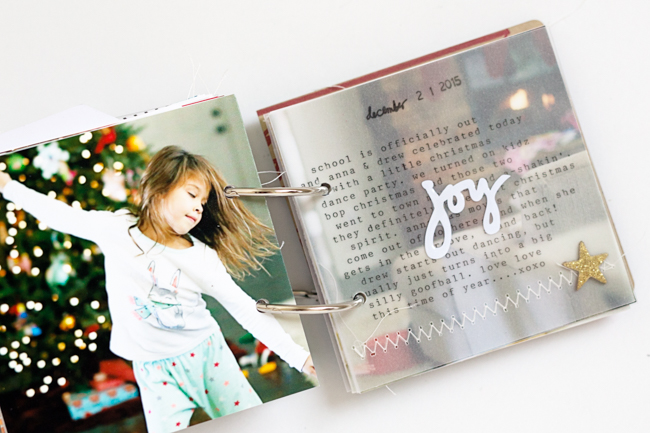
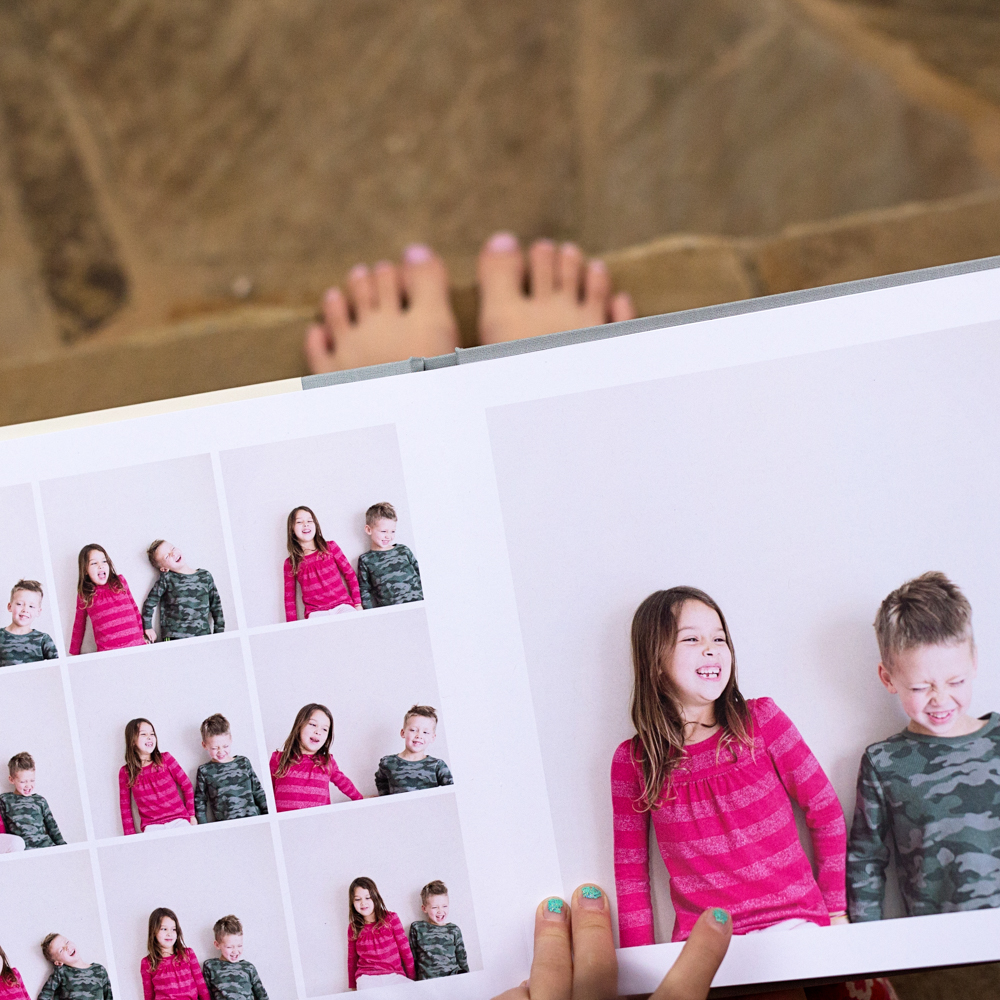
For January, I decided to use a company I haven't used before and went with a 8x8 Lay Flat Album from
. I found the uploading and "building" part of the album to be very user friendly and very easy. All in all, it took me about two hours to complete my album (I did half of the book about mid-January and then the remaining part at the end of January). I also love that the lay flat album allows for double spread photos, so I was very excited about the option of doing large photo spreads throughout the book. Pinhole Press offers a variety of page layouts, as well as the option to add text and stories to your album. I'm not the best at adding in journaling, so having the ability to include a caption, note or story during the "building" process was a win-win for me!

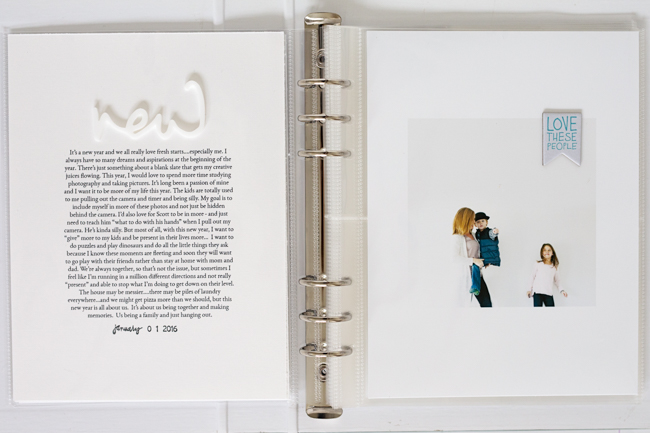
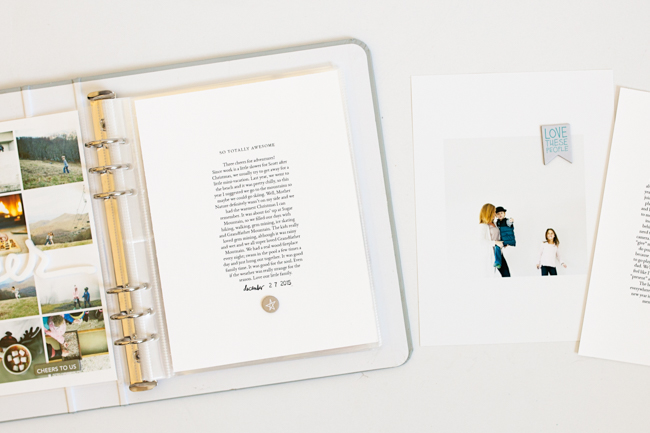
I finished my album on the 31st of January and as soon as I hit "buy", a few "I wish I would have...." thoughts came flying into my head (I HATE when that happens!). One of the things I wish I would have done would be to include a collage at the end of the book of our random "phone" photos. I spent a lot of January using my DSLR, so I didn't have too many photos on my phone from this month, but I'm sure I could have created an ending collage of our memories. I also wish I would have added some type of conclusion or ending to the book - maybe a sentence or two about my project or process, a quote, etc... And kind of on a similar note, I'm hoping to add more photos of myself and my husband in our future albums! Next month, right???
And because I love making videos and think seeing it "in action" is better than just still photos, below is a quick flip through of my album with some of my thoughts and suggestions for using Pinhole Press! Enjoy!
Have you ever created an album using Pinhole Press?? I definitely recommend checking them out and creating your own Lay Flat Album! Thanks so much for stopping by today!!
xoxo


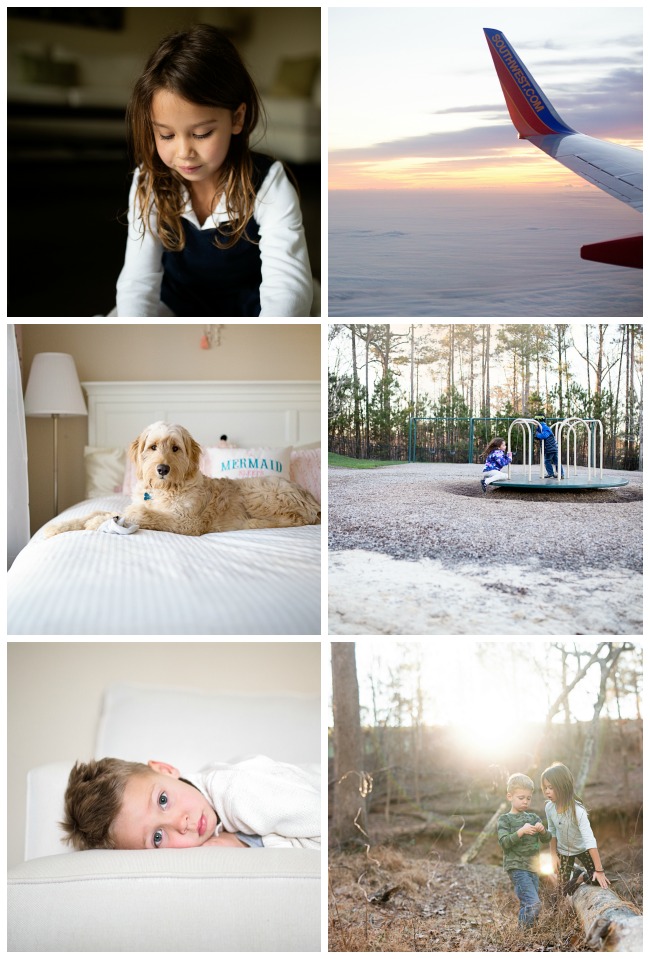


If every month is like January, I think we'll be good this year!!
Our month was full of fun stuff - snow, crazy warm weather, trips to the mountains, CHA in Cali and more! Hoping the rest of the year shows up January.
xoxo