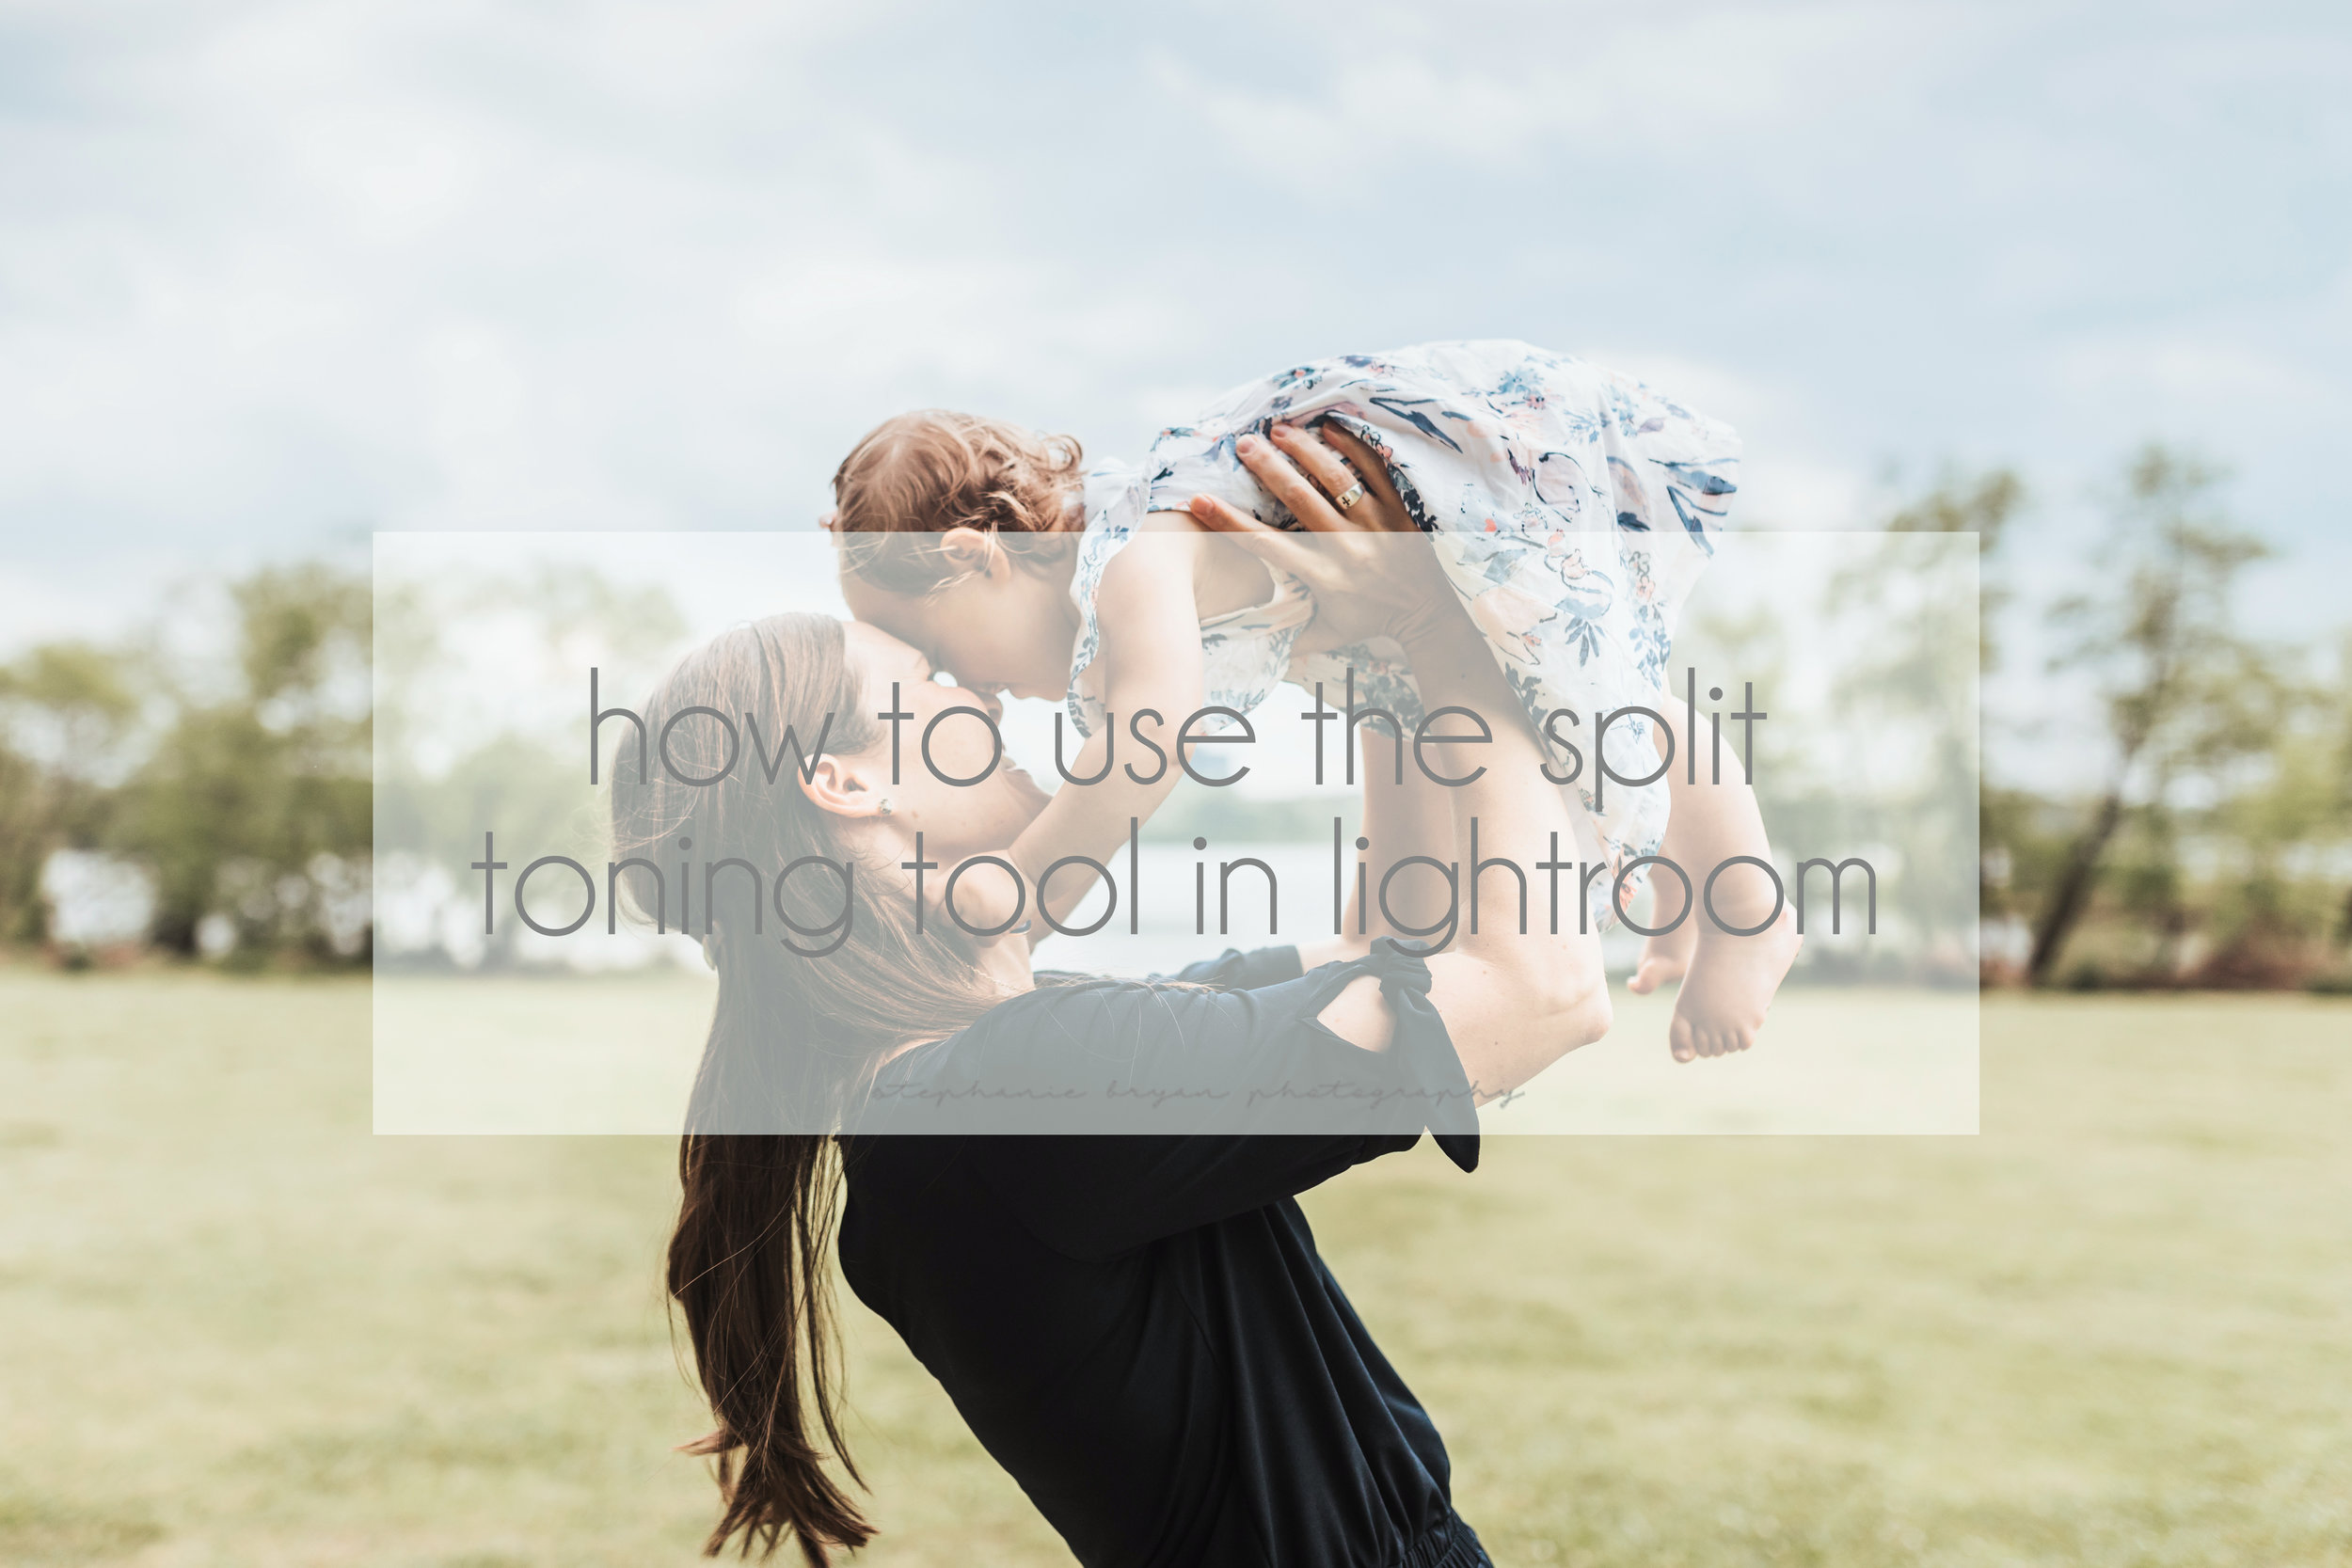
If you've been following along, you know this week is all about Lightroom and the awesome editing tools available! I remember when I first downloaded and opened Lightroom I was TOTALLY clueless. And scared. And kind of swore I would never open it again. But then I slowly starting tweaking and adjusting and experimenting and soon Lightroom became my main program for editing.
I definitely use radial filters and graduated filters more than split toning, but split toning has become my go-to tool if I feel my skin tones are a little off and need some tweaking. Split toning is interesting because you can focus on the hues within your highlights and/or shadows. If you've tried presets, but the skin tones have seemed a little off, check out the split toning panel and see if you can adjust the hues to make the tones more to your liking. A little goes a long way with this tool, as you will see in the video below, so keep that in mind!
Check out the quick video below to see the split toning panel/tool in action and let me know what you think!


