
We all have a certain preference when it comes to editing and that's what makes editing and photography so great. Two people can take the same photo and end up with a completely different result. While some people might love one color, other people prefer to totally change it or desaturate it. There really is no wrong or right.
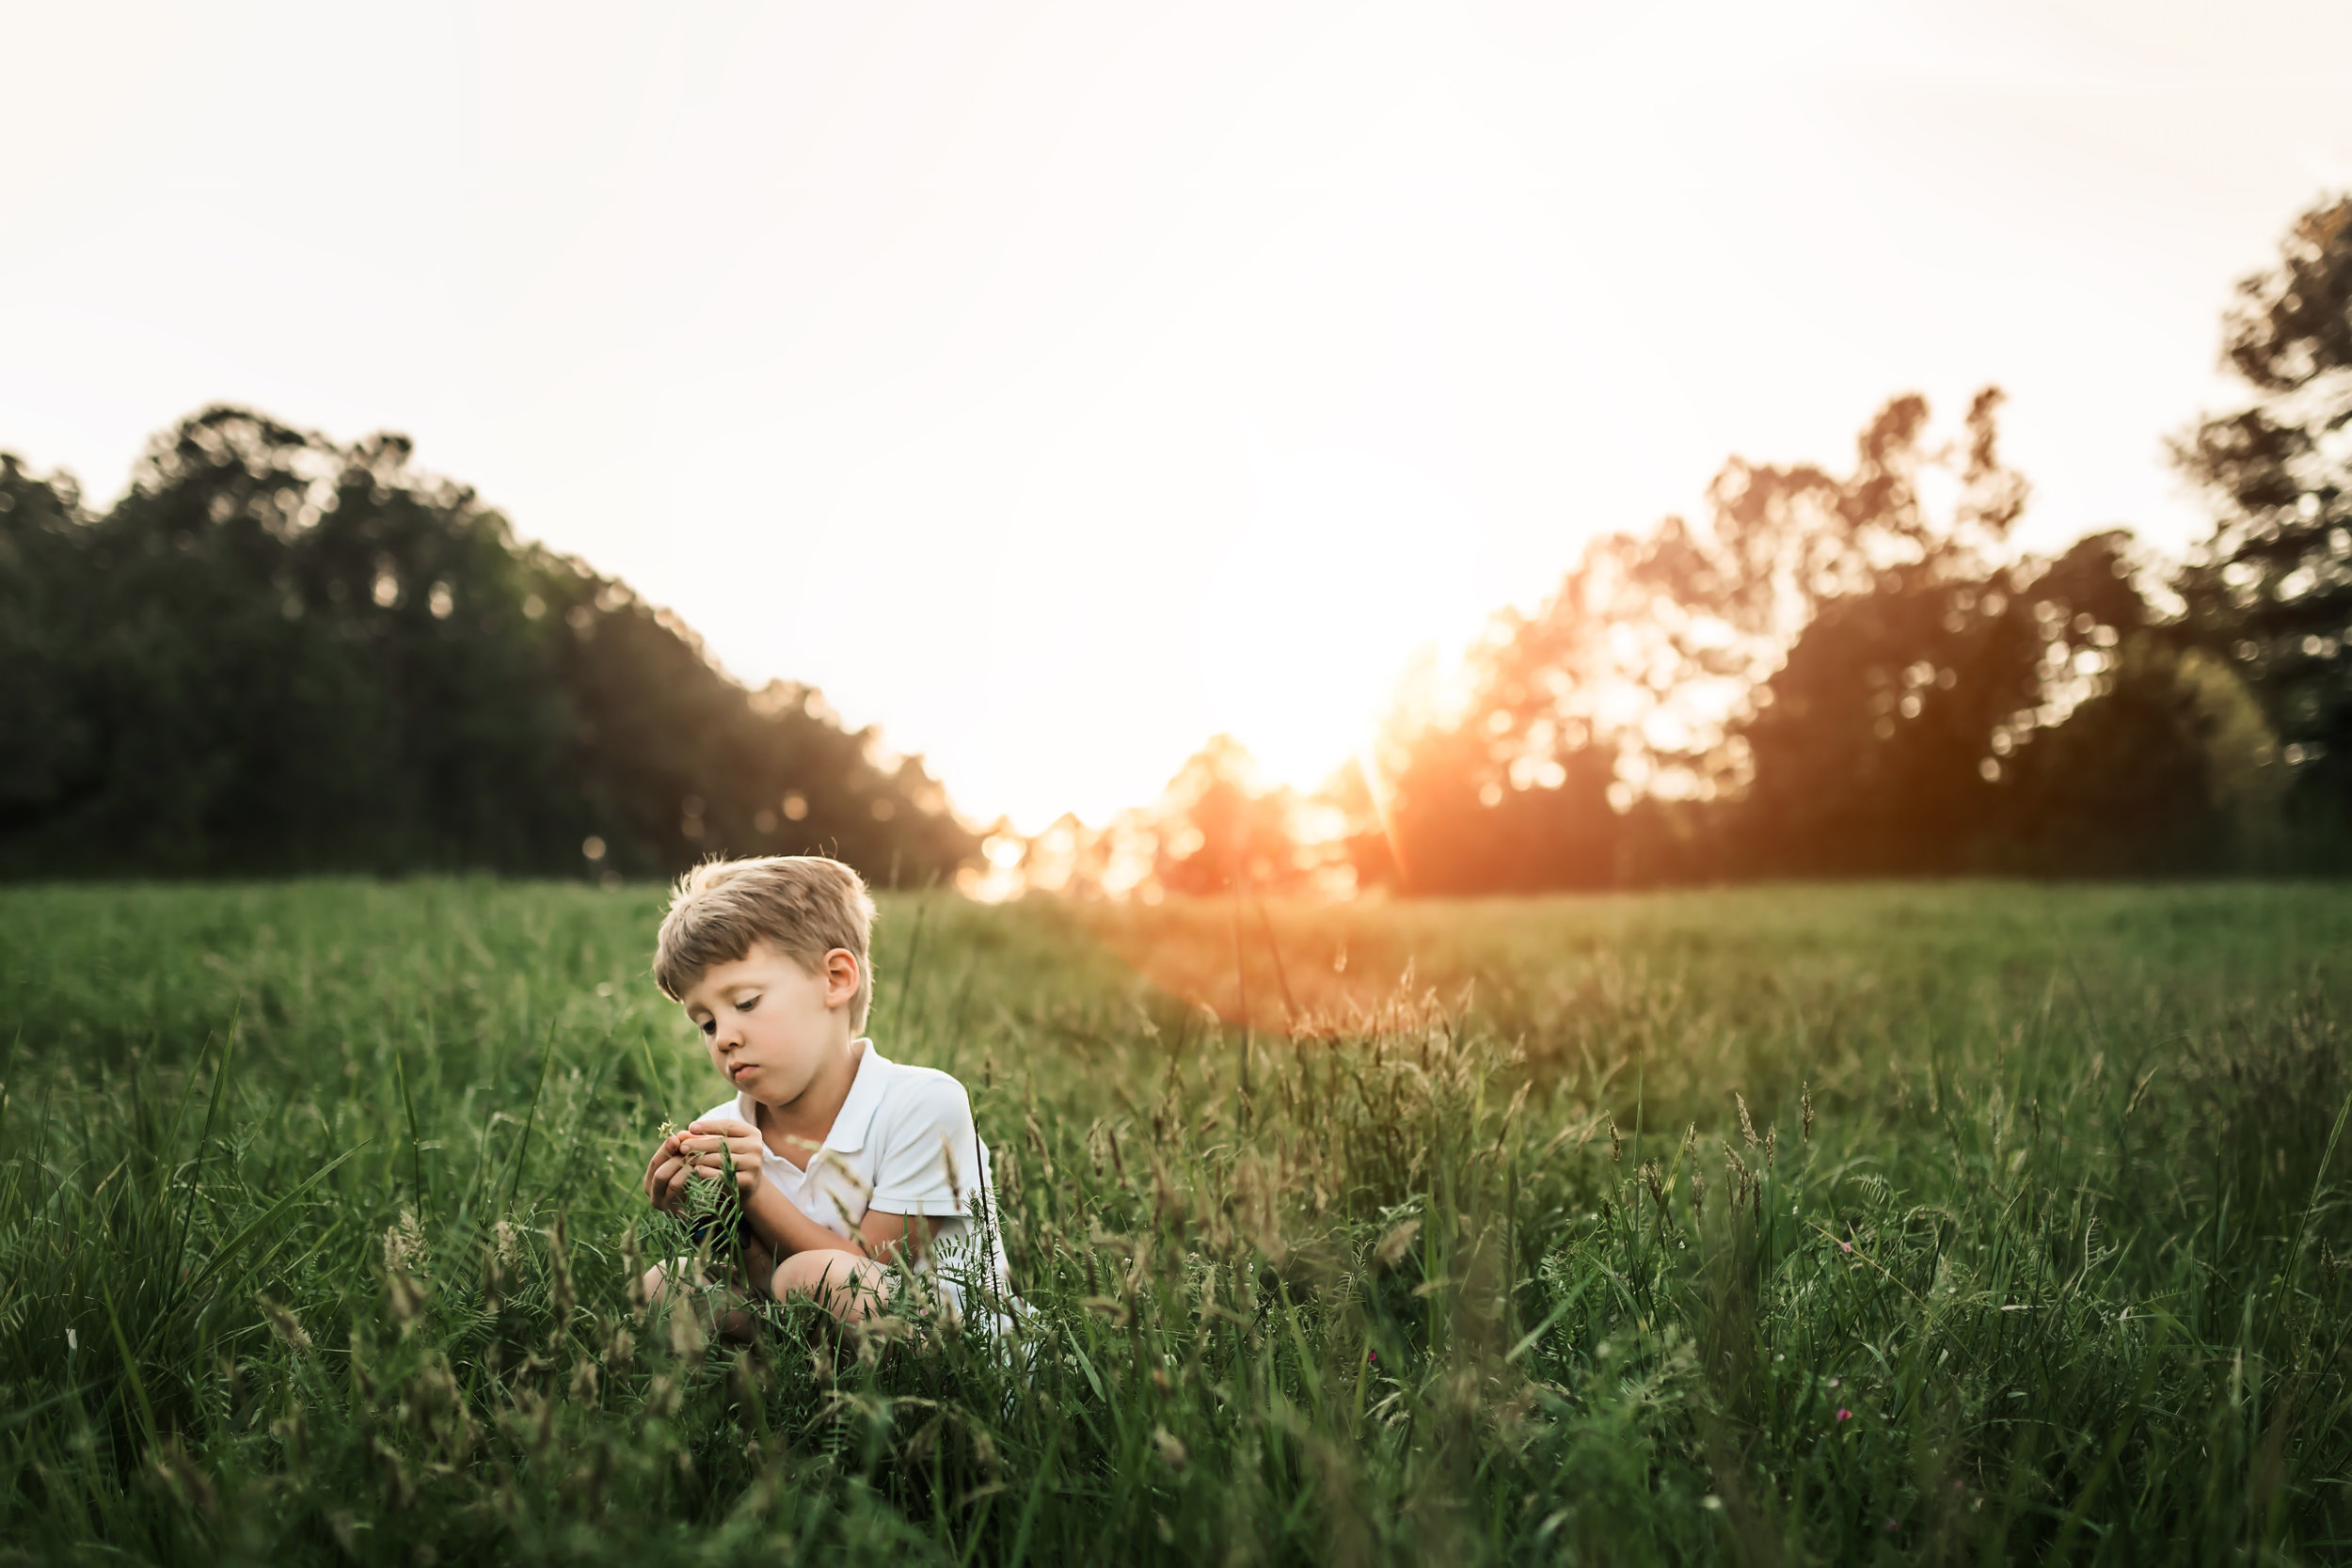
For me, when it comes to editing, I am always trying to keep my colors and tones as close to the naked eye as possible. There are always different variables like light, shadows and color casts that change the way the camera detects and captures colors. Greens and yellows seem to be more "neon" and vibrant straight out of the camera and I always prefer to tweak these colors to be more presentative of how they actually were.
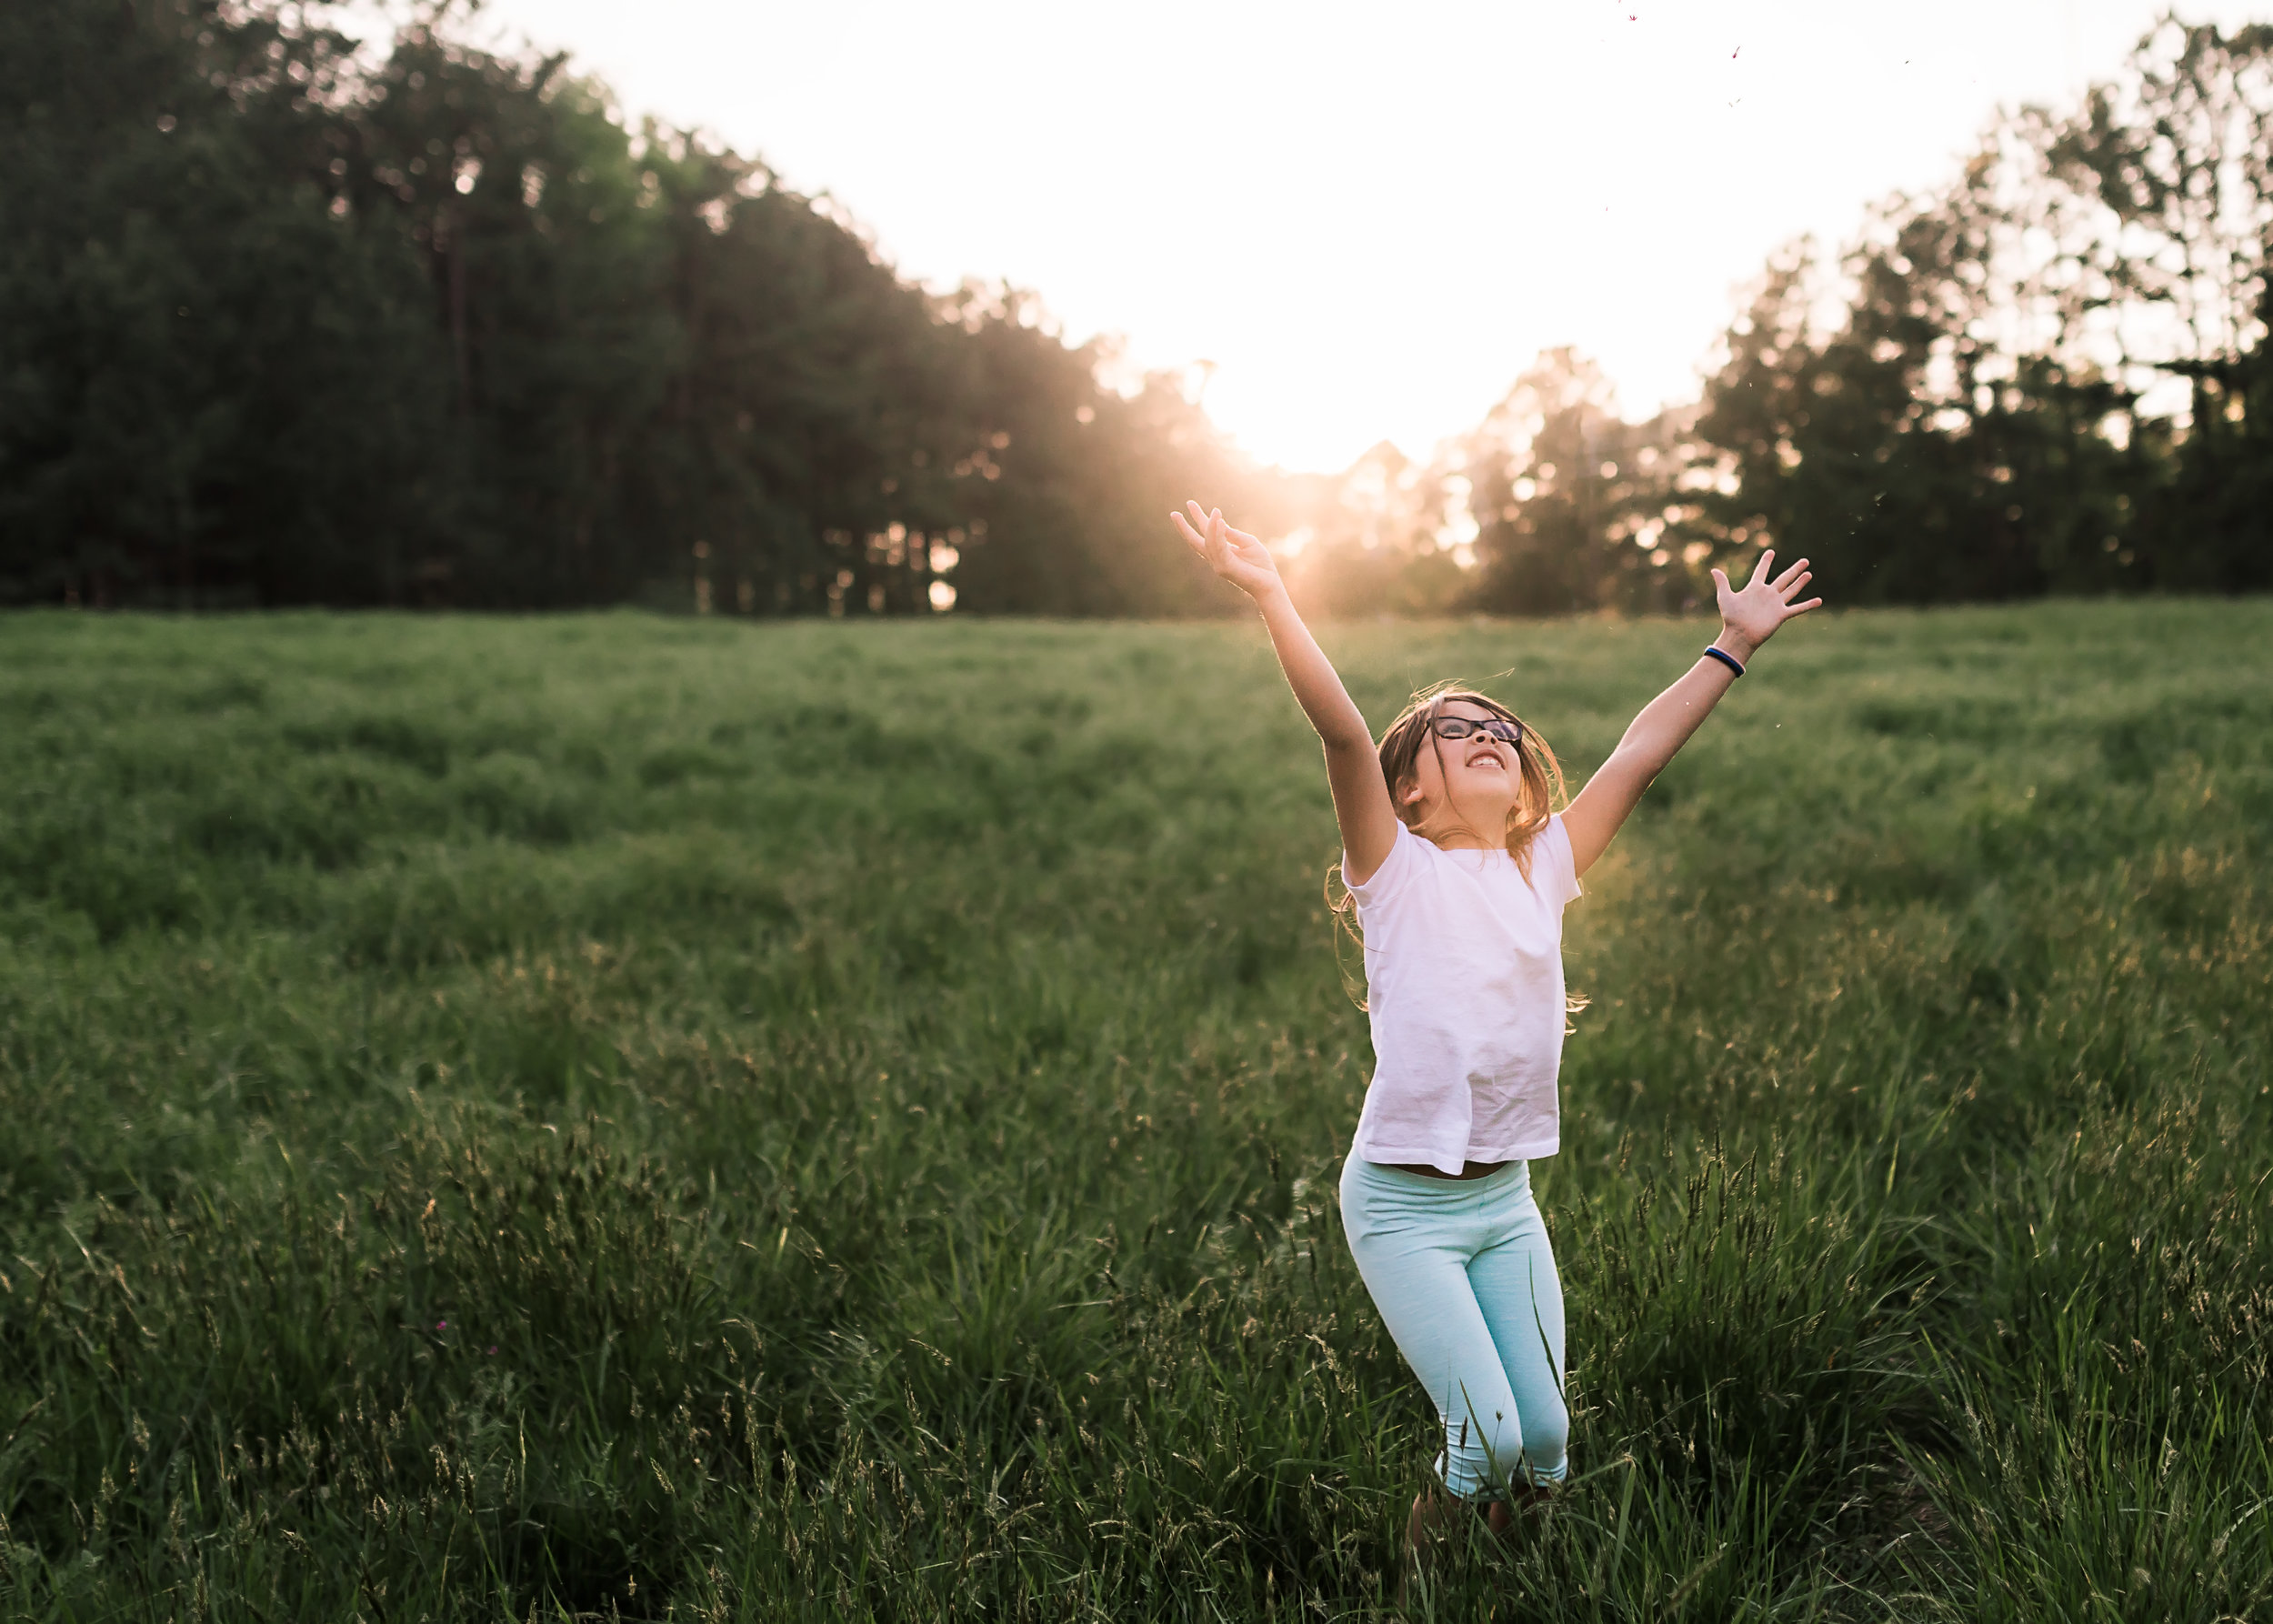

I do the majority of my editing in Lightroom and have found that the HSL (hue, saturation, luminance) panel and split toning can really help to make those greens/yellows more natural!
In this short video, I'll share with you my Lightroom process for editing the greens and yellows in my images! Let me know if you have any questions!