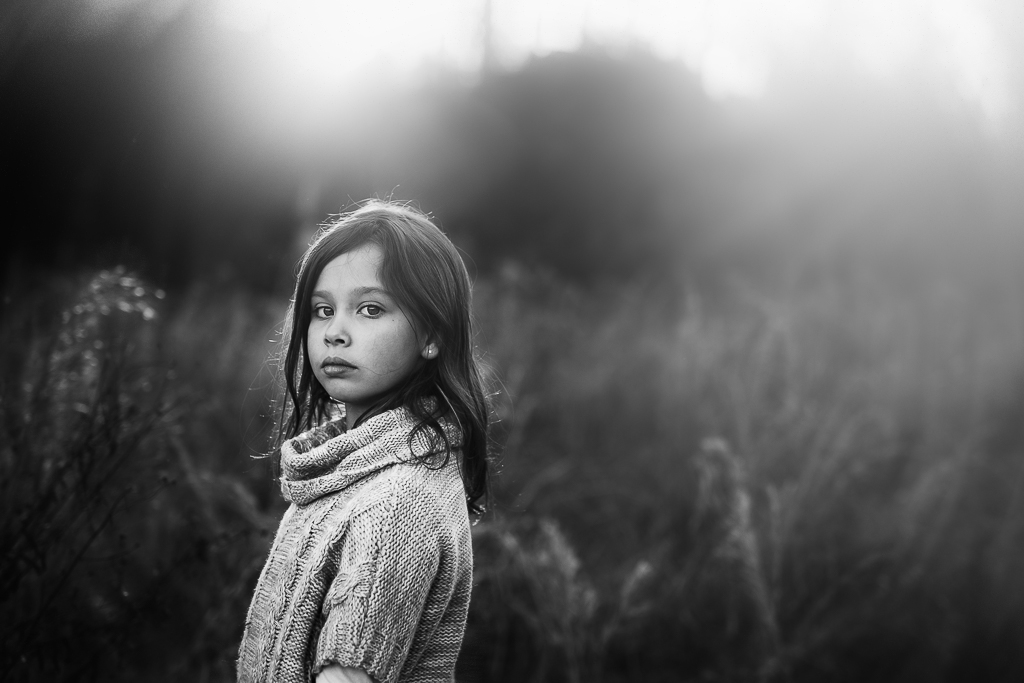
The radial blur tool in Photoshop can add a fun and unique look to your photos. I love using radial blurs with backlighting and images taken in tall grasses. The radial blur adds a fun movement to your images and helps to "soften" backlighting.
Here are the steps for adding a radial blur in Photoshop! And be sure to check out the video below for step-by-step directions!
1. Duplicate your background layer.
2. Go to Filter - Blur - Radial Blur.
3. Select the type of blur you want (spin, zoom) and the intensity of the blur (I usually stick to 10 or 11).
4. In your layers palette, create a clipping mask and invert the radial blur layer (Command I on Mac; Control I for PC).
5. Select the gradient tool on the tool bar (make sure your foreground/background layer is inverse of the clipping mask layer you created) and click/drag your mouse across your image to apply the radial blur.
6. Create a second layer mask on the radial blur and use a brush to brush off any areas you don't want the radial blur.
7. Decrease the opacity to your liking.
The radial blur tool is a fun tool to keep in your back pocket when you want to add a little interest to your images. A little can go a long way, so be sure to play around and find what works best for you!


