
Prior to taking clients, I'm not really sure I had a "workflow" process per se. It went something like this: upload ALLLL the photos - pick out a few favorites - edit & save - repeat - delete some to make room on my hard drive (which always took forever) - repeat.
I knew this process wasn't going to work with client sessions, so I had to come up with a plan to make this process easier, efficient and FUN! My workflow is still a work in progress, but for right now, I feel like it's pretty effective, and for the most part, relatively easy! Today, I wanted to share my process with you in case you felt stuck, frustrated or uncertain about your workflow!

Step 1 - Cull using Photo Mechanic software
I'm not sure where I read about Photo Mechanic, but it has definitely been a game changer for culling my client photos. All you do is pull up your memory card in the navigator and select the keepers. The program has the option for color-coding the photos, so I usually start by marking ones I think are keepers as a "1" (which marks them with a pink line as shown above). If I end up with a ton of keepers, I usually go back through and mark my very favorites with a "2" (which groups these together so I can efficiently view the photos I want to edit).
After I've selected the photos I want to edit, I export them to my external hard drive named with the family's name and "originals" (ex. Smith Originals) to a new folder (always labeled with the client's names - ex. "Smith Family"). I keep all of my client photos on a 4TB external hard drive so they don't take up room on my computer hard drive. This just makes it so much easier for me and I don't have to worry about deleting files, making room or my computer running slower.

Step 2 - Open originals in Lightroom + edit
I have my external hard drive linked to Lightroom, so after I cull my images, I just open them in Lightroom and start my editing process. I LOVE to edit, but I also LOVE to have my image set ready for my clients, so I try to keep my editing process short, sweet and consistent. I have a few favorite presets and a few presets I've developed and tend to use mainly those on all of my client images. You can read all about my favorite presets on my previous Photography Tip post!
If I have "like" images or images taken in similar lighting, I usually batch sync my edits and then just tweak from there. I find syncing definitely helps to speed up the overall editing process! I also have a few presets that I've created myself which really helps with efficiency as well!

Step 3 - Export TIFF files from Lightroom
Once I've edited my photos in Lightroom, I always export the TIFF files to my external hard drive in a new folder (in the client's main folder) labeled "LR Export". This way if I have any changes or need to tweak anything even after I've sent over the main gallery to my client, I will have all of my original edits. I know these TIFF files are HUGE, but by this time, I've put a ton of effort into editing and I just feel more comfortable having all of my edits available to tweak as needed.
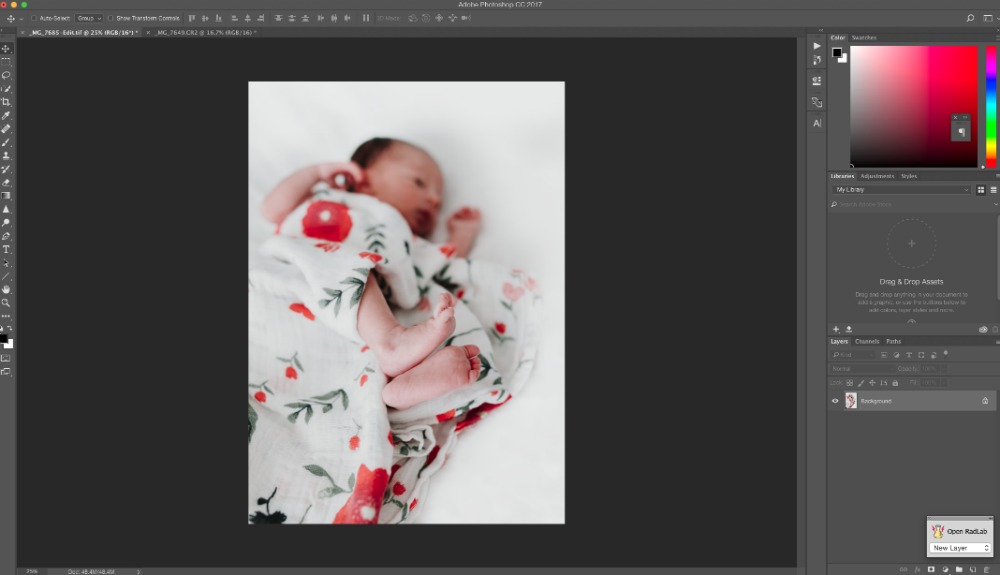
Step 4 - Open edited TIFF files in Photoshop + edit as needed
I know this probably sounds redundant and maybe a little tedious since I've already edited my photos in Lightroom, but I always love pulling my finalized photos into Photoshop and making any extra adjustments if needed. I feel like opening these edited photos and looking at them in a different program gives me a different perspective and I'm really able to access skin tones, color/clarity and the sharpness of the image. In Photoshop, I'm easily able to make any healing adjustments or simple blemish corrections.
After the images are all edited, I flatten the image and convert the color profile to sRGB to make them compatible with most printing companies. Both my Lightroom and Photoshop are set up to edit in Pro Photo RGB (which has the most range of colors), but I know that most printing companies can only handle sRGB colors, so I always make sure my clients receive this color profile.
The final step in Photoshop is to save these completed images at high resolution JPEGS in a new folder labeled "Smith Print" (in the family's folder on my external hard drive).

Step 5 - Create client gallery with Pixieset
Now that I have my edited photos saved as JPEGS, I upload them to Pixieset and create a gallery to send over to my clients. My package includes digital files, so this is a super easy way to send over the files to my clients! Pixieset allows you to set passwords for viewing and selling + also can link to external printing companies if you offer products + prints! I'm sure there are many other options out there, but Pixieset is free (up to 3GB)!
Step 6 - Resize + export marketing images
While I've got all of these images at my fingertips, my final step is to pull my favorite images from the session, resize them for my blog, Instagram and Facebook and export them to a new folder labeled "Smith Marketing". This REALLY makes the process so much easier when it comes to publishing blog posts or posting to social media!
And that's about it for my workflow! As I mentioned, it's a work in progress, but it sure does feel great to actually have a "go-to" system in place!! What about you? Do you have a workflow process?? Please share in the comments if you do!! I'd love to hear how you manage your client (or personal) photos!!